FIRMWARE UPDATE -3
TX-SR876/SA876
Preparation for Update (DSP 1st-3rd, all in one)
DSP Update Procedure
1. Press and hold down [
DISPLAY
] button and then press [
ON/STANDBY
] button to show Main FW version
when the unit is powered on.
3. Press [
Return
] button while the DSP version is displayed. Then, the following message will appear.
4. Play the DSP FW CD-R in the CD player. After playback starts, the messages will change as below.
If playback is finished without the above message, please try again.
Note: Some DVD players are not suitable for this update. If writing results in failure, use another model of player.
DURING WRITING, DO NOT TURN OFF THE POWER and DO NOT DISCONNECT OPTICAL CABLE.
If writing is stopped in the middle, Flash IC may need replacing.
2. Press [
Tone +
] button while the Main version is displayed. Then, 1st DSP FW version will be displayed.
W r i t i n g . . .
1 s t D S P
W r i t i n g . . .
2 n d D S P
W r i t i n g . . .
3 r d D S P
S / P D I F U p d a t e. .
S / P D I F U p d a t e. .
S / P D I F U p d a t e. .
S / P D I F U p d a t e. .
<e.g.>
<e.g.>
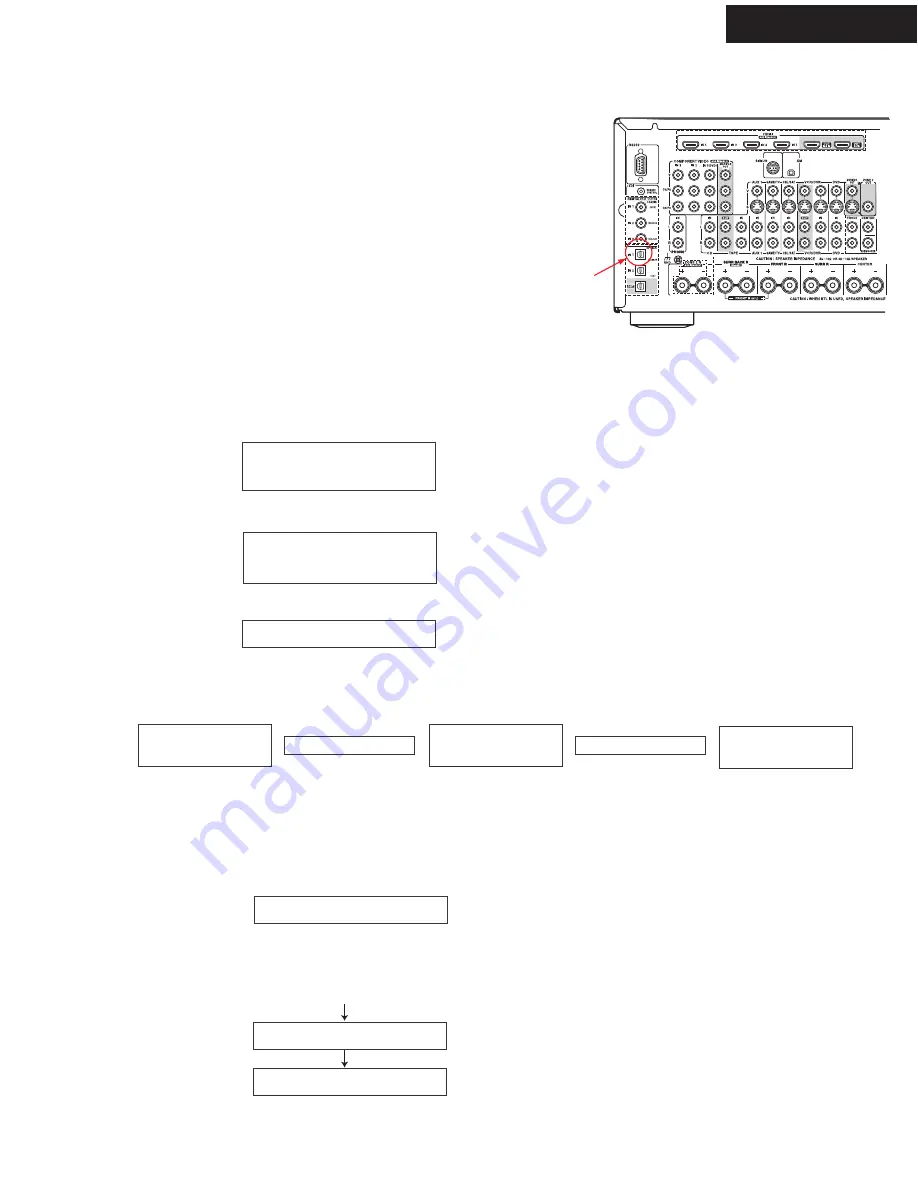
TX-SR876 Rear Panel
After writing of 3rd DSP ends, the message in Step 3 will appear again.
Make sure that no more “
Writing...
” will appear.
Check Points:
1. “
Writing... 1st DSP
” was shown.
2. CD player has been playing for more than 1 minutes 8 seconds, and finishes playback.
C l e a r
The unit is put into the Standby mode.
6. Turn on the unit and confirm the new version number.
D S P 1 s t :
S R 9 0 6 1 : 0 8 6 1 1 A
M a i n :
8 7 1 . 0 1 / 0 8 8 0 1 A
5. Press [
ON/STANDBY
] button and see FL Display change as below.
Estimated Time in CD Player
0:12 0:32 0:42 0:53 1:08
1. Blank CD-R, PC, CD-R writing software
2. Writing soft: “CD_SR906123_08611A_08605C_08506A.wav”
(File name depends on the version.)
Store it in a blank CD-R as a music CD in advance.
3. CD player with Optical output terminal
Note: Some CD players and a lot of DVD players process audio signal
before output. Such players cannot be used for this update.
4. Optical cable
1. Connect a CD Player with the target unit via Optical Input 1.
2. Power on the unit and wait for more than 10 seconds.
Hardware and Software
First Procedure


