


Contents
Before using
Important Safeguards........................ 2
Precautions ....................................... 3
Features............................................. 4
Supplied accessories......................... 4
Introduction ...................................... 5
Before operating this unit ................. 6
Preparation
Audio equipment connections .......... 7
Video equipment connections .......... 8
Making speaker connections .......... 11
AC outlet connections .................... 13
Connecting the power..................... 13
Speaker system setup...................... 14
Operation
Basic operation ............................... 16
Using Surround mode..................... 20
Recording a source ......................... 24
Using TAPE-2 MONITOR............. 25
Programming remote controller
codes ............................................ 26
Connection for multiple-room
remote control.............................. 28
Listening in another room .............. 29
A few important notes
Troubleshooting guide.................... 30
Specifications ................................. 31
Control positions and names .......... 32
Remote controller RC-374M.......... 33
DIGITAL AUDIO
SELECTOR
SMART SCAN CONTROLLER
ENTER
SURROUND
PARAMETER
3-D BASS
MAIN
REMOTE
SPEAKERS
REC OUT
MULTI SOURCE
Re-EQ
MIDNIGHT
THEATER
C D
PHONO
TUNER
TAPE-2
MONITOR
TAPE-1
M D
VIDEO-2
VCR-2/TV
VIDEO-1
VCR-1
DVD
INPUT
SELECTOR
®
MULTI-CH
INPUT
MASTER VOLUME
TREBLE
BASS
AUDIO VIDEO CONTROL AMPLIFIER
A-DS650
MAX
MIN
SYSTEM
POWER
ON
PHONES
STAND-BY
OFF
MULTIPLE SOURCE
REMOTE SYSTEM
HIGH DEFINITION
Re-EQ
TM
DOLBY SURROUND
P R O • L O G I C
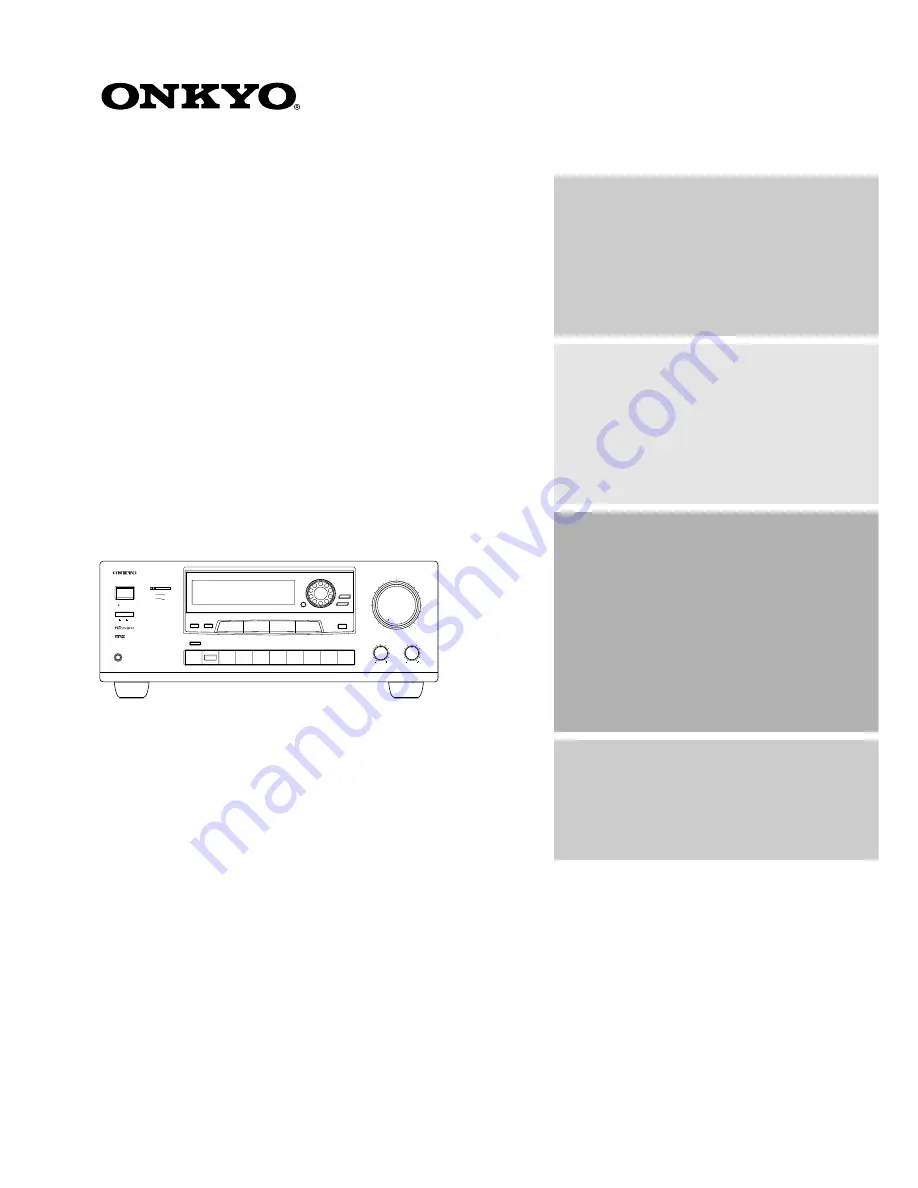
Audio Video Control Amplifier
A-DS650
Instruction Manual
Thank you for purchasing the Onkyo Audio Video
Control Amplifier.
Please read this manual thoroughly before making
connections and turning on the power.
Following the instructions in this manual will enable
you to obtain optimum performance and listening
enjoyment from your new Audio Video Control
Amplifier.
Please retain this manual for future reference.
Summary of Contents for A-DS650
Page 34: ...MEMO ...
Page 35: ...MEMO ...


