


6
7
1�2�2
Power on your phone
Hold down the
Power
key until the phone powers on. It will take
some seconds before the screen lights up.
Set up your phone for the first time
The first time you power on the phone, you should set following
options: language, WIFI, Google account, date & time, etc.
If you power on your phone with no SIM card inserted, you can
connect to a WLAN network to sign into your Google account and
to use some features.
1�2�3
Power off your phone
Hold down the
Power
key until the Phone options appear, select
Power off
.
1�3
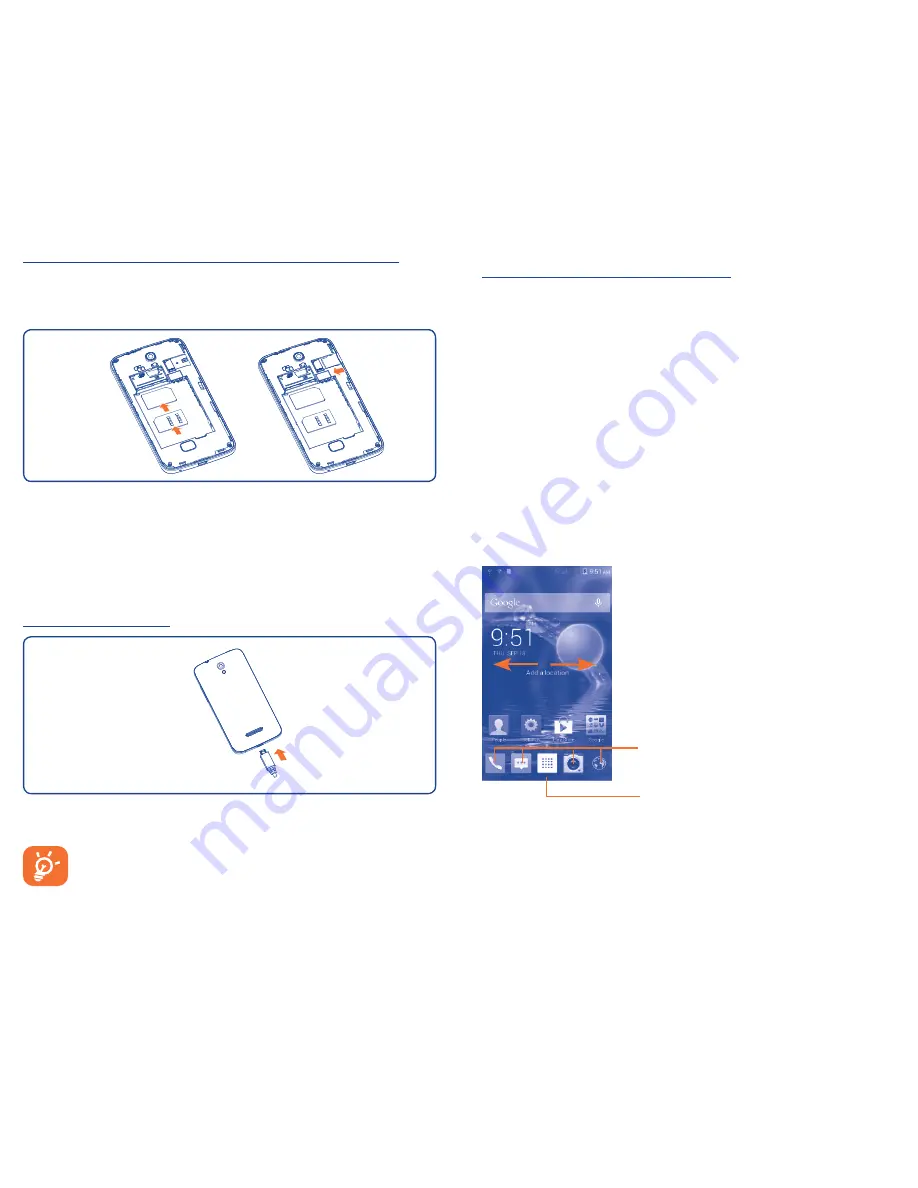
Home screen
You can bring all the items (applications, shortcuts, folders and
widgets) you love or use most frequently to your Home screen
for quick access. Touch the
Home
key to switch to Home screen.
Application tab
•
Touch to open main menu.
Favorite tray applications
•
Touch to enter the application.
•
Touch and hold to move or change
applications.
Home screen is provided in an extended format to allow more
space for adding applications, shortcuts etc. Slide the Home screen
horizontally left and right to get a complete view of the Home
screen.
1�2
Getting started
1�2�1
Set-up
Inserting or removing the SIM card and microSD card
You must insert your SIM card to make phone calls. Please power
off your phone before inserting or removing the SIM card and
microSD card.
To install, take off the battery cover and battery, insert the SIM card
into the slot with chip facing downward for SIM1 and upward for SIM2.
To remove the SIM Card, take off the battery cover and battery,
gently pull it out.
To install or remove microSD card, power off the phone first, take off
battery cover and then insert or pull out the card.
Charging the battery
Connect the battery charger to your phone and mains socket
respectively.
The charging status bar will not float if your battery is fully
consumed. To reduce power consumption and energy waste,
when battery is fully charged, disconnect your charger from the
plug; switch off WLAN, Bluetooth or background-running
applications when not in use; reduce the backlight time, etc.


