12
English
Norsk
Svenska
13
Chapter 2
First use
This chapter introduces some basic issues in
using netbook, including the following topics:
Connecting the AC adapter
Start-up / shutdown
Portable netbook
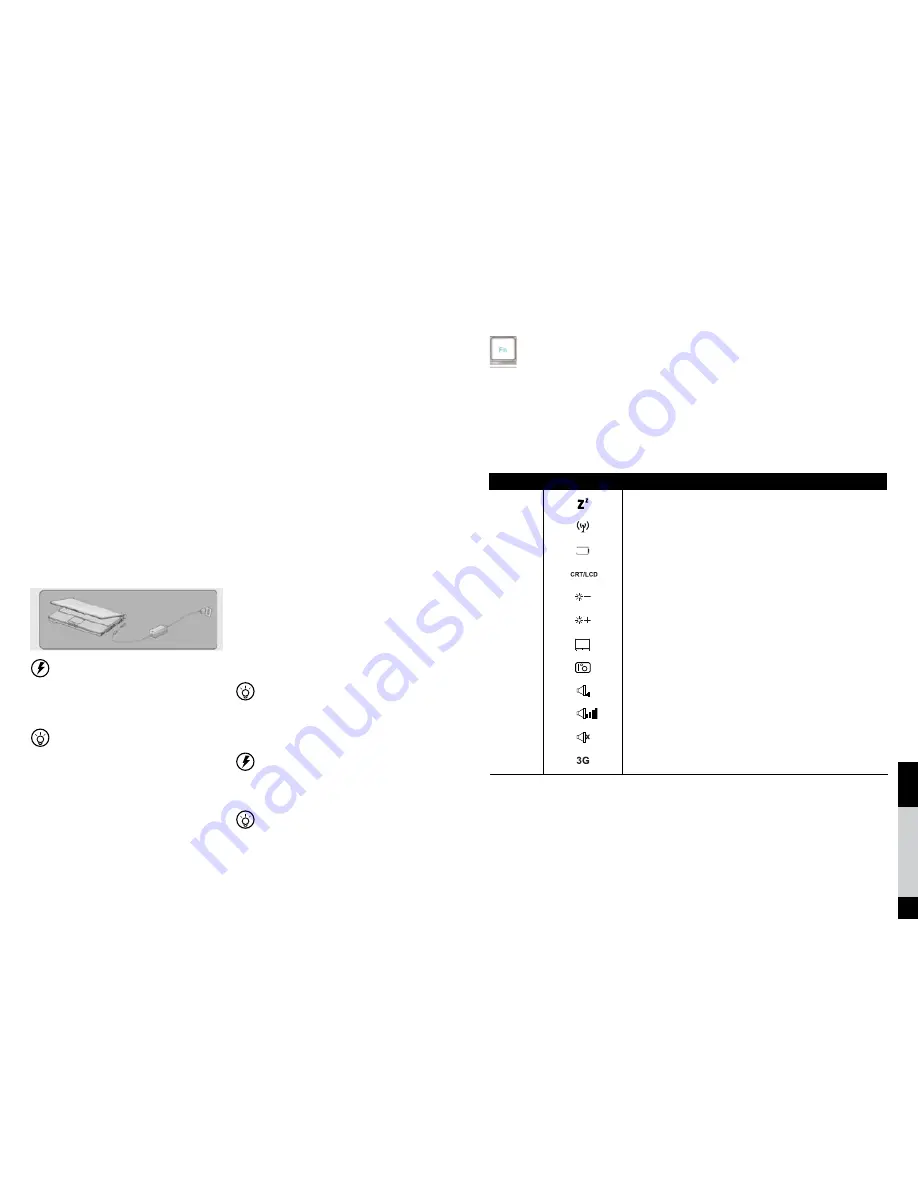
Follow these steps to connect the adapter:
1. Connect the adapter and power cord.
2. Put the AC power plug into
the power socket.
3. Put the AC adapter output jack into the
netbook power supply.
4. Make sure that all connections have been
connected correctly.
Do not use the netbook-based dedicated adapter
on other electrical equipment; although other
adaptor shapes have many similarities to the
adapter but are not exclusive to the netbook,
please do not use them in the netbook.
Because different countries have different voltage
and design of power plug, if you are using this
product in other countries, please choose a
suitable local adapter or with a power cord
socket converter.
2.1 Connecting the AC adapter
If you want to transport the netbook,
please note the following:
Please make sure the disk has stopped
before the operation, check that the built-in
hard disk drive indicator light is
extinguished.
Please turn off the power supply or put the
netbook into hibernation state.
Please disconnect all external equipment
and the AC adapter before moving.
Please do not carry netbook by the rear
or the screen.
Please use a dedicated netbook bag for
carrying and avoid placing the netbook
and other objects together.
If you need to carry the netbook and leave for
short period, and want to maintain the current sta-
tus of working, you can set the netbook to sleep,
when you re-open, the netbook will return to the
working status before hibernation.
Do not move the netbook when the hard disk is
still running as it is likely to damage the netbook,
especially the hard disk. Please move it while in the
state of standby or hibernation.
If you need to take the netbook to travel in dif-
ferent countries or regions, please note and check
whether the power cord fits your local power
standard or not, if necessary buy a power cord
that meets local requirements.
2.2 Transporting the netbook
Chapter 3
Operation
The Fn button is used together with
other key combinations to turn on
or off specific functions.
Symbol
Description
Fn+F1
Sleep
Fn+F2
WiFi/Bluetooth on/off
Fn+F3
Low battery warning on/off
Fn+F4
CRT/LCD switch
Fn+F5
Brightness down
Fn+F6
Brightness up
Fn+F7
Touchpad on/off
Fn+F8
Camera on/off
Fn+F9
Volume down
Fn+F10
Volume up
Fn+F11
Volume mute
Fn+F12
3G on/off
Composition and implementation of specific functions in the following table:
Part of the operation may be required and the corresponding operating system software support, please refer to the
operating system documentation.
3.1 Fn key combinations


