


|
1
Introduction
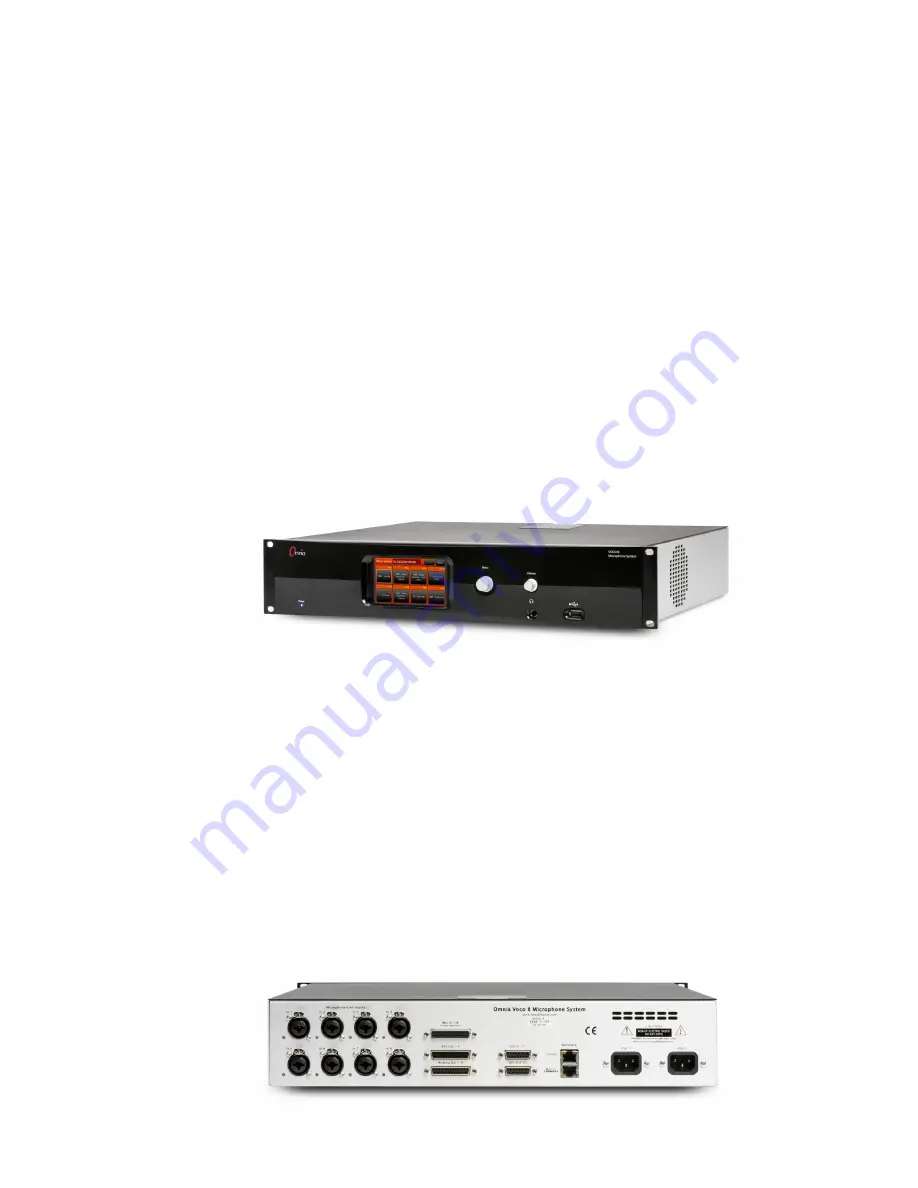
Thank you for purchasing the Omnia VOCO
®
8 microphone processor. This unit combines 8 studio-
quality microphone preamps with up to 8 licensable channels of 3-band microphone processing
(2 are included standard). Other key features include full L/AES67 Audio over IP (AoIP)
connectivity, as well as analog and AES/EBU I/O, and a comprehensive IP remote control interface.
We know you’re probably anxious to get up and running quickly, but there are a few tips in this short
quick start guide that we hope will make the process a bit easier. If you’re in a real hurry, skip ahead
to the “Frequently Asked Questions” section of the guide.
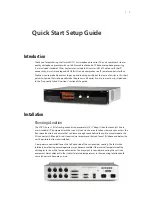
Installation
Choosing a Location
The VOCO 8 uses 2 RU of rack space and is approximately 14 ¾” deep. It should mount just fine in
most standard 19” equipment racks but you will want to choose a location where you can access the
front panel controls and ensure that you leave enough space behind the unit to accommodate the
I/O connectors. Although it is not required, we recommend that you leave 1RU above and below the
unit if possible to allow air circulation.
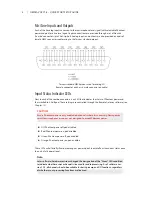
A temperature-controlled fan on the left hand side of the unit provides cooling. This fan (while
relatively quiet during normal operation) may become audible if the internal temperature of the
unit begins to rise as the fan speed increases. You may want to consider mounting the unit in an
equipment closet adjacent to the studio if elevated temperatures in the mounting location could
cause fan noise to become an issue.
1
Quick Start Setup Guide