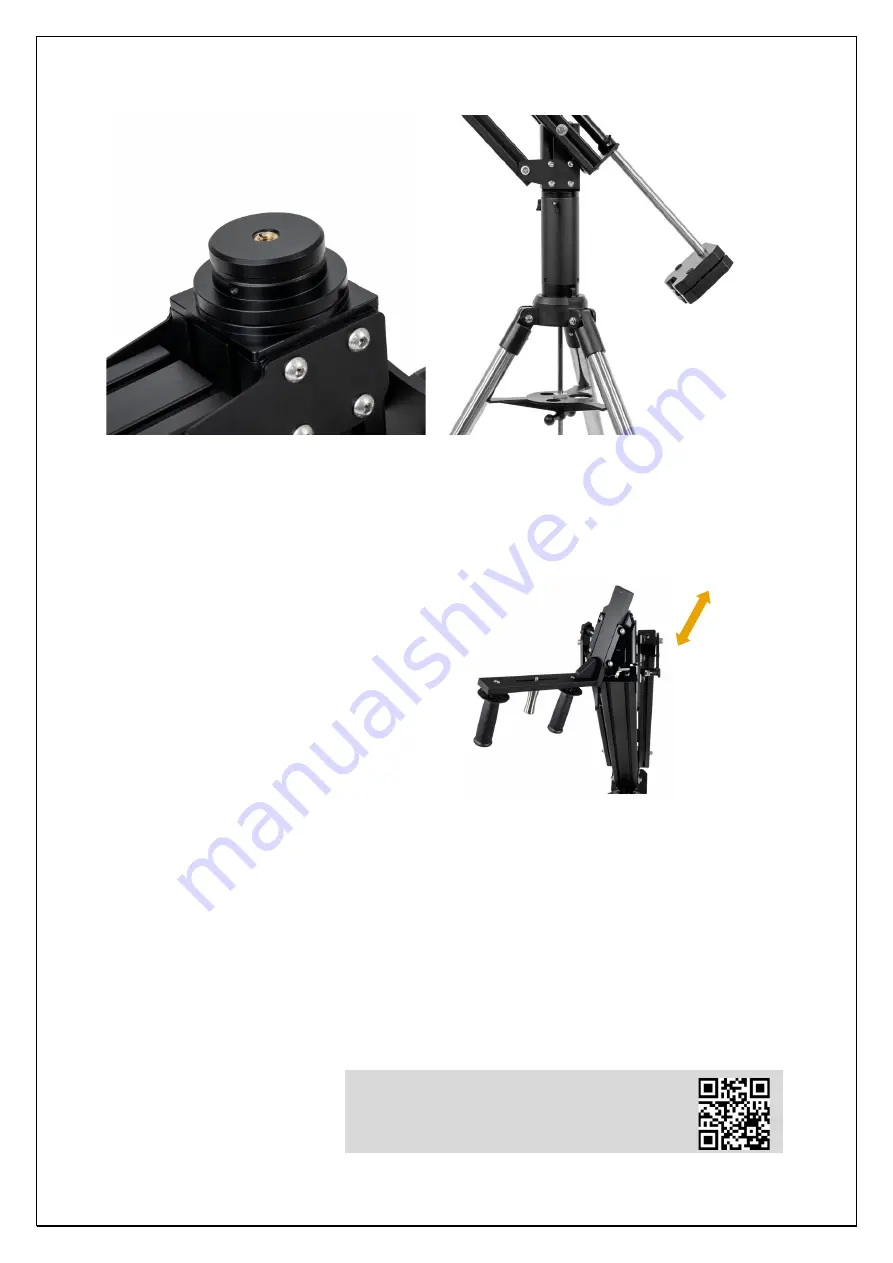
Now screw your tripod head plate to the horizontal pivot joint underneath. Then you are ready to put the Kolossus mount
together with its tripod plate onto your tripod. If you are using the half-pier, first screw this onto the tripod. The Kolossus
mount fits directly into the upper side of the half-pier.
Product no. 60250: a stable camera tripod with a load
capacity > 25kg is required
Product no. 75464: the tripod and half-pier are included
If you have not yet attached the weights to the counterweight bar, you can do that now and ensure that they are secure.
The counterweight bar can be extended by a hand span (approx. 20cm). It is best to place the counterweights at the very
end of the bar first, because you can roughly balance them by extending the bar.
The fastening for the L-bracket is now tilted from its horizontal transportation position to the vertical observation position.
You do not need to
loosen or tighten any bolts or nuts
. Connect the L-bracket to your binoculars using the
¼ inch screw and, if necessary, attach the two handles to the bracket. Now you can now insert the vertical side of the
L-bracket into the prism clamp. You should insert the bracket into the clamp from above. If the binoculars’ eyepieces are
approximately at the height of the clamping screw, they are probably more or less in balance – this depends of course on
the model of your binoculars.
Now you can extend the counterweight bar even further. It may be necessary to extend it almost completely, depending on
the weight of your binoculars and the number of counterweights you are using.
The transportation locks should be closed up to this point,
now they can be released. To do this, simply pull the knob out a
little, turn it through 90°, and release it again. If the lock sticks, the mount may need to be moved slightly while pulling the
knob at the same time.
You will probably find that the Kolossus mount is not yet fully balanced. You can now resolve this by adjusting the
counterweight bar. For a finer balance adjustment, you can also shift the position of the weights on the bar. It is useful to
have someone with you to help you do
this.
Any reproduction of the contents of this document in any form, in whole or in part, apart from for private use, is expressly prohibited.
Errors and omissions excepted. All texts, images and trademarks are the property of NIMAX GmbH
69882_EN_Operating_instructions_REV_A
3 / 4
The L-bracket can
be moved vertically in the prism clamp
Video instructions for assembly
You can watch a step-by-step guide to the set-up on
YouTube under the following link.


