background image

OM-CP-RFPULSE2000A

Additional Features and Operation

Alarm Settings/Rules

In the Omega Software, alarms can be created on two levels; in 
the software itself, and programmed specifically to the data logger. 
Creating alarm rules in the software allows the user to utilize alarms 
while real time recording, and have the added benefit of features 
such as e-mail and SMS notification. An alarm that is programmed on 
the data logger will only alert the user from the device itself, whether 
that is by a flashing LED, audible alarm, or local LCD notification.

Creating a Real time Alarm Rule

1.  Within the Device tab in the Omega software, in the Alarms 
group, click 

Manage Rules

, then select 

New

2.  Enter a name in the Rule name box, and select whether 

notifications will occur when 

All

 conditions are met or 

Any

 condition is met. 

3.  Select the desired conditions to have met before notifications occur, and select which notifications will 

occur from the drop down menus.

4.  If selecting to receive notifications by email or text message, click 

Email settings

 and make sure the correct 

info has been entered. Email and text message notifications will not be received if settings are incorrect.

5.  Click 

OK

. The 

OK

 button will be disabled if the Rule name box is empty.

Changing the Alarm Settings of a Device

1.  In the Connected devices panel, select the OM-CP-RFPULSE2000A device. 
2.  Click the 

Properties

 button under the device tab at the top of the software, and select the 

Alarm

 tab in 

the 

Properties

 window.

3.  The High and Low settings indicate reading thresholds at which the alarm becomes active. 
4.  The Delay setting indicates how long to wait before the alarm becomes active after passing an alarm 

threshold. 

5.  The Use cumulative alarm delay checkbox indicates whether the alarm delay should reset when reading 

values fall back within the alarm threshold. 

6.  Once the alarm is configured appropriately, click 

Apply

 to save the settings.

**Please refer to the Help file in the Omega software for 
more information regarding alarm settings**

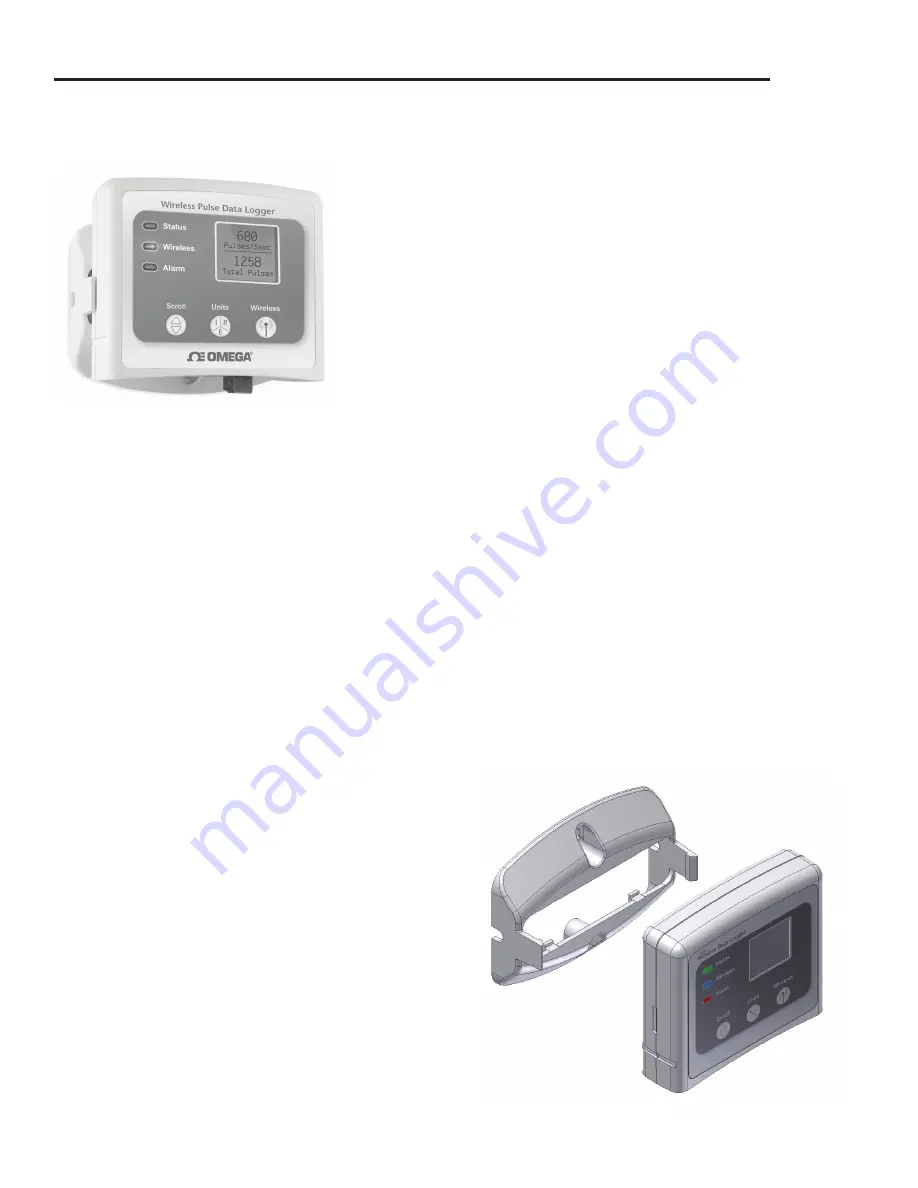
Mounting Instructions

The base provided with the OM-CP-RFPULSE2000A 
can be used in two ways.

The bottom of the logger snaps in place to use and 
mount the unit on a table top or horizontal surface.

The base can also securely snap to the backside of  
the logger for wall mounting if desired (as shown to  
the right).

There are two holes in the base to allow for screws  
for mounting.

Summary of Contents for OM-CP-RFPULSE2000A

Page 1: ...OM CP RFPULSE2000A Wireless Pulse Data Logger...

Page 2: ...er long periods of time Selection Buttons The logger is designed with 3 direct selection buttons Scroll Units and Wireless Scroll Allows user to scroll through information displayed on the LCD Screen...

Page 3: ...Stop icon and then click the Download icon A graph will automatically display the data Product Operation Plugged In Install the Omega Software and USB Drivers onto a Windows PC Before plugging the da...

Page 4: ...and text message notifications will not be received if settings are incorrect 5 Click OK The OK button will be disabled if the Rule name box is empty Changing the Alarm Settings of a Device 1 In the...

Page 5: ...ata logger is not appearing in the Connected Devices list it may be that the OM CP RFC1000 EXT is not properly connected 1 In the software click the File button then click Options 2 In the Options win...

Page 6: ...erials OM CP BAT103 1 On the bottom of the enclosure open the battery compartment by pulling in on the cover tab 2 Remove the battery by pulling it from the compartment 3 Install the new battery takin...

Page 7: ...Weight 4 1 oz 0 2563 lbs Enclosure Material ABS Plastic Alarm User configurable audible on screen email and text SMS alarms Alarm Delay A cumulative alarm delay may be set in which the device will ac...

Page 8: ...onment OM CP RFC1000 EUR 2 500 max outdoors line of sight unobstructed 700 max indoors typical urban environment OM CP RFC1000 IP69K 4 000 max outdoors line of sight unobstructed 1 000 max indoors typ...

Page 9: ...Quick Start Manual OM CP RFC1000 EXT Wireless Transceiver Other models available OM CP RFC1000 EUR Approved for European markets OM CP RFC1000 IP69K Splash Proof for harsh environments...

Page 10: ...ures from 20 C to 85 C and a humidity range of 0 to 95 RH non condensing The OM CP RFC1000 EXT is rated IP40 and is protected against solids that are greater than 1mm in size This device is not water...

Page 11: ...performance both the OM CP RFC1000 EXT and the Omega data loggers should be mounted in the same orientation This usually means that the external antenna should be pointing straight up The antenna can...

Page 12: ...The images below show the orientations available of the switches for each channel Channel 26 all switches in the up position is not supported Follow the instructions below to configure the channel set...

Page 13: ...eless mode by holding down the Wireless button for 5 seconds Deploying and Activating Devices 1 Plug the OM CP RFC1000 EXT into the USB port on the base station computer Additional OM CP RFC1000 EXTs...

Page 14: ...ata logger is not appearing in the Connected Devices list it may be that the OM CP RFC1000 EXT is not properly connected 1 In the software click the File button then click Options 2 In the Options win...

Page 15: ...Antenna 7 2 Approvals FCC ID OA3MRF24J40MC IC 7693A 24J40MC Transmission Distance To other OM CP RFC1000 EXTs 4000 max outdoor line of sight unobstructed 1000 max indoors typical urban environment Tr...

Page 16: ...forme aux CNR d Industrie Canada applicables aux appareils radio exempts de licence L exploitation est autoris e aux deux conditions suivantes 1 l appareil ne doit pas produire de brouillage et 2 l ut...

Page 17: ...l application used on humans or misused in any way OMEGA assumes no responsibility as set forth in our basic WARRANTY DISCLAIMER language and additionally purchaser will indemnify OMEGA and hold OMEGA...

Reviews: