R Cullimore - Using Olypus ws110 digi-rec v5 - 3 Dec 08
Page 1 of 8
Using the
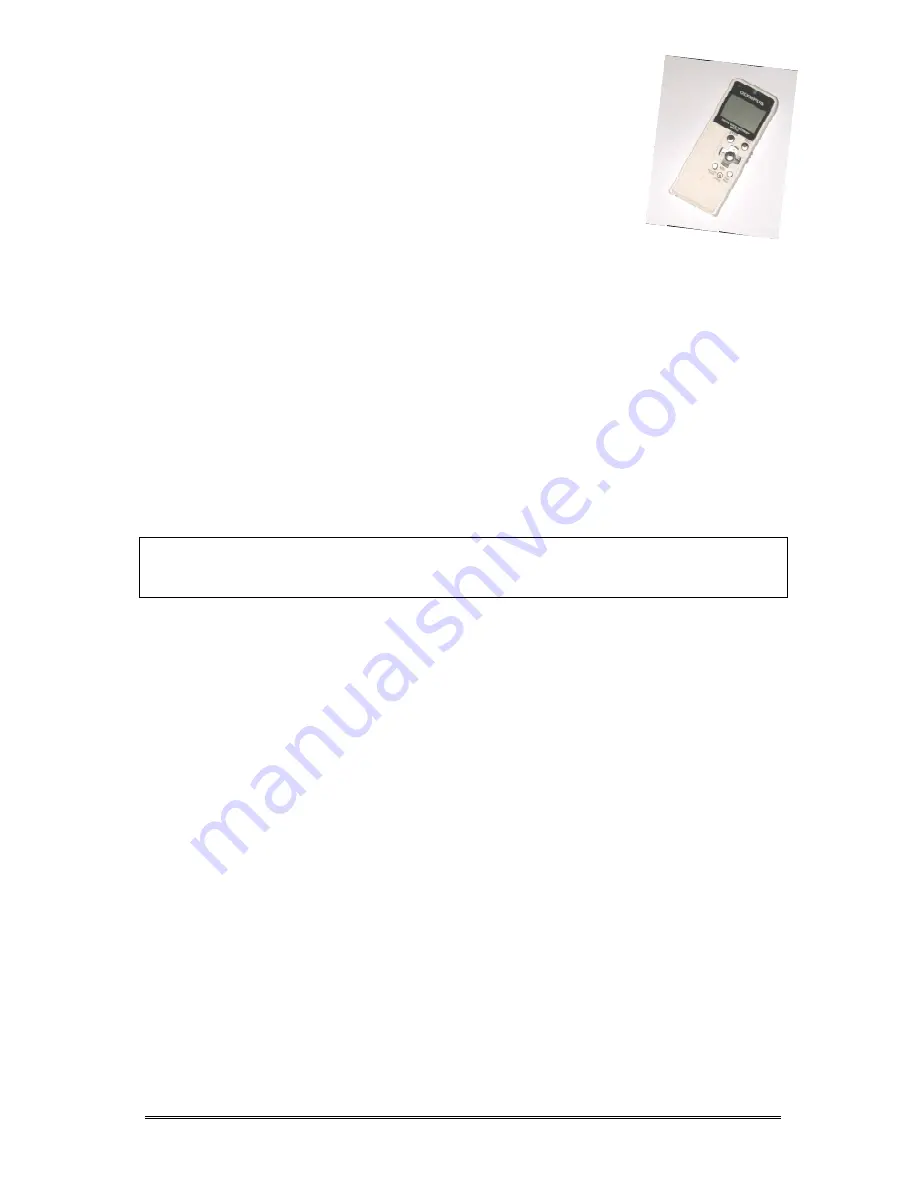
Olympus WS-110 Digi-Recorder
Model: Olympus WS-110 (256MB, Mono, white casing)
Ralph Cullimore, e-Learning Co-ordinator
Devon ACL
Dec 2008
Introduction
The Olympus WS-110 is a digital voice recorder that can be used to record sound and then
play it back again. It has a built-in mono microphone which gives good sound quality and
also has a socket for an external mono microphone. The recordings are saved in the built-in
electronic memory in the form of ‘WMA’ files which can be played back using a small built-in
speaker, separate headphones or plug-in speakers. The recorder can also be plugged
straight in to a computer and the recorded files then ‘dragged across’ to the computer to be
kept for future reference, put on a CD, emailed out etc. As they are WMA files, they can be
played on most computers without any special software or knowledge.
The WS-110 can hold 17 hours of ‘high-quality’ recording and has 5 ‘folders’ within its
memory, labelled A, B, C, D and E to allow files to be grouped together to make finding
them a little easier. The recorder itself is small and slim – about 3.5cm x 9.5cm x 1cm –
and uses a single AAA battery that should last 18-20 hours.
Part A - Setting it Up
A1. Inserting the Battery
Turn the recorder upside down and on the bottom you should see 2 parallel grooves next to
a grey ‘arrow’. Use a fingernail or similar to lightly push in the grey ‘arrow’, slide the cover
outwards then lift it up. Put in an AAA alkaline battery (flat end first, pointy end left poking
out) then push the cover down and slide it back in. If the display starts flashing then this is
because it wants you to set up the time and date – go to A3, step 7 (next page) to do this.
Note: if you ever need to remove an existing battery, turn the recorder OFF first.
A2. Turning On and Off
There is via a slider switch on the side of the recorder.
To turn the recorder ON, slide the switch AWAY from the word HOLD.
To turn the recorder OFF, slide the switch TOWARDS the word HOLD
Things to watch out for:
1. If you slide the switch TOWARDS the word HOLD whilst you’re using the recorder (eg if
you’re recording something or playing something back) then it doesn’t turn the recorder
off, it just locks all the buttons. This can be useful – eg it prevents you accidentally
stopping the recording. To get back to normal, just slide the switch AWAY from HOLD.
2. After about 5 minutes of not being used, the recorder automatically goes into ‘Standby’
mode in order to prolong the life of the battery. To wake it up, press any button (this has
no effect other than waking it up).


