


EN
Inserting batteries
▼
Strap hole (Strap is not supplied.)
When [
] appears on the display,
replace the batteries as soon as
possible. When the batteries are
too weak, [
], [LO] and [bATT]
appears on the display and the
recorder shuts down.
"
• Remove the batteries if you are not
going to use the recorder for an
extended period of time.
Turning on the power
Slide the POWER switch to the [ON]
position.
ON
OFF
Turning off the power:
While the recorder is in stop mode,
slide the POWER switch to the [OFF/
HOLD] position.
Power save mode:
If the recorder is on and stops for 5
minutes or longer, the display shuts
off and it goes into power save mode.
To exit power save mode, press any
button.
HOLD:
If you slide the POWER switch to the
[OFF/HOLD] position, the current
conditions will be preserved, and all
buttons will be disabled.
Setting time and date
[dATE]
If you set the time and date
beforehand, the information will be
stored automatically when the file
is recorded. This function enables
easier file management.
"
When you install batteries for
the first time or each time you
replace the batteries, the “hour”
indicator will flash. When the
“hour” is flashing, conduct the
setup from step 4.
1
While the recorder is during
stop mode, press and hold the
DISP/MENU
button.
Press the
+
or
−
button to select
[
dATE
].
Press the
`
OK
button.
• The “hour” will flash on the
display.
Press the
+
or
−
button to change
the setting.
5
Press the
`
OK
or
9
button to
set.
• Repeat step 4 and 5 to set
“minute”, “year”, “month” and
“day”. After the “day” has been
set, the recorder’s clock will start
working.
• You can select between 12 and
24 hours display by pressing
the DISP/MENU button while
setting the hour and minute.
• You can select the order of the
“month”, “day” and “year” by
pressing the DISP/MENU button
while setting them.
6
Press the
STOP
(
4
) button to close
the menu screen.
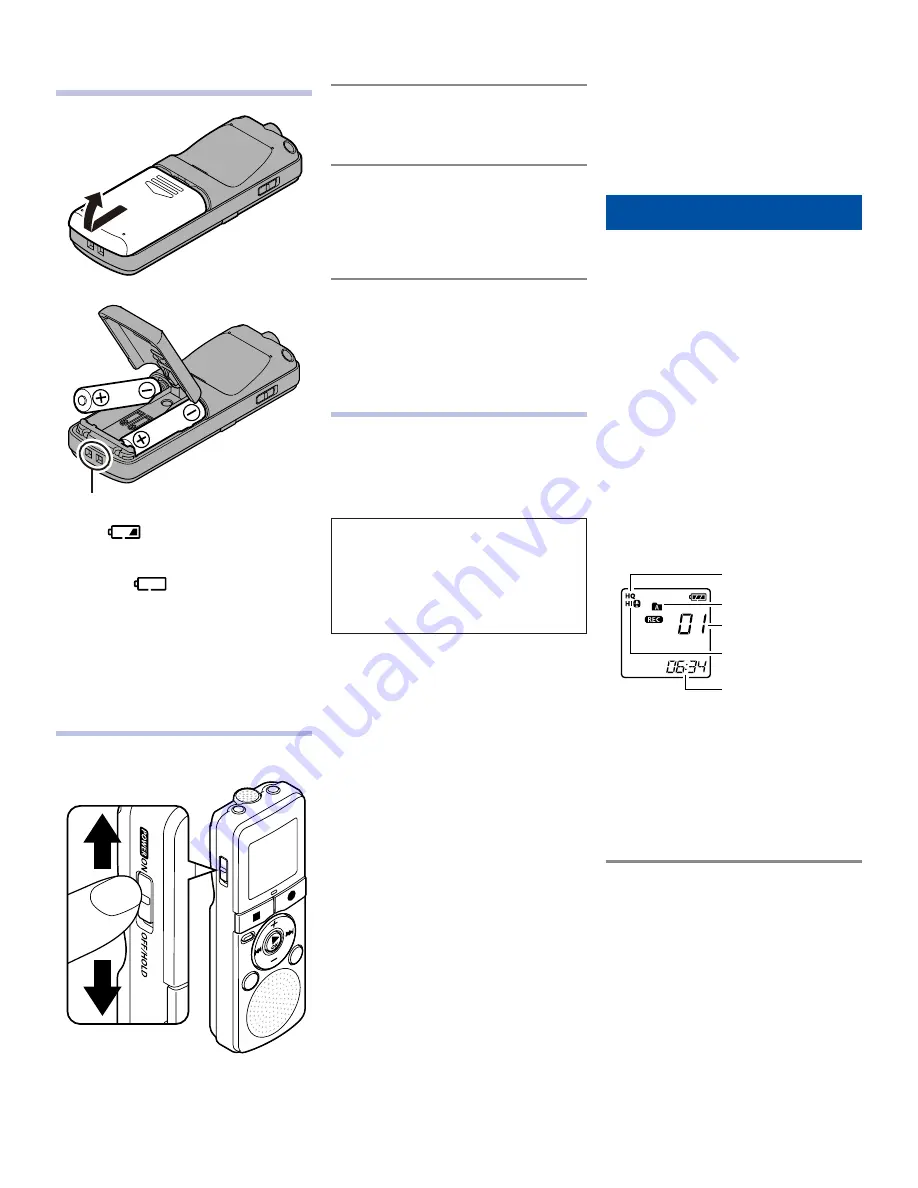
Recording
The recorder provides four folders,
[
&
], [
'
], [
(
] and [
)
]. To change
the folder selection, press the
FOLDER/INDEX button while the
recorder is stopped. These four folders
can be selectively used to distinguish
the kind of recording; for example,
Folder [
&
] might be used to store
private information, while Folder [
'
]
might be dedicated to store business
information.
1
Press the
FOLDER/INDEX
button
to select the desired folder.
• Newly recorded audio will
be saved as the last file in the
selected folder.
Press the
REC
(
s
) button to start
recording.
• The recording indicator light will
turn on.
• Turn the microphone in the
direction of the source to be
recorded.
Press the
STOP
(
4
) button to stop
recording.
Pause:
If the recorder is in recording mode
and the REC (
s
) button is pressed,
recording pauses. If the REC (
s
)
button is pressed again, recording
resumes.
"
• To ensure recording from the
beginning, start recording after you
see the display and the recording
indicator light turning on.
Recording mode
Current folder
File number
Microphone sensitivity
Elapsed recording time


