

VT2020 ura
VT2020 ura
MAC
™
OS
SOFTWARE INSTALLATION GUIDE
DIGITAL CAMERAS
1a.
Point & Shoot models: Close the lens barrier cover on the camera to turn the power off.
1b.
Advanced Rangefinder and SLR models: Turn the power off to the camera.
2. Connect one end of the USB cable to the camera (located under the side cover on the camera)
and the other end to the USB por t on your PC.
3. Connect the other end of the communication cable to the computer connection on the camera.
(located under the side cover on the camera.)
4. Connect the optional A/C adapter or make cer tain that the batteries are fresh.
5a.
Point & Shoot models: Open the lens barrier cover to turn on the camera.
5b.
Advanced Rangefinder and SLR models: Turn the power on.
6. Star t the Olympus Camedia software.
7. Click on the drive which has been added as a removable disk.
A series of thumbnails representing pictures stored on your Smar tMedia Card should appear on your
monitor. (You may double-click on any image to view an upsized version of the picture.)
8. To download:
a)
a single image
, click on the picture and directly drag it to the desired location.
b)
multiple images
, shift-click on all desired pictures. Drag the images to the hard disk of the
desired PC. Copying will star t.
To take full advantage of Olympus Camedia’s image editing and manipulation features, please refer to the
on-line manual installed with the software.
Once you have downloaded your images into a computer, your photographic creativity is limited only by your
imagination. You can reorder, retouch and enhance any saved image. Merge them with other graphic
elements to design never-before-seen imagery and panoramic scenes and even movies. Create greeting
cards, calendars, catalogs, postcards and newsletters with brilliant color. You can even take your images
into vir tual places and share them with friends and family through e-mail and Web sites. Produce slide
shows, visual presentations and screen savers. Because with an Olympus Digital Camera, you can do it all!
Please refer to Notes on the Windows side for recommendations regarding power supply and batter y usage.
Technical Support for Macintosh and Windows Users
If you need more help installing and using the software supplied with your Olympus Digital Camera,
please contact the appropriate number below:
Olympus America Inc. [USA] support:
First 30 days free, call 1.888.553.4448 (1.888.55-DIGITAL)
After 30 free days, call 1.631.844.5520
(30 days free suppor t begins from the date of your first call.)
E-mail: [email protected]
Olympus Software Updates and Technical Information can be obtained at:
http://www.olympus.com/digital
ADOBE [Photo Shop] support:
Adobe Software Updates and Technical Information can be obtained at:
http://www.adobe.com
http://www.adobe.com/suppor tser vice
• Olympus is the registered trademark of Olympus LTD. Tokyo.
• Adobe Photo Shop, Adobe Type Manager and Adobe Acrobat Reader are registered trademarks of Adobe Systems, Inc.
• Internet Explorer 4.0, Windows 95, Windows 98, Windows NT and Windows 2000 are registered trademarks of
Microsoft Corporation.
• Navigator and Communicator are trademarks of Netscape Communications.
• Apple and Macintosh are registered trademarks of Apple Computer, Inc.
• All trademarks and registered marks mentioned herein are recognized as the proper ty of their respective holders
and are hereby acknowledged.
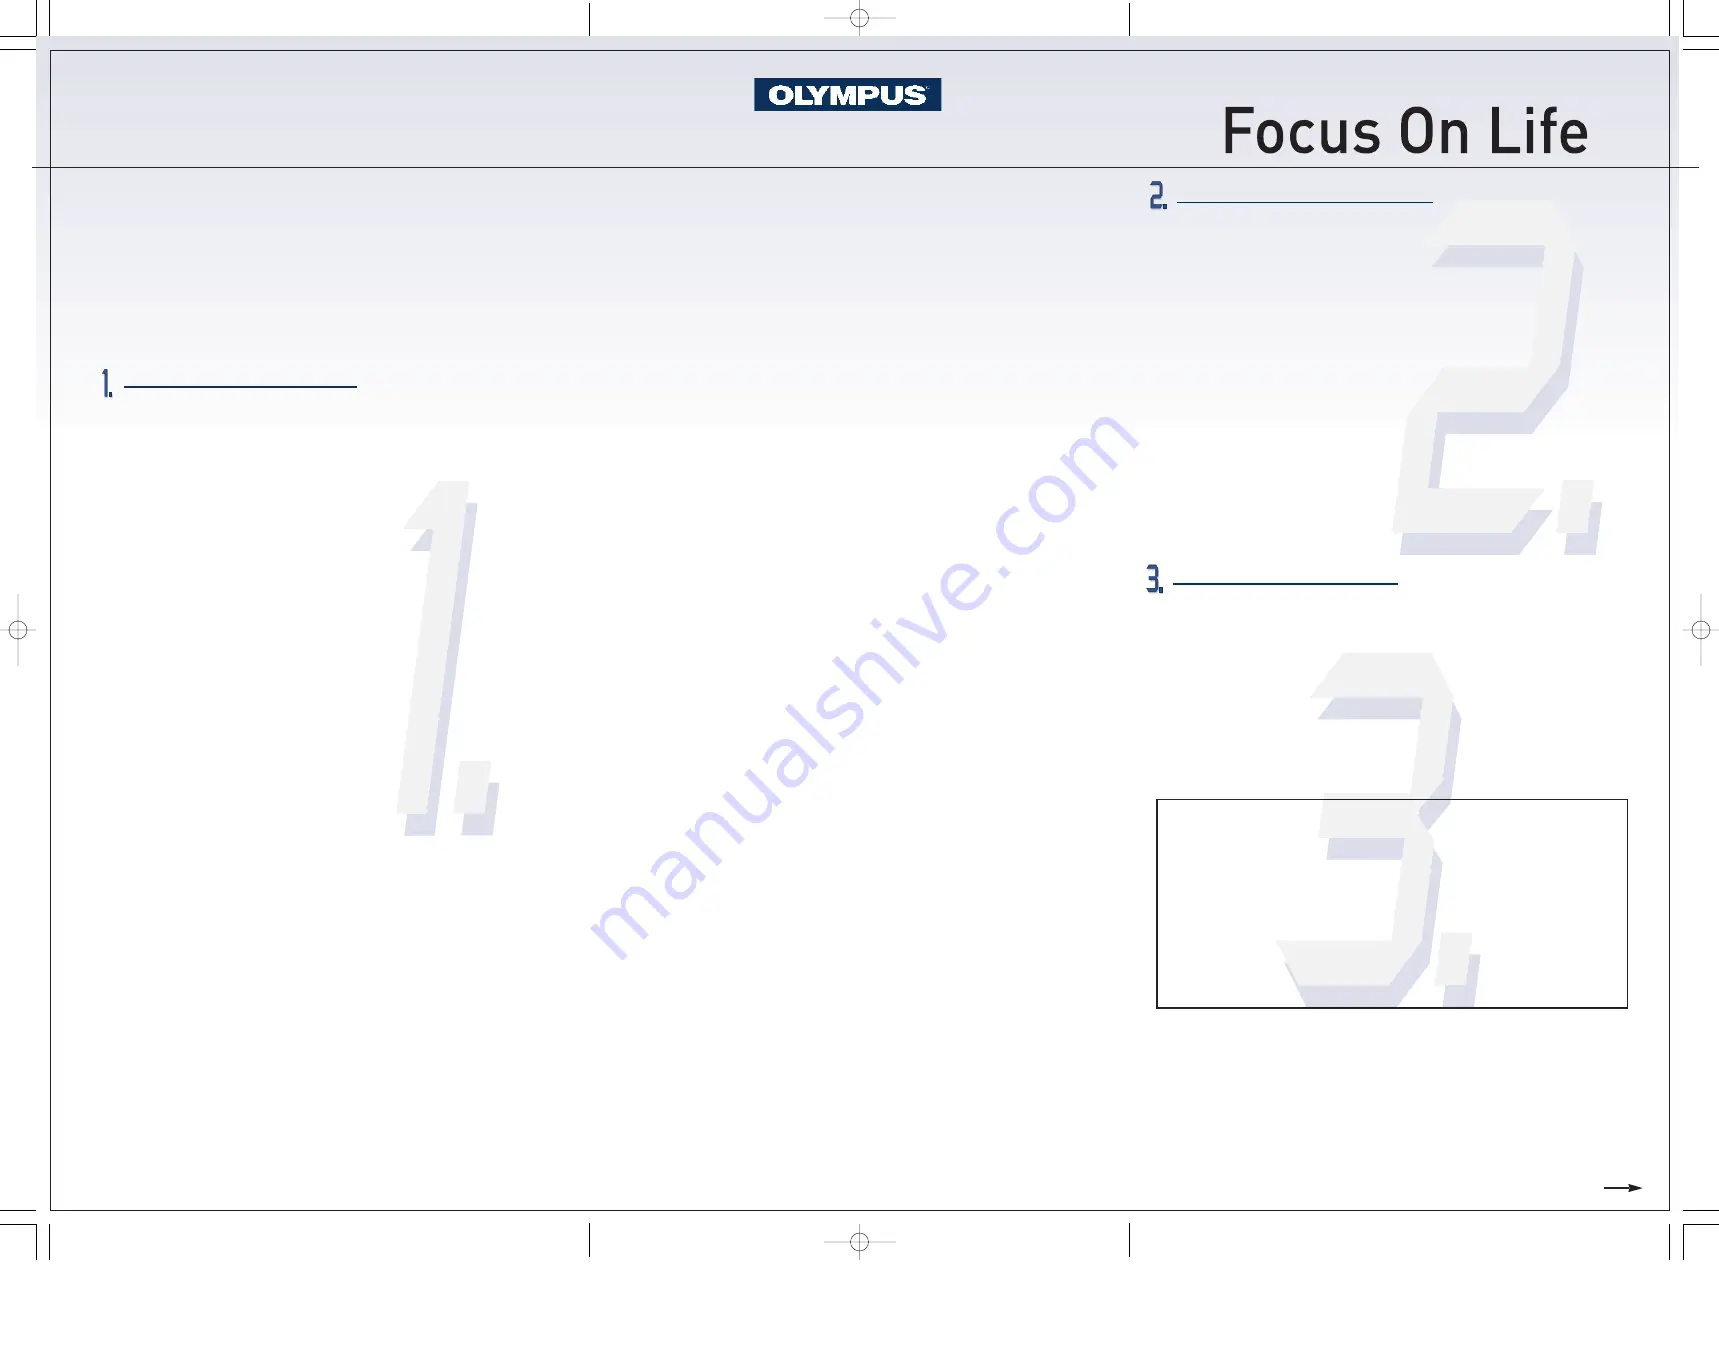
INSTALL THE SOFTWARE
Congratulations on your purchase of an Olympus Digital Camera, one of the
finest digital photography systems available today. Your complete satisfaction
is important to us.
When you connect your Olympus Digital Camera to a Macintosh computer, you
open the door to unlimited creativity. Your system comes bundled with a
complete suite of software to view, retouch and customize images, create
movies, incorporate pictures into slide shows and documents, and print them.
And it’s all as easy as…
DOWNLOAD YOUR IMAGES
ENJOY YOUR PICTURES
OVER FOR WINDOWS PC INSTRUCTIONS
If your Olympus Digital Camera package included two CDs, one will be the Olympus Utility 5.1 CD, the
other will contain the PhotoShop and associated software from Adobe Systems, Inc. These software
applications allow you to download, view, manipulate and print digital images, as well as create movie
files, from images taken with your Olympus Digital Camera.
First, make sure your computer meets these minimum system requirements:
• Power Macintosh
• Mac OS 8.6 ~ 9.0.4
• 100MB minimum available HD space
• 32MB RAM or greater (8MB or greater for application)
• USB por t (USB connection)
• Monitor with 256 or more colors
(800 x 600 pixels or more) (32,000 or more colors recommended)
• Available USB por t
* USB-compatible cameras can only be connected to a Macintosh which has a built –in USB port.
* A microphone is required for sound recording, and QuickTime 4.0 is required for movies.
INSTALLING THE SOFTWARE COMPONENTS OF THE
O
LYMPUS
U
TILITY 5.1 CD:
C
AMEDIA
M
ASTER 2.5 AND
Q
UICKTIME 4.0:
The Installer on the Olympus Utility 5.1 for Macintosh CD installs Olympus Camedia Master, an image
management, viewing and editing application; in a single installation process.
QuickTime, an application which allows you to create movie files from captured images, may be
installed separately.
It is recommended that you turn off any virus protection installed on your computer.
INSTALLING
C
AMEDIA
M
ASTER 2.5:
1. Star t your Macintosh.
2.
Turn off
any virus protection software.
3. Inser t the
Olympus Utility 5.1 CD
into your CD-ROM drive.
4. Locate the
Olympus Utility 5.1 icon
on your desktop and double-click to open.
5. Double-click on the
Installer
icon.
6. Follow the on-screen instructions and click
Continue
twice to begin the installation
process of Camedia 2.5.
7. Click
Install
to save the Olympus Camedia software to a folder entitled Olympus
Camedia, or you may type in a new folder name.
8. The Camedia 2.5 files will now be copied to the appropriate folder on your Mac.
You have now finished installing all required software from the Olympus Utility 5.1 CD. Click
Quit
to
leave the installer and
Restart
your Mac, or click
Continue
to install the QuickTime 4.0.
INSTALLING
Q
UICK
T
IME 4.0:
You do not need to install QuickTime 4.0 if your Mac already has the full installation of this application
and version installed. If your Mac has earlier an version of QuickTime, you must install version 4.0.
1. Double-click on the
QuickTime 4.0 folder
in the Olympus Utility 5.1 CD window.
2. Double-click on the
QuickTime Installer
icon.
3. The Welcome to QuickTime 4.0 installation window appears. Click
Continue
to begin the
installation process.
4. Click
Agree
to accept the terms of the licensing agreement, or
Disagree
to terminate the
installation.
Printed in Japan
5. For proper operation, the full installation of QuickTime 4.0 is required. Confirm the installation
setup type as
Full
, and click
Continue
.
6. Select the appropriate Internet connection/modem speed to install the QuickTime version which
will provide optimal viewing with the fewest possible delays. Make your selection and click
Continue
.
7. Follow the on-screen instructions to complete the information requested in the registration window.
If you have a QuickTime Pro registration number, enter it now. If not, leave the window empty and
click
Continue
.
8. QuickTime 4.0 files will now be copied to the appropriate folders on your Mac. When complete, you
may restar t your computer.
I
NSTALLING
T
HE
U
SB
D
RIVER:
• Users running Mac OS 9.0 or higher; please skip this par t of the installation and continue with Adobe
PhotoShop installation. The USB driver is preinstalled with you operating system.
• Users running Mac OS 8.6 are required to install USB Mass Storage Suppor t 1.35. For more information
please visit Apple Computer web site at http://asu.info.apple.com/ swupdates.nsf/ar tnum/n11418.
All components of the Olympus Utility 5.1 CD software should now be successfully installed.
INSTALLING SOFTWARE FROM THE
A
DOBE
®
P
HOTO
S
HOP™ LE CD:
In Adobe PhotoShop for Macintosh, the Installer determines which version processor you are using and
installs the appropriate version of Adobe PhotoShop. It is recommended you turn off any virus protection
installed on the computer.
1. Star t your Macintosh.
2.
Turn off
any virus protection software.
3. Inser t the
Adobe PhotoShop
CD into your CD ROM drive.
4. Locate the
PhotoShop LE
icon on your desktop and double click to open.
5. Open Adobe PhotoShop 5.0 LE folder and double click PhotoShop install icon and click continue.
6. Select countr y and click
OK
.
7. Read license agreement and click
Accept
.
8. View Read Me file and click
Continue
.
9. Choose the installation setup that you prefer from the following options:
Easy Install:
The software will determine what your system needs.
Custom Install:
You determine the software options you want to install.
10. Click the
Install
key to continue.
11. Fill out the appropriate registration information and enter serial number provided with CD.
Click
Next
when done.
12. Verify information and click
Install Now
, then click
Continue
.
13. The installation process is completed automatically. Follow any on-screen instructions.
The electronic registration process will automatically begin. If you do not register now or complete
the process within 14 days, the software will remind you.
14. After the installation is complete,
Restart
your computer.
INSTALLING
A
DOBE
A
CROBAT
R
EADER™:
Some of your user manuals on the CD may be in .pdf format. You’ll need to install Adobe Acrobat Reader to
view or print them.
1. With the
PhotoShop
CD still in the CD-ROM Drive, open the CD and locate the
Adobe Acrobat
Reader installer
icon inside the Acrobat Reader folder.
2. Double-click on the
Reader installer
icon.
3. Follow the on-screen instructions to complete the installation.
4.
Restart
your computer when Acrobat Reader installation is complete.
You have now finished installing all required software from the Adobe PhotoShop CD.
VT2020
00.8.2
2:27
PM
y [ W 1


