Teardown, Cleaning, and Reassembly of the Miscellaneous Parts of the Olympus BH-2 Microscope Frames
Revision 1
Page 22 of 45
Field-Diaphragm Assembly
There were two versions of the field-diaphragm
assembly
used
on
the
BHS/BHSU/BHT/BHTU
microscopes. The older style field-diaphragm assembly
is shown in
, and the newer style is shown in
Figure 74
–
Field-diaphragm assembly (old style)
Figure 75
–
Field-diaphragm assembly (new style)
Remove the Field-Diaphragm Assembly
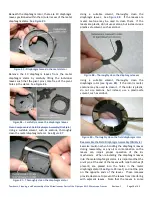
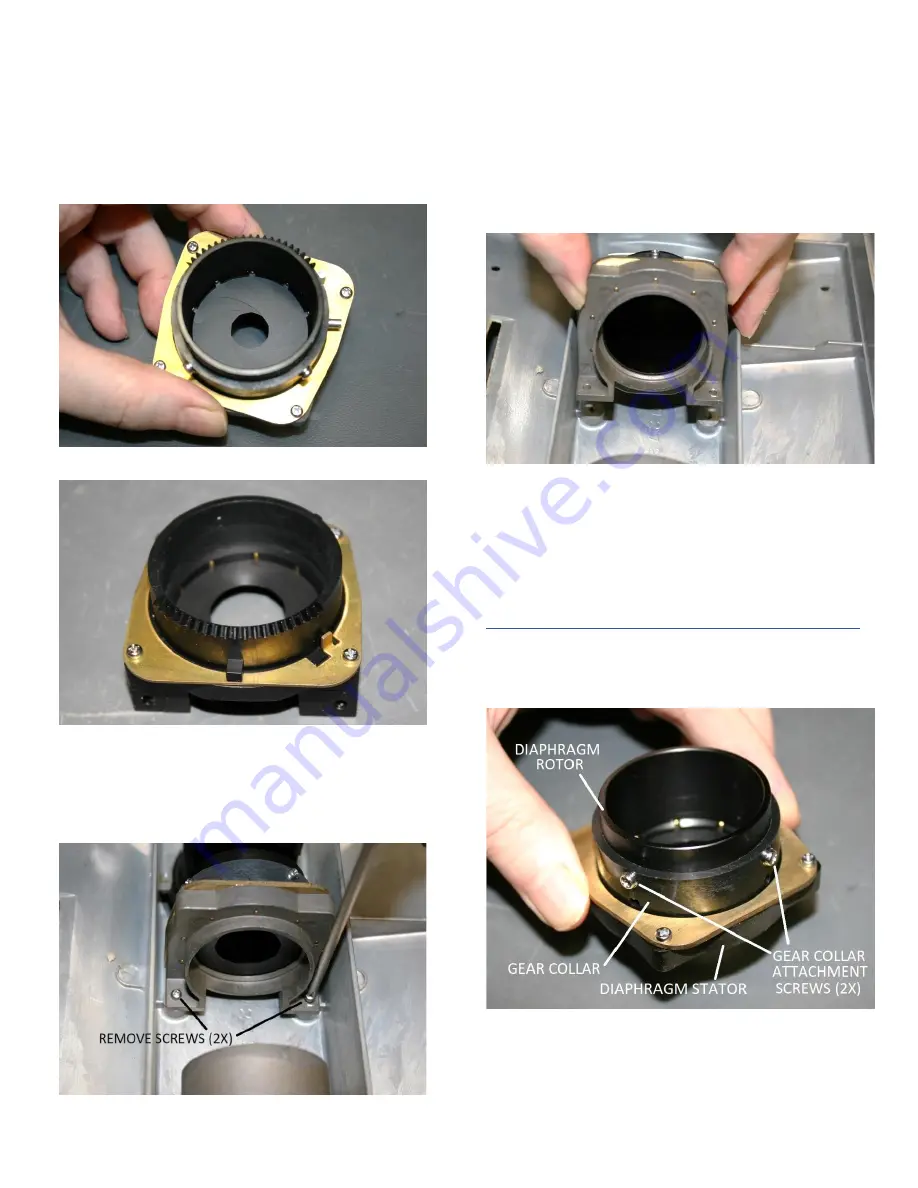
Using a suitable JIS screwdriver, loosen and remove the
two m2.6x6 screws securing the field-diaphragm
assembly to the base casting (see
Figure 76
–
Remove screws securing the field diaphragm
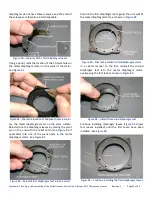
Remove the (now loose) field-diaphragm assembly from
the base casting (see
), being very careful so as
to not damage the Light Exit Assembly with the field-
diaphragm assembly (the two assemblies are very close
in proximity, and the reflective coating of the primary-
surface mirror of the Light Exit Assembly is extremely
fragile).
Figure 77
–
Remove the field diaphragm assembly
Servicing the Field-Diaphragm Assembly (Old Style)
This section applies only to the older style field-
diaphragm assembly (see
). The newer style
filed-diaphragm assembly is covered later in this
document.
Disassemble the Field-Diaphragm Assembly (Old Style)
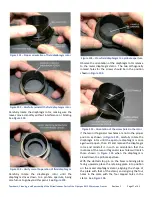
The various components of the older style field
diaphragm assembly are shown in
the stop pin, which is shown in
Figure 78
–
Components of field diaphragm (old style)
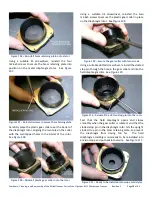
Using a suitable slotted screwdriver, loosen and remove
the slotted diaphragm stop pin from the diaphragm
rotor. See


