Troubleshooting
4-13
General Considerations for Clearing Jams
Bear in mind the following considerations when attempting jam removal:
• If paper jams occur frequently, try using a different type of paper,
replace the paper with paper from another ream, flip the paper stack
over, or rotate the paper stack 180 degrees. The printer may have
problems if paper jams recur after the paper was replaced.
• Whether or not the jammed pages are reproduced normally after
printing is resumed depends on the location of the paper jam.
Utilizing Online Help Messages
Online help messages are available in the printer’s message display to
provide simple instructions for clearing jams. Press (
) when the paper
jam message has appeared. Then a help message will appear to facilitate
jam clearing in the location.
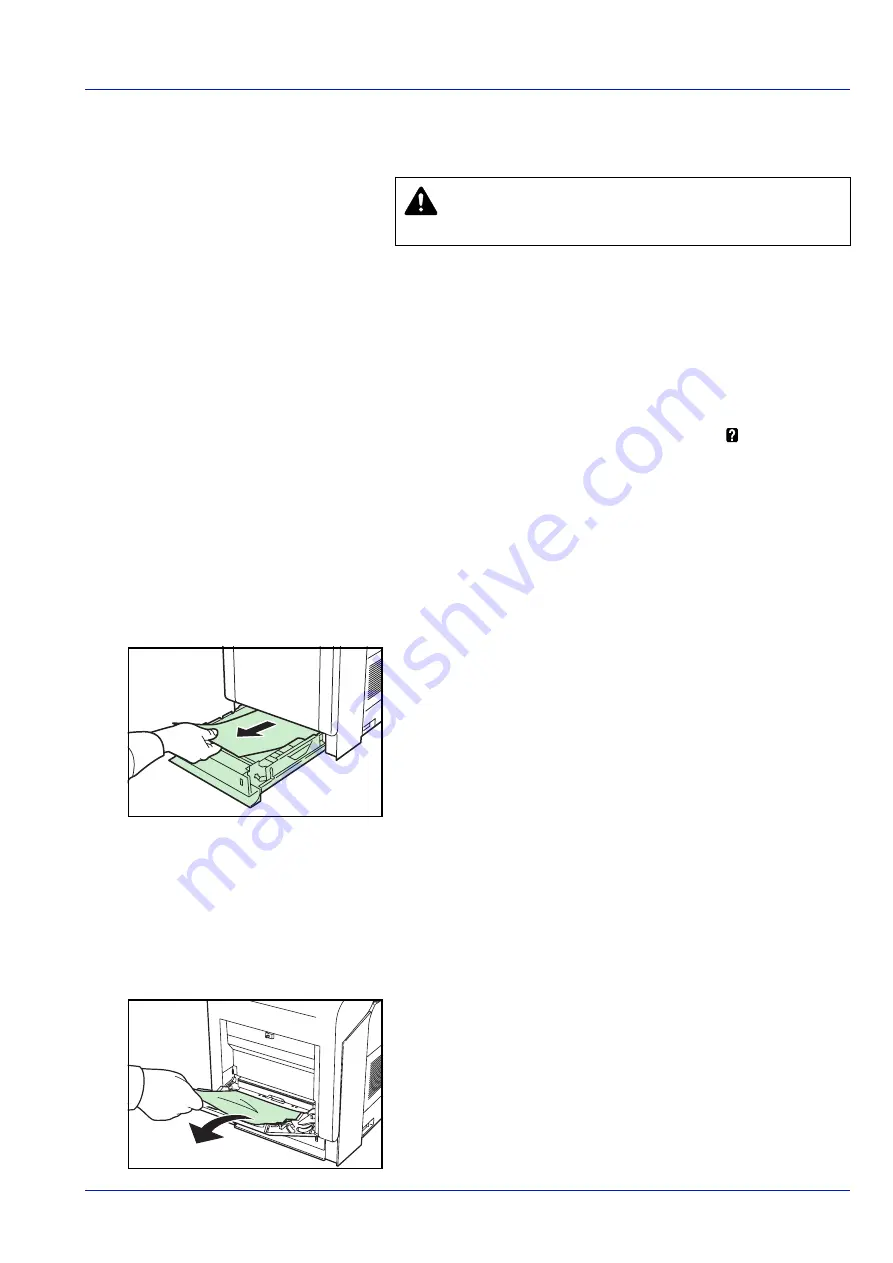
Paper jam at Cassette
Paper is jammed at paper cassette.
1
First, open the printer's front cover and check for paper jams in the
paper transfer unit.
For more information, refer to
Paper Jam in Printer on page 4-14
.
2
Pull out the paper cassette and remove the jammed paper.
Paper Jam at MP Tray
Paper is jammed at the MP tray. Remove the jammed paper using the
procedure given below.
1
First, open the printer's front cover and check for paper jams in the
paper transfer unit.
For more information, refer to
Paper Jam in Printer on page 4-14
.
2
Remove the jammed paper.
CAUTION
When pulling the paper, pull it gently so as not to
tear it. Torn pieces of paper are difficult to remove and may
be easily overlooked, deterring the jam recovery.
Summary of Contents for d-Color P221
Page 1: ...d Color P221 d Color P221 Special Operation Guide d Color P226 Code 548207en...
Page 4: ...iv...
Page 56: ...3 10 Maintenance...
Page 72: ...4 16 Troubleshooting...
Page 76: ...5 2 Specifications...


