background image

BOOK MARK

Press BOOK MARK button during playback display 
a message on screen and remind you that a bookmark 
has been inserted at present position a thumbnail 
will be added into the bookmark list.
Press BOOKMARK button for a few seconds to dis-
play the bookmark list.
Use UP/DOWN/LEFT/RIGHT to select the thumbnail 
from the list and press     

Note: the bookmarks will vanish as long as you open 
the tray.

to start playing the 

selected bookmarked portion of the disc.

This function can also be controlled in the INTRO 
interface

16

ADVANCED PLAYBACK

VOLUME and MUTE

Press " + "  at  the  right  of   VOLUME  to  increase 
volume ,  "  -  " to decrease to volume .  Press the 
MUTE button to temporarily cancel the audio signal 
at any time a screen will display Mute, 

Pressing 

again will resume normal audio.

NTSC/PAL (N/P)

Pressing this button will switch between NTSC, PAL 
and Auto

.

QUALITY

The  record  quality  setting determines  the  quality 
of your recordings as well as the maximum amount 
of video you can record on a disc. The higher the 
quality, the less video recording time .
Press this button and select the record quality, it is 
including: HQ, SP, LP, EP, SLP, SEP.

SOURCE

The  video  input  source  that  will  be  used  for the 
recording:  Tuner,  Front  AV,  Rear  AV, Rear SV, DV.

INTRO

Move the cursor to select an item.

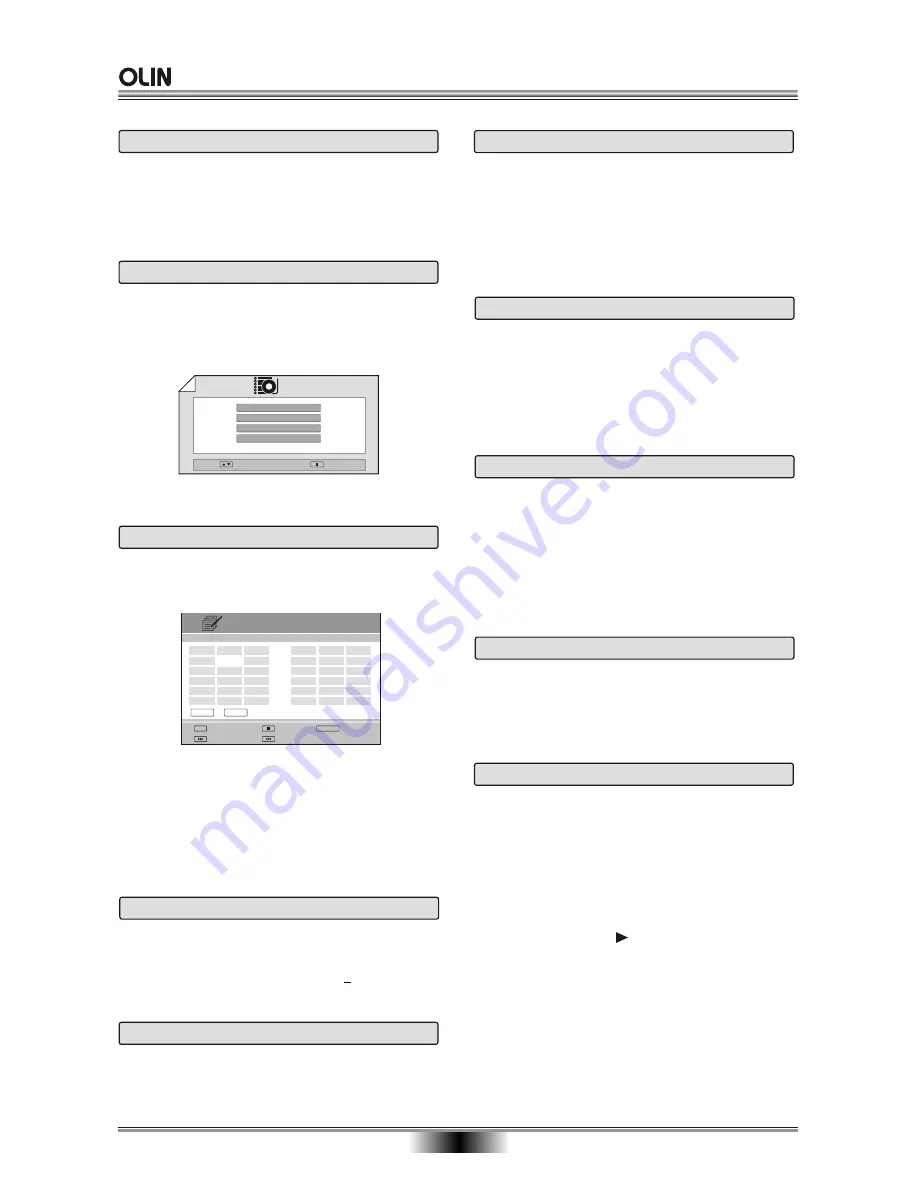
PROGRAM

Press  this  button  during  playback,  the  program 
window will display on the screen: 

Title Digest

Chapter Digest

Title Interval

Chapter Interval

Exit

Select

Digest

use UP/DOWN/LEFT/RIGHT button to select the box 
and  input  the available title and chapter by number 
buttons. after that, the unit will play with program mode,
If you want to cancel this function, press STOP button.
Note: If power off or tray out, the program list will be 
erased. 

SUBTITLE

Subtitles are useful for viewing movies in a  foreign 
language or for hearing-impaired viewers.
This function can select up to 32 languages displayed 
on screen.

Prev page

Input digits

0-9

ENTER

OK

Clear

Next page

List

Title

Chapter

1

2

3

4

5

-

List

Title

Chapter

6

7

8

9

10

-

Play

Exit

Program

-

-

-

-

-

-

-

-

-

-

-

-

-

-

-

-

-

-

TT:       CH:  

This provides a thumbnail-like summary of disc titles 
(if there is more than 1 title recorded) or chapter in 
both Digest and Interval modes.

Press this button, the screen display: 

MENU

If available on the DVD, pressing this button to 
display the  Root Menu  selects items according to 
your preference. This menu is the first of possibly 
many layers, and is therefore known as the Root 
Menu.

DVD

Pressing this button will play the disc if the disc being 
used supports this function. 
Note: This function is invalid to DVD+R/RW disc.  

Summary of Contents for DVR-140

Page 1: ......

Page 2: ...lt in TV tuner or external video source like a video camera When you are ready to watch your recordings or commercial DVD movies you can enjoy them in the highest quality with your new DVD Recorder TA...

Page 3: ...insulated dangerous voltage within the product s en closure that may be of sufficient magnitude to constitute a risk of electric shock to persons The exclamation point within an equilateral triangle i...

Page 4: ...fully compatible with this product and may cause artifacts to be displayed in the picture In case of 525 or 625 progressive scan picture problems it is recommended that the user switch the connection...

Page 5: ...tion and to ensure correct operation of the product These protect it from overheating These openings must not be blocked or covered The openings should never be blocked by placing the product on a bed...

Page 6: ...following situations 04 an vehicle ELECTRICAL DISTURBANCE suffer from condensation under the connecting will ensure...

Page 7: ...i 4x Infodisc 2 4x Prodisc 2 4x CMC Philips 2 4x Ritek 4x Nanya 2 4x Optodisc Sentinel 2 4x Daxon 4x CMC 4x Philips 4x MBI 2 4x infodisc 4x Prodsic 4x Nanya 4x OPTO 4x Philips 2 4x Meida MID Write Spe...

Page 8: ...NANYA DAXON AML OPTO MPO GIGA MUST 4X PITEK 4X MAXELL 4X INFODISC 4X SONY 4X LEAD DATA4X RI HENG 4X Aotian Clone PDK T Bird Pan 4x 2X 4X MCC 001 MCC 2X DVD R Meida MID Write Speed RITEKG03 MCC 00RG20...

Page 9: ...To select a higher program number Records the current source selected Temporarily pauses DVD playback or recording Stops playback recording 10 LE Displays information related to the unit such as Time...

Page 10: ...A B RPT SLOW N P OSD BOOK MARK DVD SOURCE CHAP MARK EDIT PAUSE STEP STOP MENU CH CH REC TIMER QUALITY DISC DVR 140 3 2 4 5 6 9 10 12 7 8 1 L R AUDIO INPUT R A V R SV Audio input connection for externa...

Page 11: ...ideo cable connect the DVD player to the TV with an S video cable Note By this connection you must set the unit standby when watching TV only A B Traditional RF Connection RF Connection When Using A S...

Page 12: ...equipped with a digital audio input and TV To connect DV IEEE 1394 devices that you will be recording from Note the connect of AV2 is the same as AV1 To OPTICAL type digital audio input Connect eithe...

Page 13: ...AUDIO OUT Y CB PB CR PR COAXIAL OPTICAL VIDEO OUT DIGITAL AUDIO OUT AUDIO IN L R Connecting to an amplifier equipped with 5 1ch audio input and TV BASIC CONNECTION 11 To 5 1ch audio inputs To video in...

Page 14: ...EMOTE CONTROL REMOTE CONTROL 12 Distance About 7m 23 feet from the front of the remote sensor o Angle About 30 in each direction of the front of the remote sensor About 7m Function Function 1 2 4 6 7...

Page 15: ...n for next page CH List 6 7 OK Choose PR CH Name Skip OK Cancel Back Skip 01 CH3 Off 02 S2 Off ENTER 2 buttons to input date and time press to confirm and go on next setting Use direction button to se...

Page 16: ...TUP of SYSTEM SETUP To prevent damage do not restart the device within 5 seconds of turning off 1 Press PAUSE STEP first time to pause playback still mode The sound will be muted during still mode 2 P...

Page 17: ...zoomed in Press the ZOOM button repeatedly to return to normal viewing this button AUDIO The toggles the display of the Audio Track Menu An audio field with the given audio type will be displayed on t...

Page 18: ...used for the recording Tuner Front AV Rear AV Rear SV DV INTRO Move the cursor to select an item PROGRAM Press this button during playback the program window will display on the screen Title Digest C...

Page 19: ...show will start If you desire to display an image and keep it on the screen To view the next or previous picture press NEXT or PREV button To resume the slide show press the button IMPORTANT NOTE The...

Page 20: ...s never been used the format window will be displayed on the screen Select OK and press button If the disc has been used please consult page 19 Therefore any disc space already used by a recording can...

Page 21: ...etails of the recording including the Date and Time the recording was made along with the Length and Recording mode This will be on the upper left side and to the left of the thumbnail One Time Record...

Page 22: ...the time you set for scheduled comes the unit will automatically record If the unit is in STANDBY OFF and the scheduled time for recording comes the unit will activate and start to record a Push to ad...

Page 23: ...y with DVD RW disc Use UP DOWN button to choose Format Push A dialogue confirmation box appears Select OK to confirm erase and CANCEL to abort Note Everything recorded on disc will be lost after erasi...

Page 24: ...er mark has the words hidden printed on the thumbnail this chapter mark cannot be played from the title screen Index Press the REC button to set an index picture for this title You can manually select...

Page 25: ...10 min and 15 min and Off Select Off to close auto adding chapter mark function DVR Choose OK SETUP Exit Recording Audio Video Disc General TV Recording Quality Chapter Marker Timer Recording Overwrit...

Page 26: ...er DVR Choose OK SETUP Exit Recording Disc General TV Audio Video Large Off Small Downmix Front Speaker Center Speaker Rear Speaker Subwoofer SPDIF Output Center Speaker Sets center speakers volu Larg...

Page 27: ...to desired setting then press to confirm and return to the Setup Page DVR Choose OK SETUP Exit Recording Disc General TV Audio Video Normal PS Normal LB Wide Post DRC HDCD Quality TV Display Scan Mod...

Page 28: ...ntal control function works in conjunction with the different censorship classes assigned to DVDs These classes help to control the types of DVDs that the family watches There are up to 8 censorship c...

Page 29: ...ETUP Exit English French Spanish Chinese Japanese Korean Recording Audio Video Disc TV General OSD Language Disc Menu Lang Audio Subtitle TV Type Clock Setting 4 2 Disc Menu Language Disc Menu Sets th...

Page 30: ...Screen Save User Default Auto go to DV DV If set this option On when a DV is connected the recorder will playback the content in DV auto matically DVR Choose OK SETUP Exit Recording Audio Video Disc T...

Page 31: ...ny stations have been found 3 At the end of the Search press OK Twice Using the CH and CH buttons you can now select any of the stored channels Most of the stored stations will be in the correct order...

Page 32: ...t down the unit wait ten seconds and restart the unit Make sure the connection between the player and other devices are secure Recording will not start The Video input source may be protected with Mac...

Page 33: ...l lock level SETTING THE TV SCREEN SIZE Multi aspect ratio suit to different TV screen size Functions supported by this device There are many functions available on DVD discs and the functions vary pe...

Page 34: ...o Output Input 0 2 1 0 Other Dimensions W x D x H 375 x 280 x 48 mm height includes feet Weight 2 7 Kg Receiving System Input Impedance Frequency Cover Range Gain PAL BG 75 45MHz 900MHz 1 5dB Type RF...

Page 35: ...8385 Sundanese 8386 Swedish 7165 Irish 7168 ScotsGaelic 7176 Galician 7178 Guarani 7185 Gujarati 7265 Hausa 7273 Hindi 7282 Croatian 7285 Hungarian 7289 Armenian 7365 Interlingua 7378 Indonesian 7383...

Reviews: