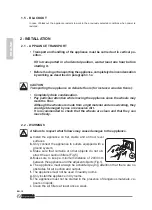
AQUARIA SLIM
ENGLISH
EN - 20
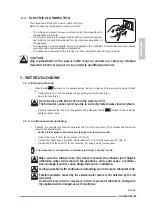
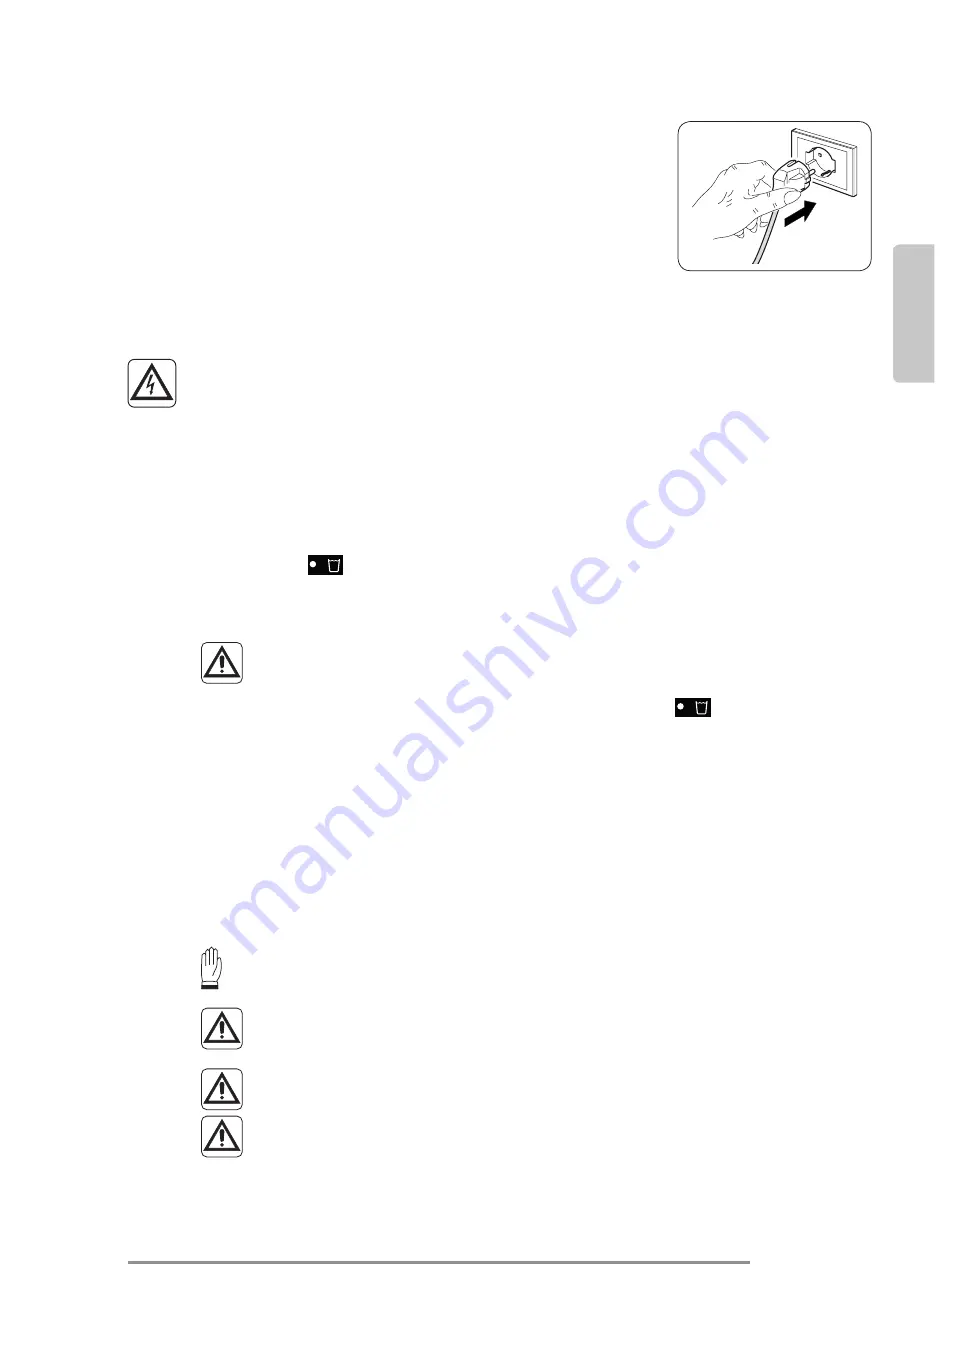
2.3 - ELECTRICAL CONNECTION
The appliance is fitted with a power cable with plug.
Before connecting the appliance, make sure that:
•
The voltage and power frequency values match those specified on
the appliance plate data.
• The power supply line is equipped with an efficient ground connection
and that it is correctly dimensioned for the maximum absorption of
the appliance.
• The appliance’s power network must be equipped with a suitable omnipolar disconnection device
compliant with national installation regulations.
• The appliance is powered solely through a socket compatible with the plug provided.
CAUTION
Any replacement of the power cable must be carried out solely by Olimpia
Splendid technical support or by similarly qualified personnel.
3 - WATER UNLOADING
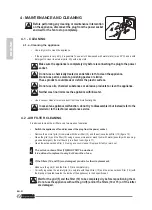
3.1.a - Emptying the tank
• When the led
switches on, the appliance stops, the buzzer rings and it is necessary to empty the tank
(7).
• Remove the tank (7) from the appliance body working with both hands (Fig.7).
• Empty the tank (Fig. 8).
Do not remove the float (7b) from the water tank (7).
The full water sensor won’t be able to correctly detect water level anymore.
• Correctly reposition the tank (7) in the appliance body, otherwise the led
remains turned on and the
appliance doesn’t work.
3.1.b - Continuous water unloading
• If desired, it is possible to connect the supplied hose (14) to the connection (13) to continuously drain water
collected by dehumidification.
• Switch off the appliance and disconnect the plug from the power socket.
• Remove the cover (T) from the connection (13) (Fig. 9).
• Connect the rubber hose (14) with an internal diameter of 11mm to the connection (13) (Fig. 9).
• It is advised to fix the hose (14) to the connection (13) using a clamp (not supplied).
It is necessary to unload water continuously during “Laundry” mode.
Make sure the rubber hose (14) doesn’t exceed the exhaust joint height,
otherwise water will remain in the appliance and could cause a malfunc-
tion, damage it and/or cause dangerous work conditions.
During operation with continuous unloading, do not remove the water tank.
Possible problems caused by the external water drain are not detected by the full
tank alarm.
An efficient supervision is necessary in order to prevent malfunctions, damages to
the appliance and/or dangerous work conditions.
Summary of Contents for AQUARIA 18
Page 2: ......
Page 6: ...min 30cm min 20cm min 20cm min 70cm 1 5 3 2 4 min 2m min 2m 6 11...
Page 7: ...Click 9 10 7 7 7 7b 8 T 14 5 13 11 10 10 5 10 5 15...
Page 125: ...AQUARIA SLIM GR 2 0 0 1 0 2 0 2 1 Service SERVICE GR 1...
Page 126: ...GR 3...
Page 127: ...AQUARIA SLIM GR 4 0 3 1 OL PIA SPLENDID 2 3 4 5 6 7 8 9...
Page 128: ...GR 5 10 11 OLIMPIA SPLENDID 12 13 14 15 16 17 18 19 11 2 20 21 22...
Page 129: ...AQUARIA SLIM GR 6 A 23 24 25 26 27 28 29 3 30 3 31 5 32 33 20 30 1 34 4 35 36 37 38 39...
Page 130: ...GR 7 40 41 41a 42 43 44 45 2 dvd player 6 46 47 48 49 50 51 52 5 C 35 C 53...
Page 131: ...AQUARIA SLIM GR 8 54 55 56 AT 3 15A 0 4 X OLIMPIA SPLENDID 0 5...
Page 132: ...GR 9 0 6 R290 1 R290 A3 2 3 4m2 4 R290 5 6 7 8 R290 9 10 11 12 13 14 15 16...
Page 133: ...AQUARIA SLIM GR 10 17 18 19 20 21 22 a b c d e CO2 f...
Page 134: ...GR 11 g h I...
Page 135: ...AQUARIA SLIM GR 12 23 a b 24 25 26 27...
Page 136: ...GR 13 25 OFN 28 OFN OFN OFN OFN 29 OFN...
Page 137: ...AQUARIA SLIM GR 14 30 a b c d e f g h 80 i j k 31...
Page 138: ...GR 15 32...
Page 142: ...GR 19 1 5 BLACKOUT blackout 2 2 1 3 1 a SS 2 2 a b c 5 d 20 30 cm 1 e f g h i...
Page 144: ...GR 21 4 4 1 4 1 a 50 C 4 2 5 10 15 10 5 10 11 15 15 6 12 10 15 5 10 5 10 15 5 10 5 10 15...
Page 146: ...GR 23 7 led 1 CL 5 C 41 F CH 35 C 95 F LO 20 HI 95 led POWER...
Page 147: ......
Page 148: ...261823B...

