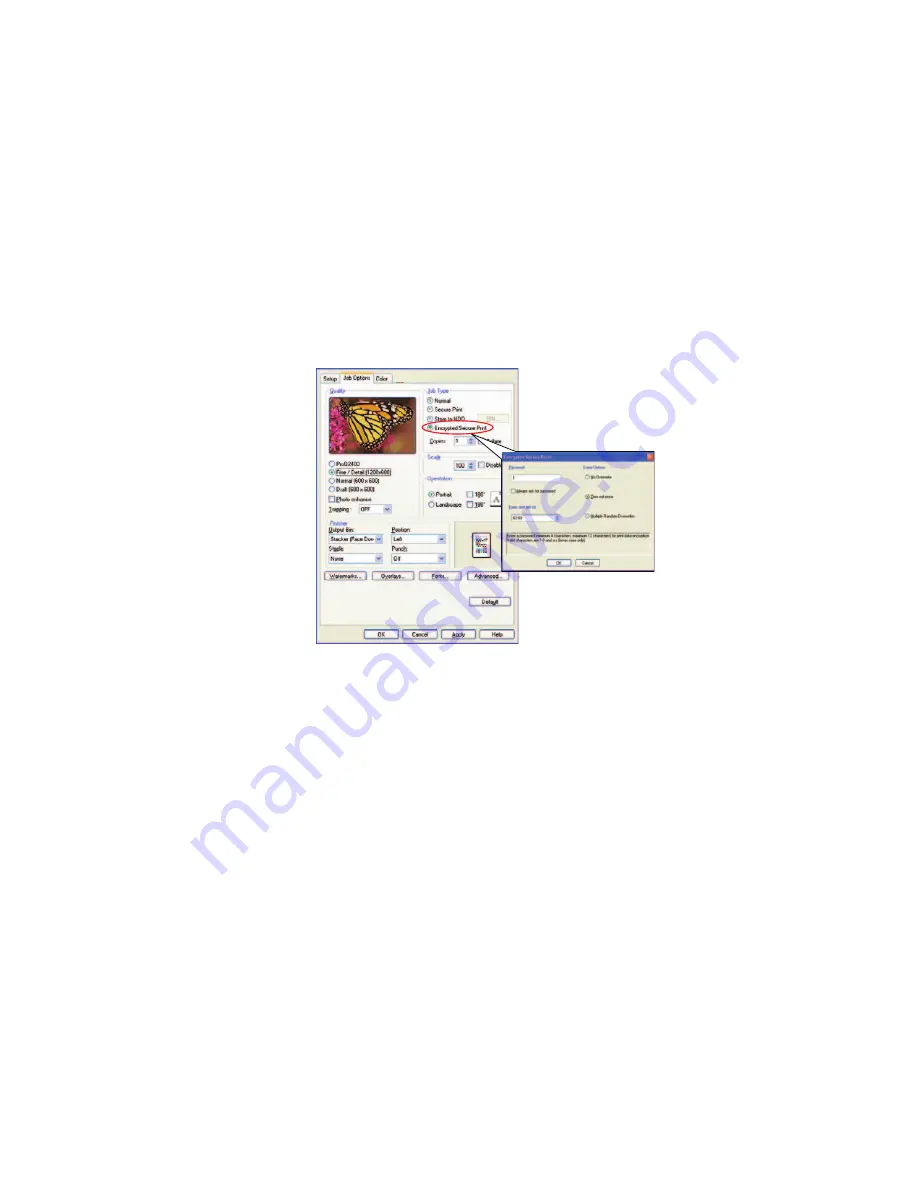
Encrypted secure printing > 100
S
ENDING
THE
DOCUMENT
1.
If using the PCL driver, in the
Setup tab choose any saved
driver settings you wish to use.
2.
In the driver’s
Job Options tab, click Encrypted Secure
Print.
The
Encrypted Secure Print window opens.
3.
In the
Encrypted Secure Print window, enter a
Password for this print job:
The password must be between 4 and 12 alpha-numeric
characters. Numbers 1 to 9 and letters a to z are all valid.
4.
If you would like a prompt at the machine for the job
password, click the
Always ask for password checkbox
below the password entry.
5.
Select the required erase option for your print job:
>
No overwrite: simply erases a print job without over
writing the job with data. This erase method poses a risk
as the print job can be reconstructed.
>
Zero out once: erases a print job after over writing it
with data once. This erase method is safer than the “No
overwrite” option. However it still poses a risk of the print
job being reconstructed.


