8
Macintosh
®
Installation
OS 9.1 to 9.2.x
1 Install the Driver
1. Turn the MFP ON, then turn the computer ON.
2. Insert the printer driver CD (CD1) into your
CD-ROM drive.
3. Double-click the
OKI
CD
icon that appears on
the desktop.
4. Double-click the
MAC
icon.
5. Double-click Installer for
MAC OS 9.
6. Double-click
Mac Installer ES3640e MFP
.
7. Click
Continue
.
8. If prompted, select your language.
9. The License Agreement appears. Click
Accept
to accept the terms.
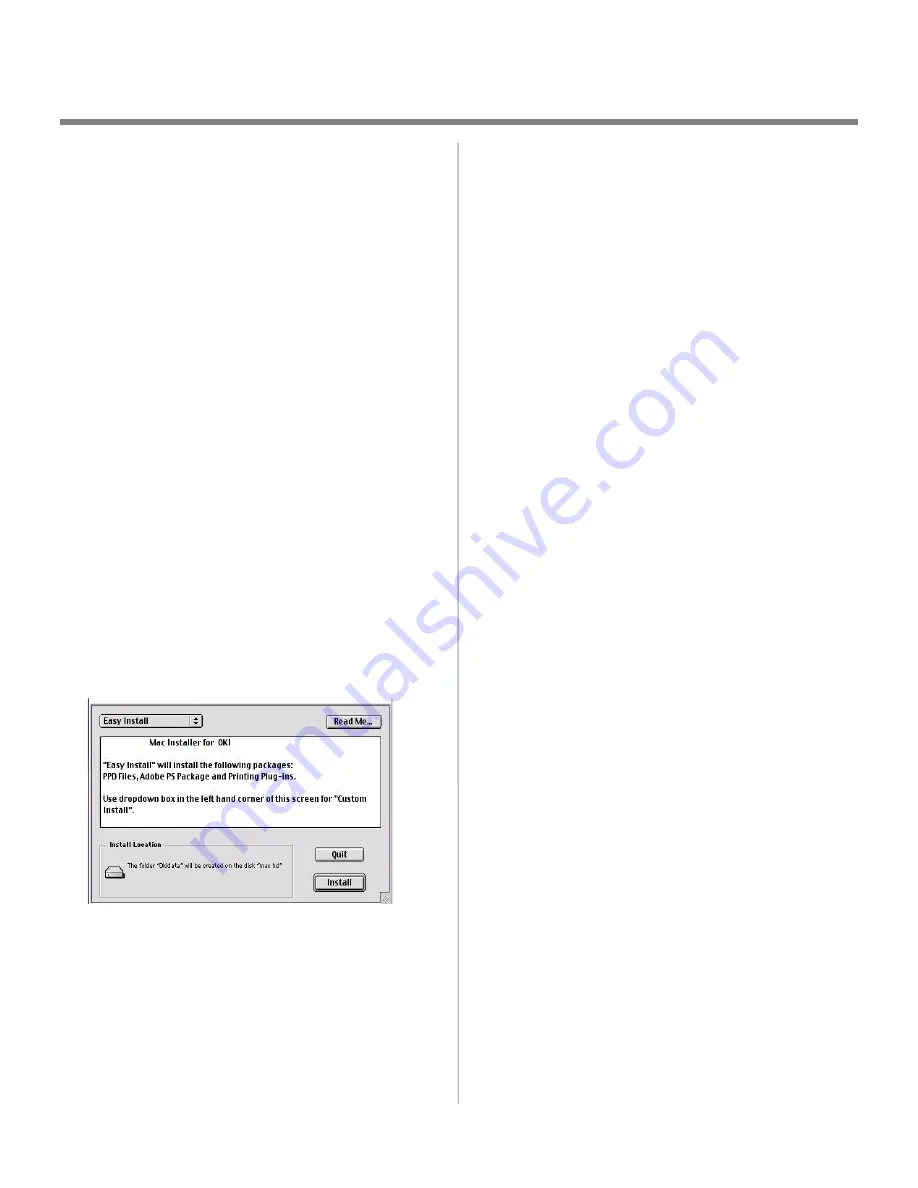
10. Click
Easy Install
to install PPD Files, Adobe
PS Package, and Printing Plug-ins.
Click
Custom Install
to install your choice of
Adobe PS Package, PPD Files, Adobe PS
Options Plug-ins, SDM for MAC, Swatch Utility,
Admin Setup Utility, Printing Plug-ins.
11. Click
Continue
to install additional utilities.
12. When the installation is complete, click
Quit
.
2 Create the Desktop Printer for a
Network
1. Activate
Chooser
from the Apple menu.
2. Select the
LaserWriter8
icon and highlight the
printer name (print server ID#).
3. Click
Create
.
4. Select OKI ES3640e MFP PPD. Click
Select
.
5. Close
Chooser
.
3 Create the Desktop Printer for USB
1. Navigate to
Applications Mac OS 9
→
Utilities
.
2. Double-click the
Desktop Printer Utility
icon.
3. In the drop-down box, select
LaserWriter 8
.
4. Highlight
Printer (USB)
under Create
Desktop. Click
OK
.
5. Under USB Printer Selection, click
Change
.
6. Highlight your MFP model. Click
OK
.
7. Click
Create
. The MFP icon appears on the
desktop.
8. Click
AutoSetup
.


