


3
Windows TCP/IP
Network Installation (cont’d)
1 Assign an IP address to the MFP
If you are not using DHCP, you need to obtain an IP
Address from your network Administrator and
enter it using the front panel:
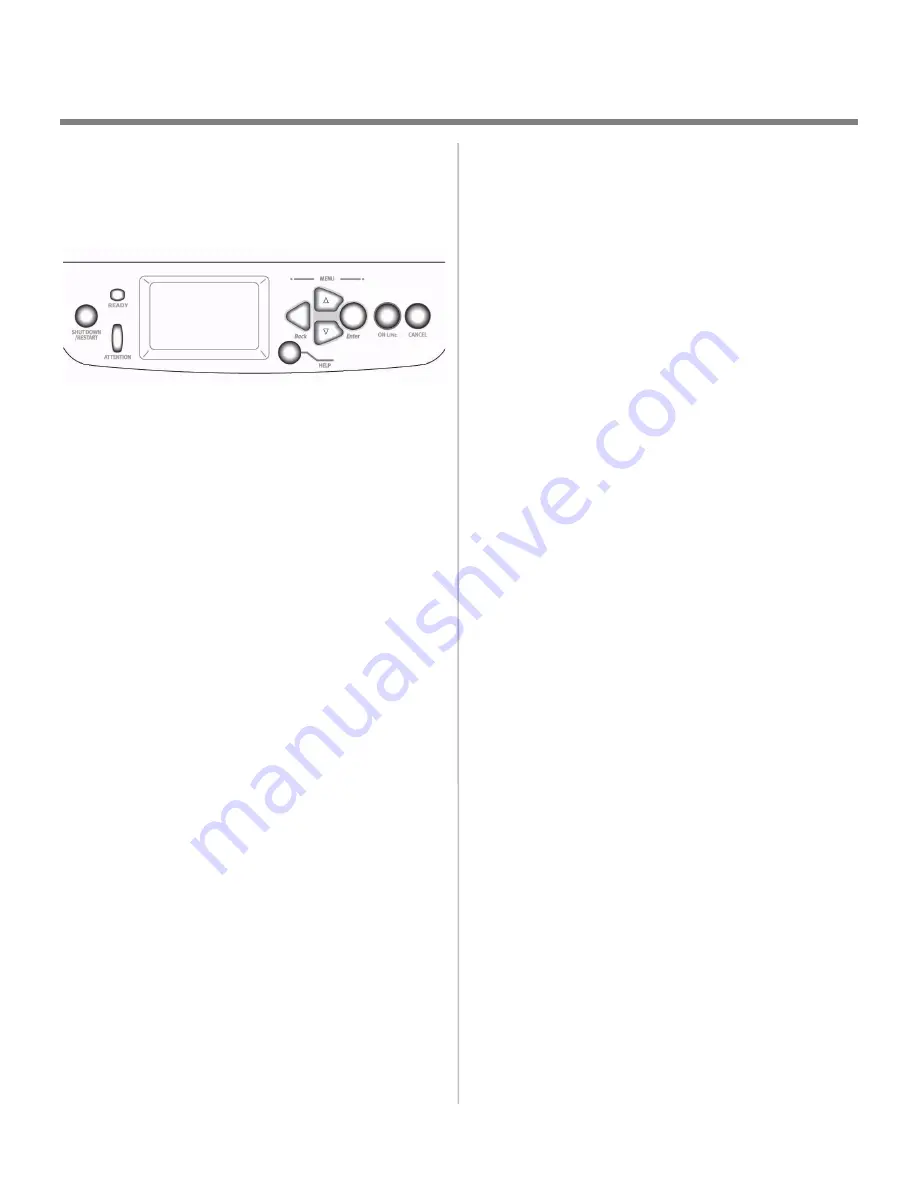
1. Confirm that the printer displays [
Ready to
].
2. Press
∇
key until [
Admin Setup
] appears. Press
ENTER
.
3.
Continue to Setup
?
displays. Press
ENTER
to
select
Yes
. The printer goes offline and
Running
Setup
displays. This will take about a minute.
4. The Setup Menu displays, press
∇
to select
Network Setup
. Press
ENTER
.
5. Press
∇
to select
Protocol Setup
. Press
ENTER
.
6. Press
∇
to select
TCP/IP Setup
. Press
ENTER
.
7. Press
∇
to select
Ethernet Setup
. Press
ENTER
.
8.
TCP/IP Ethernet
displays. Select
Yes
and press
ENTER
.
Enable AutoIP Config?
displays. Select
No
.
Press
ENTER
.
9. The default IP Address displays. Use
∆
or
∇
to
change each octet. Press
ENTER
to proceed to
the next octet or to leave the octet unchanged.
10.
Subnet Mask
displays. Repeat instructions in
step 9.
11.
TCP/IP bound to Ethernet
displays. Press
ENTER
.
12.
Gateway Address
displays. Repeat instructions in
step 9.
13. Press
ENTER
to exit TCP/IP Setup, Protocol
Setup, and Network Setup.
14. Select
Yes
and press
ENTER
to Save Changes.
Press
ENTER
to Exit the Setup Menu.
15. Printer restarts the server and initializes.
Ready
to Print
displays.