C
OMMAND
W
ORK
S
TATION
,
18
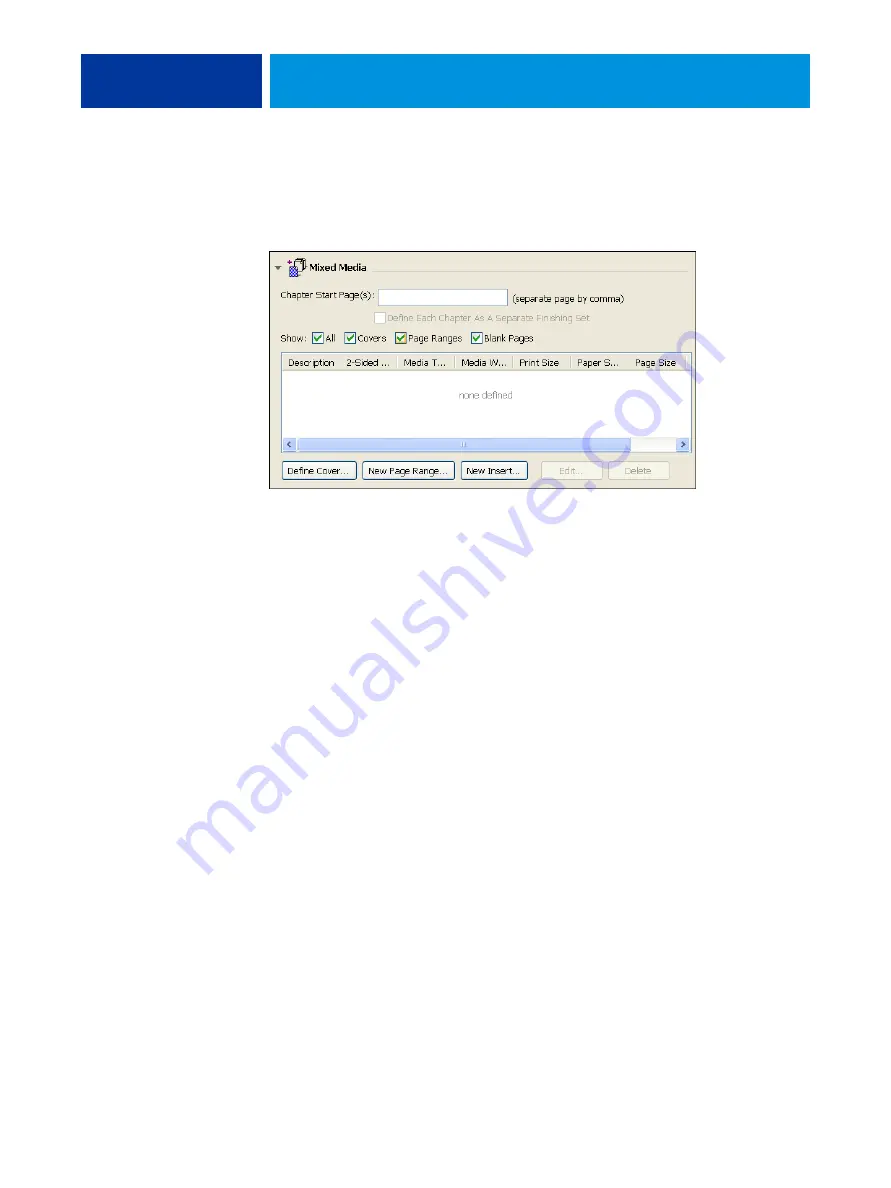
2 Click the Paper Source icon in the Job Properties toolbar and scroll down to Mixed Media.
The Mixed Media dialog box lists any previously defined media settings and includes
buttons for defining, modifying, and removing settings.
3 For Chapter Start Page(s), type the page numbers on which you want to start new chapter
sections.
Type page numbers as comma-separated values (for example: 4,9,17) to designate the start
of each new chapter. This forces each starting page to use a right-side page, adding a
preceding left-sided blank, if required.
N
OTE
:
It is not necessary to type the first page, and page numbers refer to the numbering
of the original document. If you use the Chapter Start Page(s) feature, all media specified
in the Paper menu per chapter must share the same dimensions (for example, all Letter, all
Tabloid, or all A4).
4 To apply finishing options (for example, stapling or sorting) to each chapter created using the
Chapter Start feature, select the “Define Each Chapter As A Separate Finishing Set” option.
N
OTE
:
Not all finishing options can be applied to chapters that contain mixed sizes of
media (for example, Letter and A4).
5 To define properties for front and back covers, click Define Cover.
For more information, see
“To define cover media settings”
6 To define properties for individual pages or page ranges, click New Page Range.
For more information, see
“To define media for specific pages”
7 To insert blank pages, click New Insert.
For more information, see


