


2
© 2012 OJ Electronics A/S
Adjust the setpoint until the heating symbol (
) appears. Use the
Up
button to increase the heating demand and then press the
OK
button
Wait 10 seconds to allow the thermostat to adjust to the new setpoint.
Then press the
TEST
button on the top of the thermostat.
The test is successful if the red light in the
TEST
button lights up and
GROUND FAULT
is shown on the display. If this does not occur, check
the installation/contact your electrical installer.
Press the
Standby/Reset
button to reset the GFCI.
The red light should go out and the display returns to normal appearance.
Press the
Down
button to return to the original temperature setting.
If the test fails, check the heating cable and thermostat.
If during normal operation the GFCI trips without the
TEST
button being
pressed, there could be a ground fault! To check whether it is a ground
fault or nuisance tripping, press
Standby/Reset
.
If this causes the red light to go off and stay off, it was nuisance tripping
and the system is operating correctly. If this does not occur, there is a
ground fault! Contact your electrical installer.
Active Display
After 1 minute without user activity the display will go into idle mode (the
display backlight will turn off). Press any key to activate the display.
Exit Menu
I want to exit a menu.
To do so, you must use the EXIT option:
The various menus and submenus contain an
EXIT
option.
1
Press the
Up
or
Down
buttons until
EXIT
flashes.
2
Press the
OK
button. You may have to repeat steps 1 and 2 to return
to the final
EXIT
option.
Please note:
When you activate a menu, the menu item last selected will
begin flashing. This allows you to view the latest setting. If, for example,
you activate the
MODE
menu,
MAN. MODE
will flash if you used
MAN. MODE
the last time.
This principle also applies to current temperature/time settings. When
you enter the various menus, they always display the value that was last
selected. This allows you to check the current settings.
Should you enter a menu by mistake, you can exit it again without
changing the setting by simply confirming the current setting, i.e. by
clicking the
OK
button.
4-Event Program
I want the temperature to be controlled automatically in accord-
ance with a program of individual temperature settings for four
separate events during a day:
•
when I wake up in the morning,
• when I am away at work,
• when I come home,
• and at night.
To do so, you must perform the following 3 steps:
Step 1: Select automatic temperature control.
1
With
Active Display
(backlight on) press
OK
to activate the
menu.
2
Press the
Up
or
Down
buttons until the
MODE
option flashes.
3
Press the
OK
button.
4
Press the
Up
or
Down
buttons until the
AUTO
options flashes in
the upper part of the display.
5
Press the
OK
button.
Factory setting: Auto mode
AUTO
OVERRIDE
MAN. MODE
MODE
SCHEDULE
PROGRAM
SETTINGS
EXIT
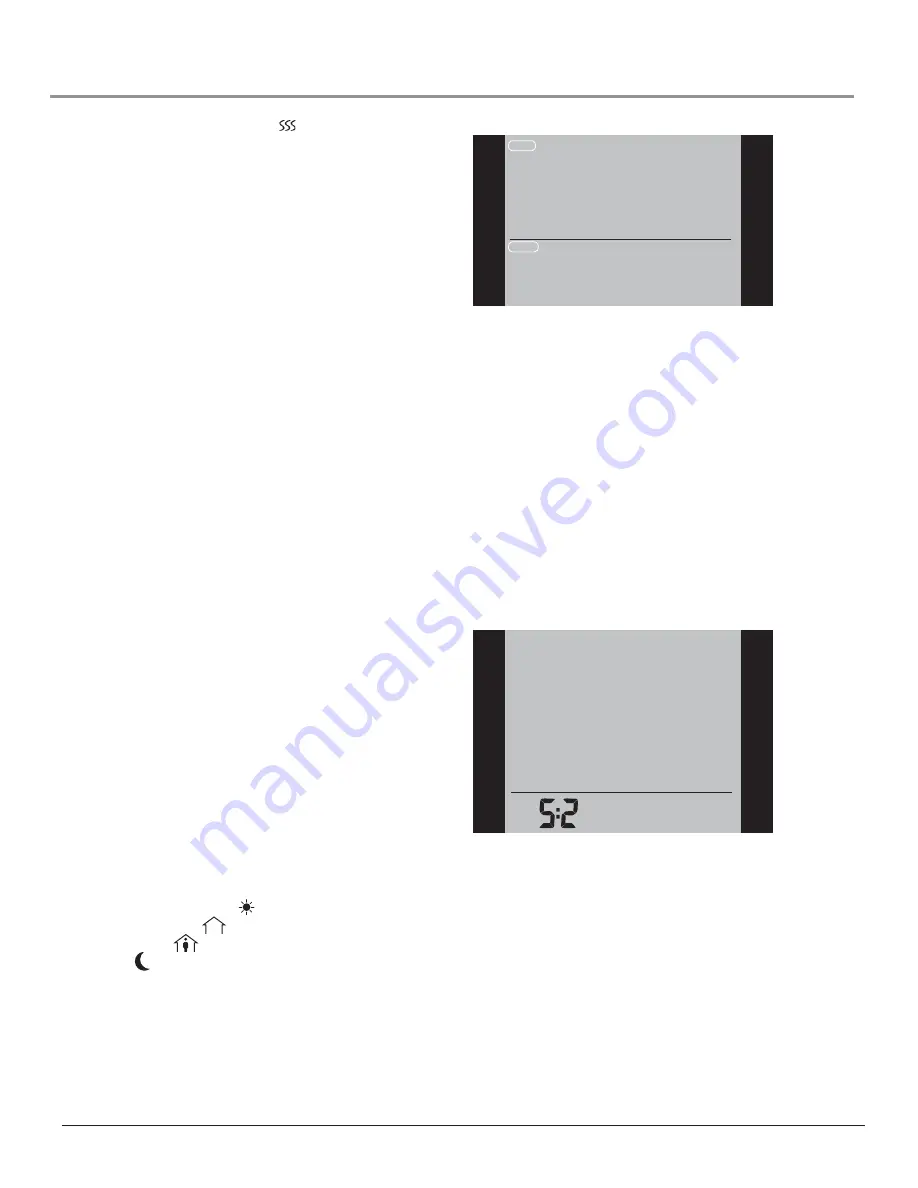
Step 2: Choosing the weekly schedule for your program.
You have the following options:
5:2
will give you 5 days (Monday to Friday) with the same four events
(Morning, Out, Home, Night) and 2 days (Saturday and Sunday) with the
same two events (Morning and Night).
6:1
will give you 6 days (Monday to Saturday) with the same four events
(Morning, Out, Home, Night) and 1 day (Sunday) with the same two
events (Day and Night).
7:0
will give you individual settings for each day from Monday to Sunday.
1
With
Active Display
(backlight on) press
OK
to activate the menu.
2
Press the
Up
or
Down
buttons until the
SCHEDULE
option flashes.
3
Press the
OK
button.
4
Press the
Up
or
Down
buttons until the required program
(
5:2
,
6:1
or
7:0
) flashes in the lower part of the display.
5
Press the
OK
button.
SCHEDULE
MON
FRI
TUE
WED THU
Step 3: Select the time and temperature settings for each event
in the program of days selected in the previous step.
1
Press the
Up
or
Down
buttons until the
PROGRAM
option flashes.
2
Press the
OK
button.
3
Press the
Up
or
Down
buttons until the day(s) that you wish to
program flash in the lower part of the display, e.g.
MON TUE WED
THU FRI
.
4
Press the
OK
button. The symbol for the first event (e.g. morning)
will now flash.
5
Press the
OK
button. The time will flash, allowing you to set the time
at which you want the period to begin. The time can be set in an
interval of 15 minuttes.
6
Press the
Up
or
Down
buttons until the required time is displayed.
7
Press the
OK
button. The temperature setting will now flash in the
upper part of the display.
Type UCG/UDG
English


