TROUBLESHOOTING
S
If you require technical support for any Oceanic
Systems' products you can reach us using any of the
following ways:
•
Tel (UK): +44(0)1425 610022
•
Tel (USA): (844)898 6462
•
Fax: +44(0)1425 614794
•
Email: [email protected]
•
Web: www.osukl.com
•
Post: Oceanic Systems (UK) Ltd
Unit 11 Milton Business Centre
Wick Drive, New Milton, BH25 6RH
United Kingdom
WARRANTY
Oceanic Systems warrants this product to be free from defects in materials and workmanship for one year from
the date of original purchase. If within the applicable period any such products shall be proved to Oceanic
Systems satisfaction to fail to meet the above limited warranty, such products shall be repaired or replaced at
Oceanic Systems option. Purchaser's exclusive remedy and Oceanic Systems sole obligation hereunder, provided
product is returned pursuant to the return requirements below, shall be limited to the repair or replacement, at
Oceanic Systems option, of any product not meeting the above limited warranty and which is returned to Oceanic
Systems'; or if Oceanic Systems is unable to deliver a replacement that is free from defects in materials or
workmanship, Purchaser’s payment for such product will be refunded. Oceanic Systems assumes no liability
whatsoever for expenses of removing any defective product or part, or for installing the repaired product or part
or a replacement therefore or for any loss or damage to equipment in connection with which Oceanic Systems
products or parts shall be used. The foregoing warranties shall not apply with respect to products subjected to
negligence, misuse, misapplication, accident, damages by circumstances beyond Oceanic Systems control, to
improper installation, operation, maintenance, or storage, or to other than normal use or service.
THE FOREGOING WARRANTIES ARE EXPRESSLY IN LIEU OF AND EXCLUDES ALL OTHER EXPRESS OR IMPLIED
WARRANTIES, INCLUDING BUT NOT LIMITED TO THE IMPLIED WARRANTIES OF MERCHANTABILITY AND OF FITNESS
FOR A PARTICULAR PURPOSE.
TECHNICAL SUPPORT
NMEA2000®
Check that the unit is connected to the
NMEA2000®
network
securely and that the network is powered correctly.
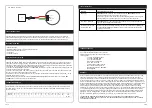
PLC:
Check that the three connections to the connecting block are correctly and
securely fastened. Check that there is a 12 or 24 power feed connected.
NMEA2000®
There is no tank data on the network that matches the 5250 tank
type and device instance switch position.
Troubleshooting Procedure
Symptom
“NO INPUT” displayed
No display
Level does not reach 0%
in analogue mode
Ensure that the signal voltage reaches 0v for the sense input.
Do not attempt to
use an external pull-down resistor
, as this will affect the internal calibration
circuitry of the device.
2 of 4
3 of 4
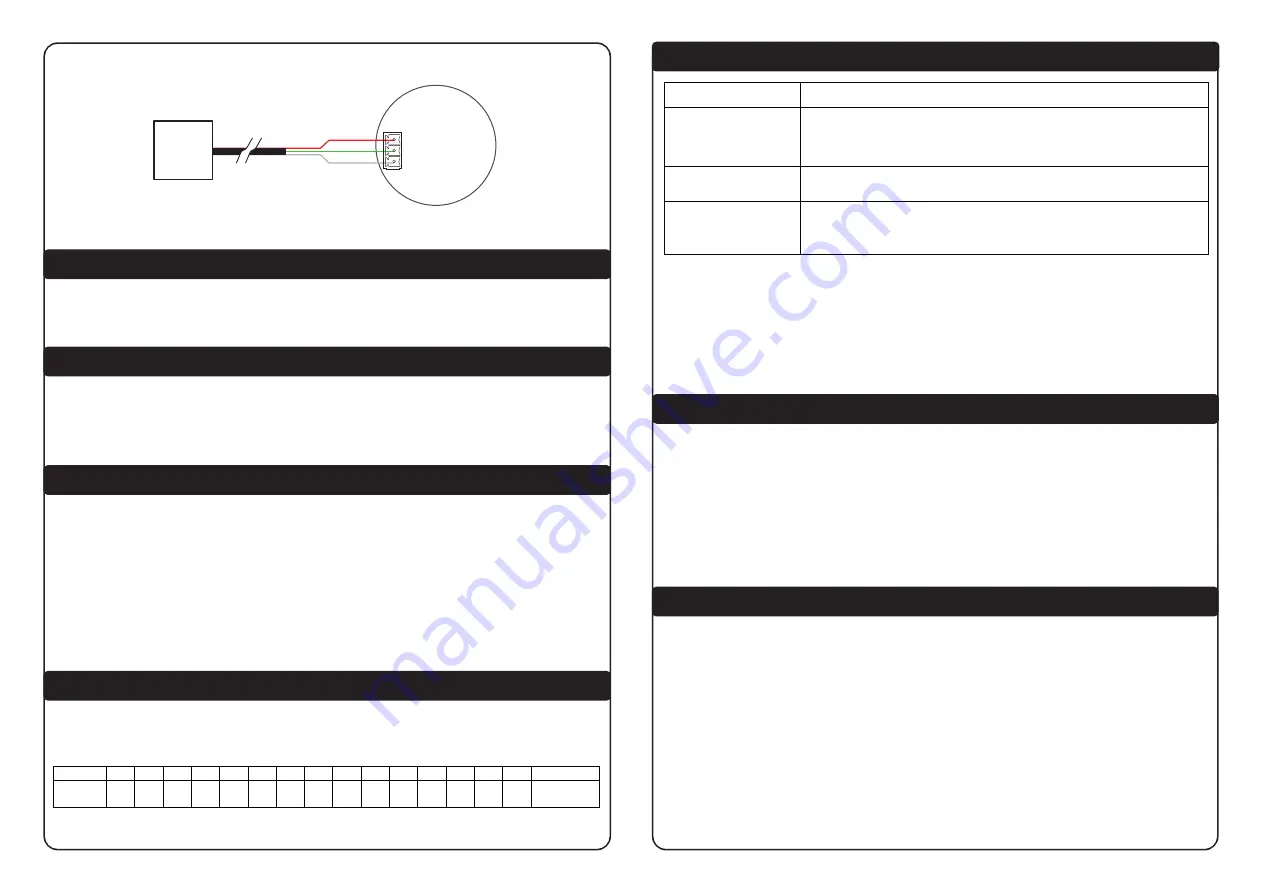
Signal
0-10V = 100%
+12/24V
Ground
PLC
PLC network example
SAFETY INSTRUCTIONS
This unit should only be installed by a person competent and experienced in working on electrical systems on
boats. Before beginning the work the battery should be disconnected to avoid the risk of a short circuit, fire or
explosion. Before drilling any holes to mount the unit or run the cabling always make sure it is safe to do so.
INCLUDED IN THE BOX
• 5250 Deck Gauge
•Instalation and Operation Instructions (this document)
•3x M4 30mm countersunk screws
•3 x M4 nuts
•3 x M4 flat washers
LOCATION AND INSTALLATION
The 5250 Deck Gauge should be mounted horizontally or vertically near the tank filler cap, so that it can be seen
easily during the tank filling operation. Supplied in the box is a full size mounting template showing the external
dimensions, the mounting hole sizes and their positions to simplify mounting. The three mounting holes in the bezel
are designed to fit suitable M4 countersunk or self-tapping screws.
To connect to the NMEA2000® network use a NMEA2000® drop cable to connect from the male M12 plug on the rear
of the unit to the nearest Tee connector.
To connect to a voltage feed from a PLC system or similar connect a three core cable from the connector block on
the rear of the unit to the voltage source as follows:
(Illustration of the rear of the unit showing three core cable connected to the connecting block to ground, +12/24
Volts and signal from 0-10 Volts)
Please note that the unit must be connected to
EITHER
the NMEA2000® network OR the PLC source.
DO NOT
CONNECT
the unit to both sources at the same time.
CALIBRATION AND SETUP
No calibration is required. Simply set the small rotary switch to the tank instance of the tank to be monitored in
the table below or set to ‘F’ if the unit is to be used with a PLC input and it will automatically display the tank
level percentage.
Switch
0
1
2
3
4
5
6
7
8
9
A
B
C
D
E
F
Instance
0
1
2
3
4
5
6
7
8
9
10
11
12
13
14
PLC
Mode


