12
Cursor Properties
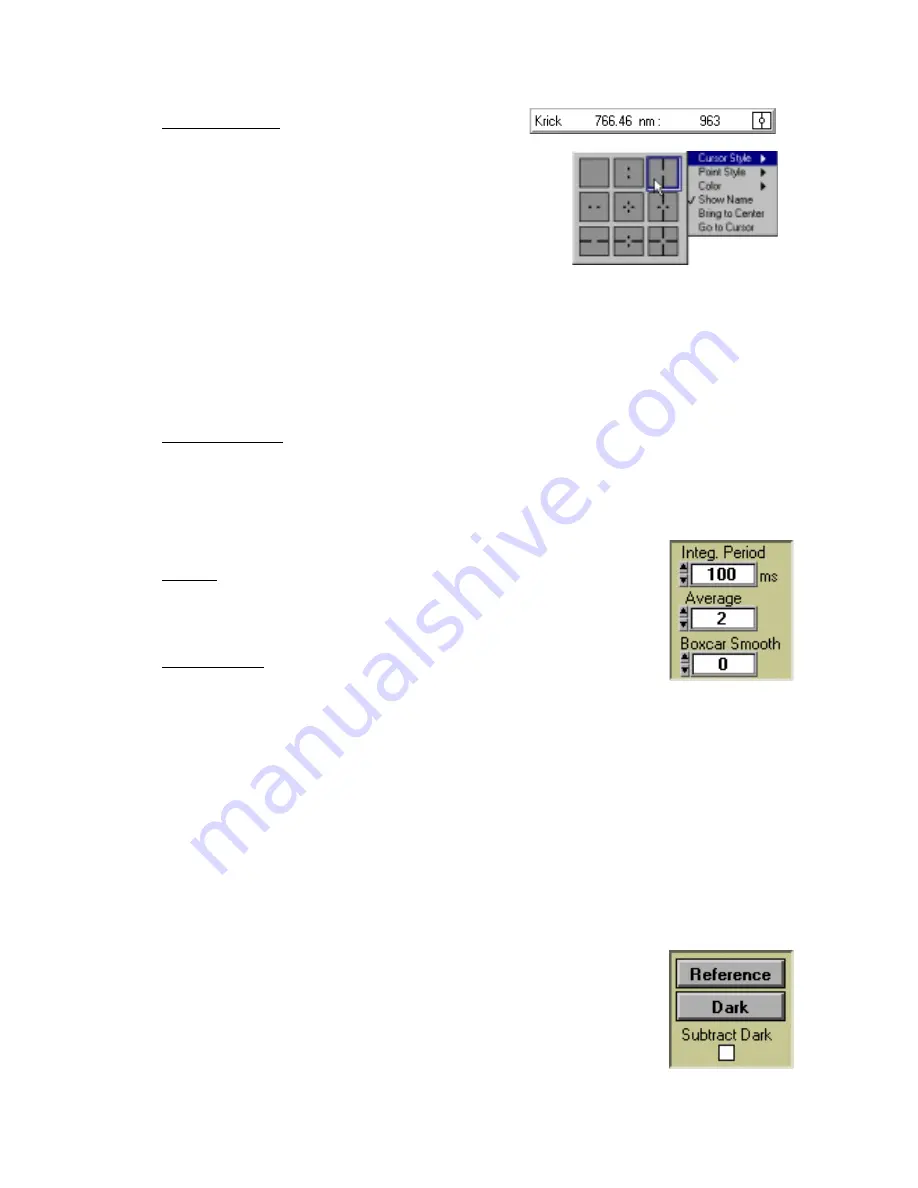
In this bar, you can label the cursor and monitor the
cursor’s X value and Y value. To the right of the X and Y values
of the cursor is a cursor selection button that allows you to choose
a cursor style and a point style. You can also choose a color for
the cursor and whether or not to display the name of the channel
the cursor is currently reporting. Finally, you can bring the cursor
to the center of the spectrum or center the spectrum around the
cursor’s current position.
Text Box
This box allows you to enter an operator name and any other text to identify your experiment. This text
appears in your data files. You can edit this text at any time.
Acquisition Parameters
Integration Period
Enter a value to set the integration period in milliseconds for an active spectrometer channel. The
integration period of the spectrometer is analogous to the shutter speed of a camera. The higher the
value specified for the integration period, the longer the detector “looks” at the incoming photons. If
your scope mode intensity is too low, increase this value. If the intensity is too high, decrease the value.
While watching the graph trace in Scope Mode, adjust the integration period and other acquisition
parameters until the signal intensity level is approximately 3500 counts.
Average
Enter a value to implement a sample averaging function that averages the
specified number of spectra. The higher the value entered the better the signal-to-
noise ratio. The S:N improves by the square root of the number of scans averaged.
Boxcar Smooth
Enter a value to implement a boxcar smoothing technique that averages across
spectral data. This method averages a group of adjacent detector elements. A
value of 5, for example, averages each data point with 5 points (or bins) to its left and 5 points to its
right. The greater this value, the smoother the data and the higher the signal-to-noise ratio. However, if
the value entered is too high, a loss in spectral resolution results. The S:N improves by the square root
of the number of pixels averaged.
Reference Scan
Selecting the Reference button activates a prompt to make sure your light is on. You then must choose to
either
Store
or
Cancel
your reference scan. A reference spectrum is taken with the light source on and a
blank in the sampling region. Storing a reference spectrum is requisite before the software can calculate
absorbance, transmission, and relative irradiance spectra. This command merely stores a reference spectrum.
To permanently save the reference spectrum to disk, select
File | Save Spectral Values
from the menu.
Dark Scan
Selecting the Dark button activates a prompt to make sure the light path is blocked.
You then must choose to either
Store
or
Cancel
your dark scan
.
A dark spectrum is
taken with the light path to the spectrometer blocked. Storing a dark spectrum is
requisite before the software can calculate absorbance, transmission, and relative
irradiance spectra. This command merely stores a dark spectrum. To permanently save
the reference spectrum to disk, select
File | Save Spectral Values
from the menu.


