Define the default output quality for copy and scan-to-file
jobs
Introduction
The Océ Express WebTools offers settings to optimize the default output quality for copy
and scan-to-file jobs. You can define a default output quality for each template.
You can find these settings in the 'Preferences' - 'Template 1', 'Template 2', 'Template
3' or 'Template 4' tabs.
Note:
Before you can edit a setting or a settings group, you must be logged on as a key operator
or power user.
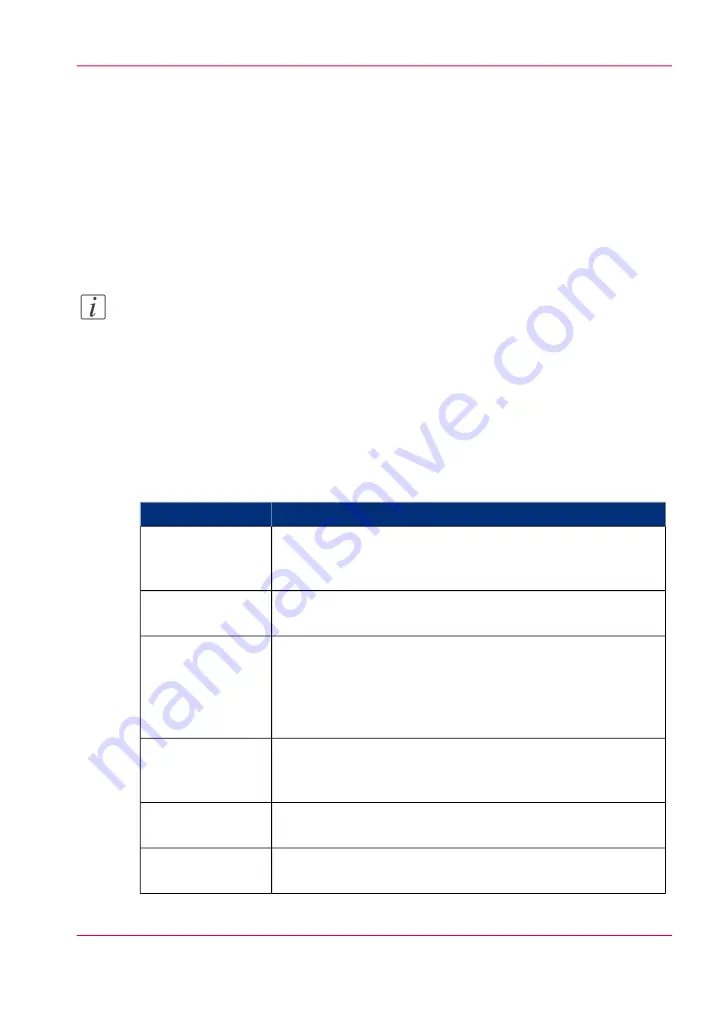
'Original type'
The quality of the printed output is optimized based on the type of the original that is
copied.
Setting location: 'Template 1, 2, 3 or 4: Original - Image'.
#
Description
Values
'Line/text' is default value.
This value is advised for line drawings and design drawings.
Lines and text are optimized, a light background is compensated.
'Line/text'
“Grays/Lines” is the recommended value for originals that
contain many grayscales and lines.
'Grays/Lines'
'Dark original' is the advised value for originals with a dark
background.
The output is optimized especially for dark transparent originals.
The system compensates for the dark background and the actual
information on the original is optimized.
'Dark original'
'Blueprint' is the advised value for blueprints.
The information on the original is inverted. White lines will be
black, the blue background will be white.
'Blueprint'
'Printed matter' is the advised value for an original that is already
a print itself, containing raster information.
'Printed matter'
'Cut/Paste' is the advised value for an original that contains
paste edges.
'Cut/Paste'
Chapter 3 - Define your workflow with Océ Express WebTools
115
Define the default output quality for copy and scan-to-file jobs
Summary of Contents for PlotWave 900
Page 1: ...o Oc PlotWave 900 Serious Power User manual Operating information...
Page 11: ...Chapter 1 Introduction...
Page 28: ...Chapter 1 Introduction 28 Working area...
Page 29: ...Chapter 2 Get to know the Oc Plot Wave 900 system...
Page 44: ...Chapter 2 Get to know the Oc PlotWave 900 system 44 Online Offline button...
Page 45: ...Chapter 3 Define your workflow with Oc Express WebTools...
Page 128: ...Chapter 3 Define your workflow with Oc Express WebTools 128 Delete a Smart Inbox...
Page 129: ...Chapter 4 Use the Oc PlotWave 900 to print...
Page 142: ...Chapter 4 Use the Oc PlotWave 900 to print 142 Print a job from the Smart Inbox...
Page 143: ...Chapter 5 Use the Oc PlotWave 900 scanner to copy...
Page 169: ...Chapter 6 Use the Oc TDS600 scanner to copy...
Page 197: ...Chapter 7 Use Oc Mobile Printing and Scanning...
Page 211: ...Chapter 8 Special copy and scan jobs...
Page 241: ...Chapter 9 The Folder Reinforcement unit and Belt unit...
Page 255: ...Chapter 10 Oc Double Decker Pro...
Page 262: ...Chapter 10 Oc Double Decker Pro 262 How to set the media separation method...
Page 263: ...Chapter 11 System maintenance...
Page 291: ...Chapter 12 Solve problems...
Page 328: ...Chapter 12 Solve problems 328 Other problems...
Page 329: ...Chapter 13 Support...
Page 335: ...Chapter 14 License management...
Page 347: ...Chapter 15 Account management...
Page 356: ...Chapter 15 Account management 356 Enable account management in the Oc Express WebTools...
Page 357: ...Chapter 16 Software options...
Page 359: ...Chapter 17 Network and Security set tings...
Page 361: ...Appendix A System specifications...
Page 379: ...Appendix B Reader s comment sheet...
Page 393: ...Working area printing system 27 Z Zoom Setting 162 Zoom factor Zoom factor 185 393 Index...
Page 394: ...2...
Page 395: ...2...


