3
www.Observint.com
© 2013 Observint Technologies. All rights reserved.
4.
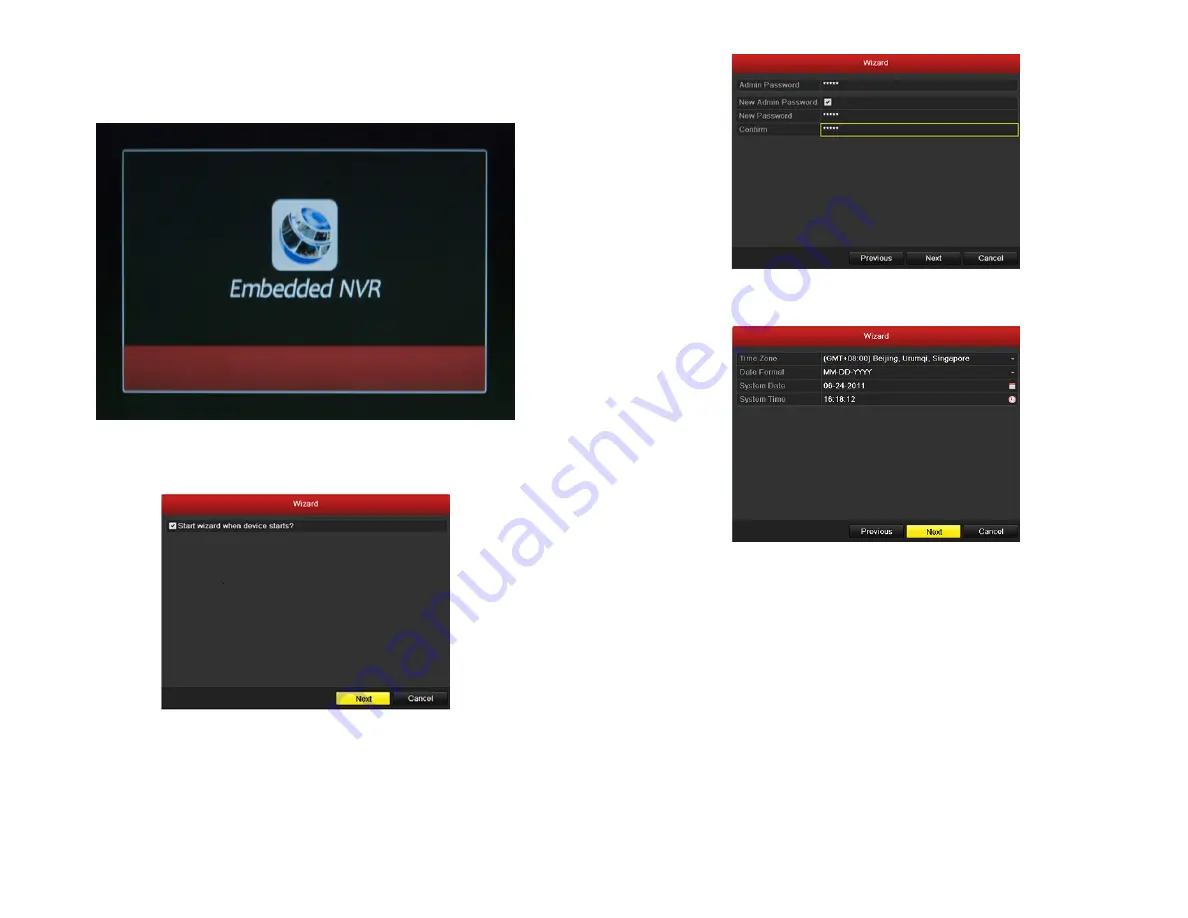
Click the
Next
button to enter the date and time settings window.
5.
In the date and time setup window, click the field you want to change, then use the drop-down list or setup aid to select the
appropriate values. Click
Next
to confirm your settings or
Cancel
to discard them and open the network setup Wizard window.
In the network setup Wizard window, click the field value you want to change, then use the pop-up aid to enter a new value.
Configure the internal NIC
IPv4
Address
for the cameras connecting to the Camera channel ports on the back panel of the NVR.
NOTE
: The
IPv4 Address
and the
Internal NIC Pv4 Address
must be on different networks (subnets).
Step 3. Using the Wizard for basic configuration setup
1.
Power on the NVR. When the NVR is powered on, an “Embedded NVR” splash screen appears within 2 minutes.
By default, the Setup Wizard opens when the NVR has powered on. The Setup Wizard can assist you in making important
configuration settings in NVR.
2.
Click
Next
button on the Wizard window to open the
Login
window.
3.
Enter the admin password in the appropriate field. The default
admin
password is
12345
. To change the admin password, check the
New Admin Password
checkbox, then enter the new password in the
New Password
and
Confirm
fields.


