2
MC104DVR High Resolution Windshield Camera/DVR
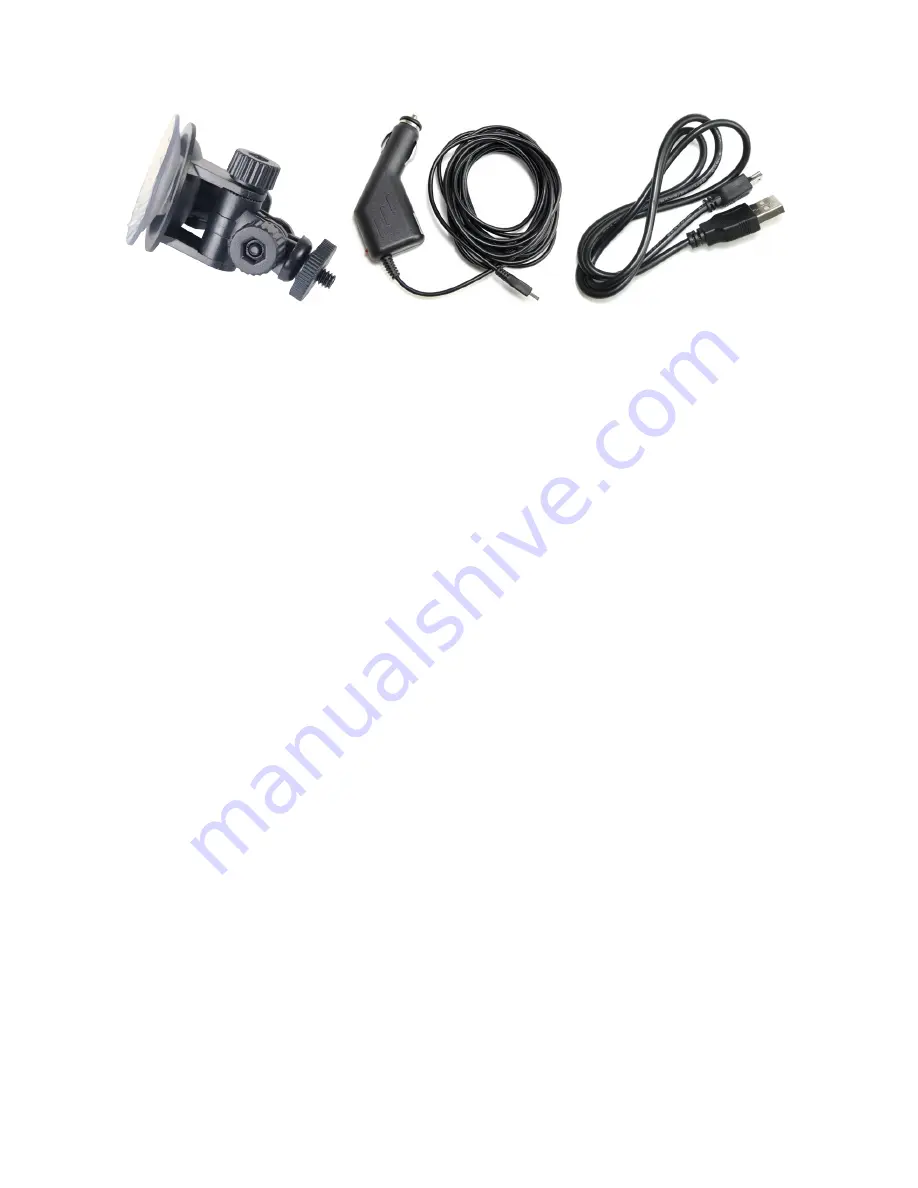
Accessories included
Mounting adapter
Car charging cable
USB cable
Using the buttons and connectors on the Camera/DVR unit
ON/OFF
: Used to manually power on and power off the camera. To power on the camera, press this button for 3 seconds. NOTE: If
the Camera / DVR unit is power using the car charger in a car, the unit powers on and begins recording when the car starts, and stops
recording and powers itself off when the car is shut off.
MENU
: Used to open the configuration menus. When the camera is not recording video, press the button once to open the
configuration menu for the mode (Video, Capture, or Play) the camera is in, or press it twice to open the SETUP (global) menu.
REC/SNAP
: Used to manually start and stop recording when in Video mode, to take a snapshot when in Capture mode, or to play a
recorded video when in Play mode.
DOWN
and
UP
: In the configuration menus, used to move vertically through the menus. In Play mode, used to select another video
recording or snapshot to play.
MODE
: Press this button change the camera mode. The camera can be in one of three modes: Video (for recording video), Capture
(to take snapshots), and Play (to view snapshots and playback recorded video). To use this button, then camera must not be recording
video; to stop recording, press the
REC/SNAP
button.
USB
: Connector used for powering the unit with the car charging cable (converts 12 Vdc to 5 Vdc), and used to connect the Camera/
DVR directly to a computer USB port.
AV OUT
: Jack used to output video and audio from the camera to an external monitor. When an external monitor is connected, the
flip-down LCD display is disabled. An AV OUT cable is not included.
RESET
: Use a thin wire (paper clip gauge) to reset and power off the Camera/DVR if it becomes non-responsive.
Step 1. Charging the Camera/DVR unit
There are two ways to charge and power the Camera/DVR unit:
•
Using the
car charging cable
or USB cable:
—
Plug the car charging cable or USB cable into the USB port on the Camera/DVR unit, then into a 12 Vdc power source or USB
jack on a running computer.
NOTE
: The car charging cable will convert the source voltage to 5 Vdc to power the Camera/DVR
and charge the internal LI-ion battery.
—
When power is applied, the DVR will charge the internal LI-ion battery, and begin recording if an SD/MMC card is installed.
To stop recording, push the
REC/SNAP
button on the left side of the unit.
Summary of Contents for MC104DVR
Page 8: ...8...


