13
OPERATION
If you want to mount a heavier
camera and lens combination,
you will need to repeat this
process of increasing the tension
on the ball by following the same
steps with the new camera/lens
combination.
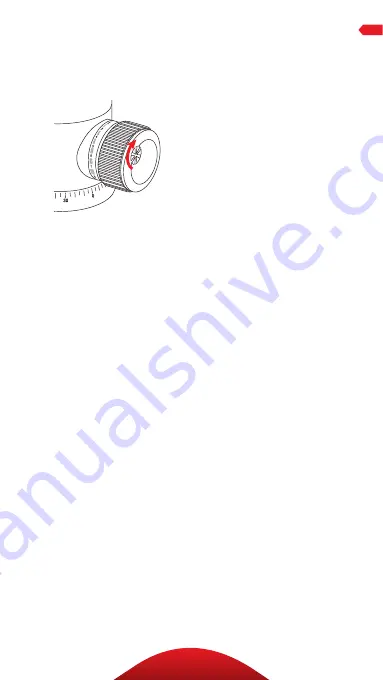
Important: To lower your minimal
friction limit, follow these steps:
1. Turn the main locking knob
clockwise until it stops
2. Turn the tension thumbscrew
counterclockwise until it stops
3. Then turn the main locking
knob counterclockwise until
the ball moves freely enough
for you to make adjustments.
Warning: Do not force the main
locking knob to turn beyond
its stopping point. This leads
to “locking up” or “freezing
up” of the main locking
knob—you will be unable to move
it. In this condition the knob is
locked, but the head is loose. To
correct this, increase tension
on the ball by rotating the main
locking knob clockwise until
the desired degree of tension is
achieved. Release the friction by
turning the tension thumbscrew
counterclockwise until it stops.
Release tension on the ball by
rotating the main locking knob
counterclockwise until the ball is
free.


