Soldering the Front Panel Components
Soldering the pots and switches on the ASV's Pot Board is relatively straightforward. They are
mounted from the top side of the board and soldered from the underside. However, there are a few
points worthy of mention.
The ASV Pot Board is a large board with a lot of copper on its underside. During its manufacture
this creates a small amount of warp to the board, that is, it bows slightly upward in the middle. This
is nothing to be worried about as the board is flexible and will bend easily into place once it is
placed against the flat front panel.
The bottom of the metal case of each pot should not sit against the top surface of the PCB. Each
should be fitted so that the bottom of the pot lies just above the board surface and be parallel to it. If
one places a pot into the board and then solders all three pins, the pot will naturally sit at an angle
and make it difficult to fit the pot's thread through the front panel. It is best, therefore, to first solder
the pot's middle pin only, then gently bend the pot slightly to its correct position so that the bottom
of the pot is parallel and above the board's top surface. Now one can solder the two outer pins
which will hold it in place quite firmly.
The switches are perhaps best soldered after the panel is fitted and the pots already secured into
place. You can fit the switches before the panel is in place, as I did with my two prototypes, but
great care must be taken to ensure that each switch is sitting at right angles to the board surface
during soldering. For now, I would put the switches aside and keep them safe alongside the
otherwise completed ASV Pot Board.
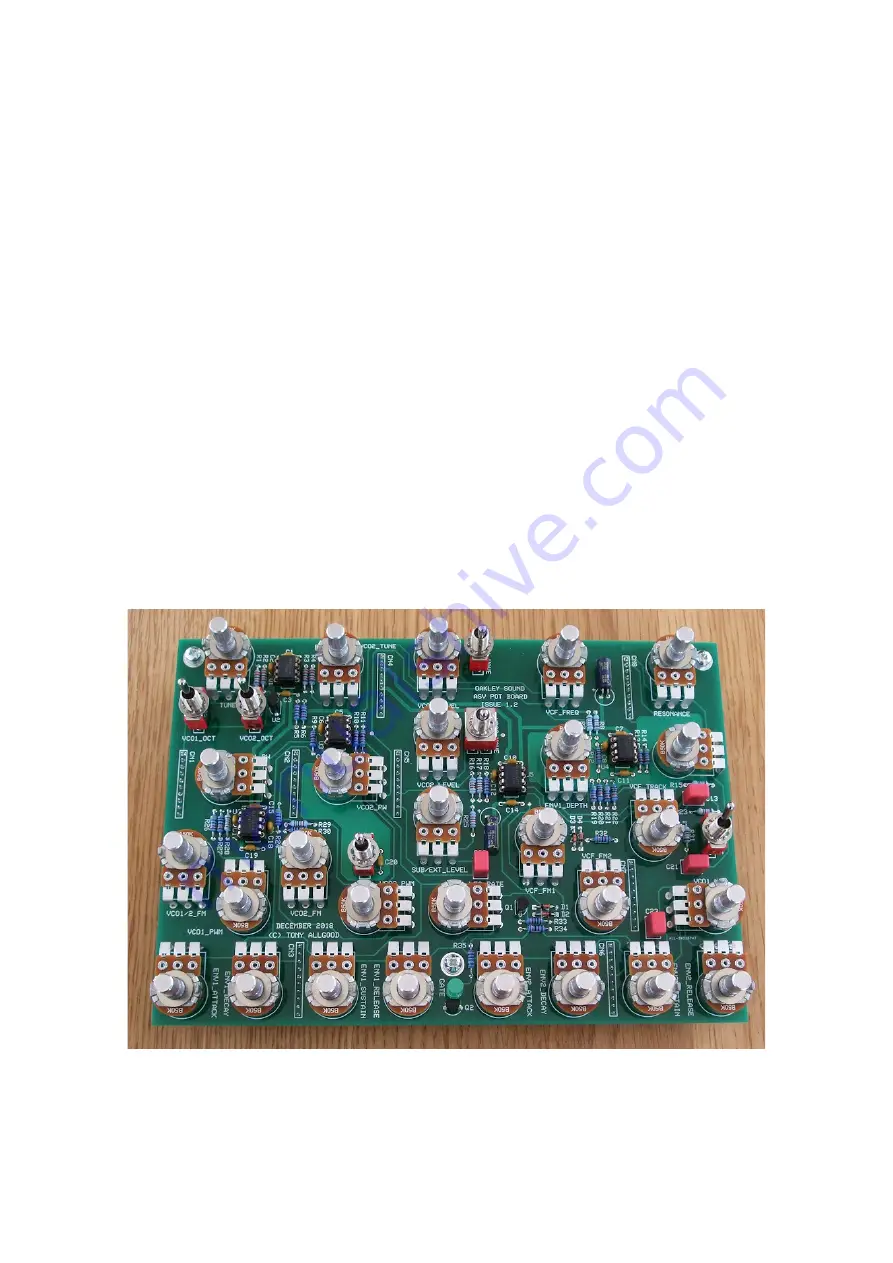
A completed issue 1.2 Pot Board.
22


