background image

Controls & Functions

Controls & Functions

Controls & Functions

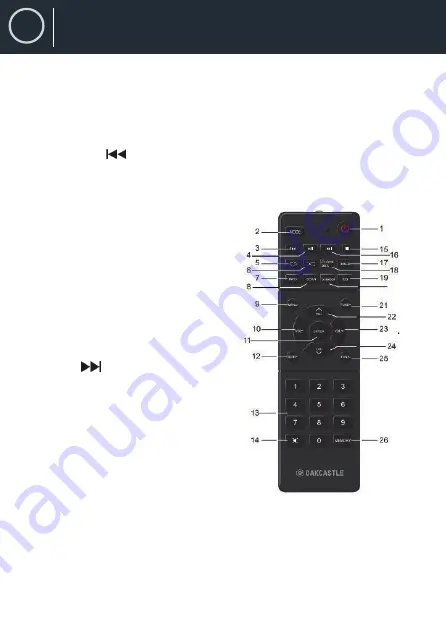
1. ON/Standby
2. MODE
3.  

Memory


4.  

Previous

 / Tuner down

5.  

Equalizer

6.  

Repeat  

7.  

X-bass

8.  

DAB/FM  Info  

9.  

DAB/FM Scan  

10.
11.  


12.  
13.  

CD/USB Stop

14.  


15.  

Clock set

16.  

Timer

17.  

Sleep


18.  

Folder  +/Pre-sets C


19.  
20.  

Enter


21.  

Next


/


Tuner  up

22.

 Folder  -/Pre-sets Channel -


23.

Random/Intro


24.

Mute


25.

DAB/FM Menu

26.

Remote Control


Volume  –


 CD/USB Play/pause

Numpad

DAB/FM Turn down

DAB/FM Turn up

4

EN

20

Controls & Functions

Summary of Contents for HIFI200

Page 1: ...Instruction Guide EN HIFI200 Hi Fi Micro System...

Page 2: ...tle co uk Contents 3 Year Warranty EN Turning The Unit On Off Setting The Clock Sleep Timer System Reset DAB Operation DAB Display Modes FM Operation FM Display Modes CD USB Operation BT Operation Pre...

Page 3: ...Remote control 1 EN What is in the Box Box Contents Oakcastle HIFI200 Power Adapter Instructions Guide...

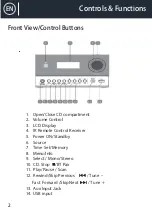
Page 4: ...rtment 2 Volume Control 3 LCD Display 4 IR Remote Control Receiver 5 Power ON Standby 6 Source 7 Time Set Memory 8 Menu Info 9 Select Mono Stereo 10 CD Stop BT Pair 11 Play Pause Scan Tune Tune 12 Rew...

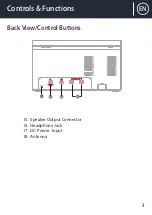
Page 5: ...15 Speaker Output Connector 16 Headphone Jack 17 DC Power Input 18 Antenna 3 EN Back View Control Buttons Controls Functions 15 16 17 18...

Page 6: ...X bass 8 DAB FM Info 9 DAB FM Scan 10 11 12 13 CD USB Stop 14 15 Clock set 16 Timer 17 Sleep 18 Folder Pre sets Channel 19 20 Enter 21 Next Tuner up 22 Folder Pre sets Channel 23 Random Intro 24 Mute...

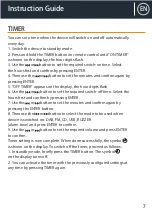
Page 7: ...ch the device to standby mode 2 Press and hold the CLOCK SET button on remote control or TIME SET button on the unit until TIME SETUP is shown on the display 3 Press the CLOCK SET button to set 12 or...

Page 8: ...n o after 10 20 30 40 50 60 70 80 or 90 minutes Wait for 3 seconds after your selection for the unit to con rm the selection the unit will play for the selected length of time then automatically shut...

Page 9: ...Use the or button to set the required switch o time Select the hours rst and con rm by pressing ENTER 7 Use the or button to set the minutes and con rm again by pressing the ENTER button 8 Then use th...

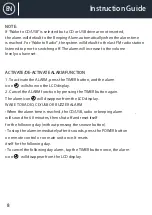
Page 10: ...d the alarm icon will show on the LCD display 2 Cancel the ALARM function by pressing the TIMER button again The alarm icon will disappear from the LCD display WAKE TO RADIO CD USB OR BUZZER ALARM Whe...

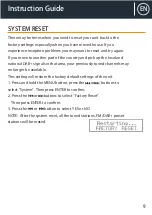
Page 11: ...and pick up the local and national DAB signals in that area your previously tuned channels may no longer be available This setting will restore the factory default settings of the unit 1 Press and hol...

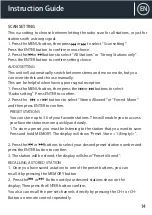
Page 12: ...for the entire DAB Band III channels After the scan has nished the rst alphanumerically found station will be automatically selected 1 To activate auto scan press the SCAN button and Scanning and a pr...

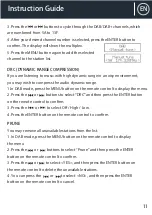
Page 13: ...tton on the remote control to display the menu 2 Press the or buttons to select DRC and then press the ENTER button on the remote control to con rm 3 Press the or to select Off High Low 4 Press the EN...

Page 14: ...extra services that are related to the primary station e g a sports station has added additional commentaries The secondary services are stated directly after the primary station in the station list T...

Page 15: ...t PROGRAMME TYPE This describes the style or genre of the program that is being broadcasted ENSEMBLE This displays the name of the multiplex that contains the station you are listening to A multiplex...

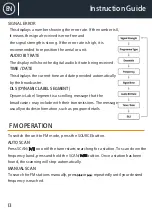
Page 16: ...matically by the broadcaster DLS DYNAMIC LABEL SEGMENT Dynamic Label Segment is a scrolling message that the broadcaster may include with their transmissions The message usually includes information s...

Page 17: ...o select Stereo Allowed or Forced Mono and then press ENTER to confirm PRESET STATIONS You can store up to 30 of your favorite stations This will enable you to access your favorite stations more quick...

Page 18: ...n mono or stereo TIME DATE The broadcaster provides clock and date information automatically so there s no need to manually set this information Press the SOURCE button repeatedly on the unit or MODE...

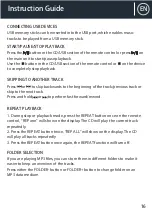
Page 19: ...of the track previous track or skip to the next track Press and hold or to perform fast forward rewind REPEAT PLAYBACK 1 During stop or playback mode press the REPEAT button once on the remote control...

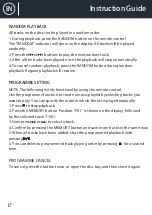
Page 20: ...following is only functional by using the remote control Use the programme function to create a music playlist by selecting tracks you want to play You can specify the order in which the list is play...

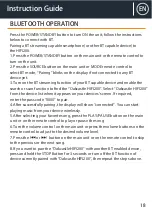
Page 21: ...e list when it appears on your devices screen If required enter the pass code 0000 to pair 4 After successfully pairing the display will show connected You can start playing music from your device wir...

Page 22: ...on the display NOTE The following is only functional by using the remote control Press the MUTE button on the remote control to mute the sound output from the speaker MUTE will appear on the display P...

Page 23: ...H Unit 190 x 180 x 105mm Speaker 123 x 130 x 172mm Weight per unit 2 30 kg All products come with a standard 12 month warranty All items must be registered on www oakcastle co uk for the warranty to...

Page 24: ...e apparatus 13 Dispose of used electrical products and batteries safely according to your local authority and regulations ADDITIONAL WARNINGS The apparatus shall not be exposed to dripping or splashin...
Page 25: ...www oakcastle co uk...

Reviews: