


4
Features
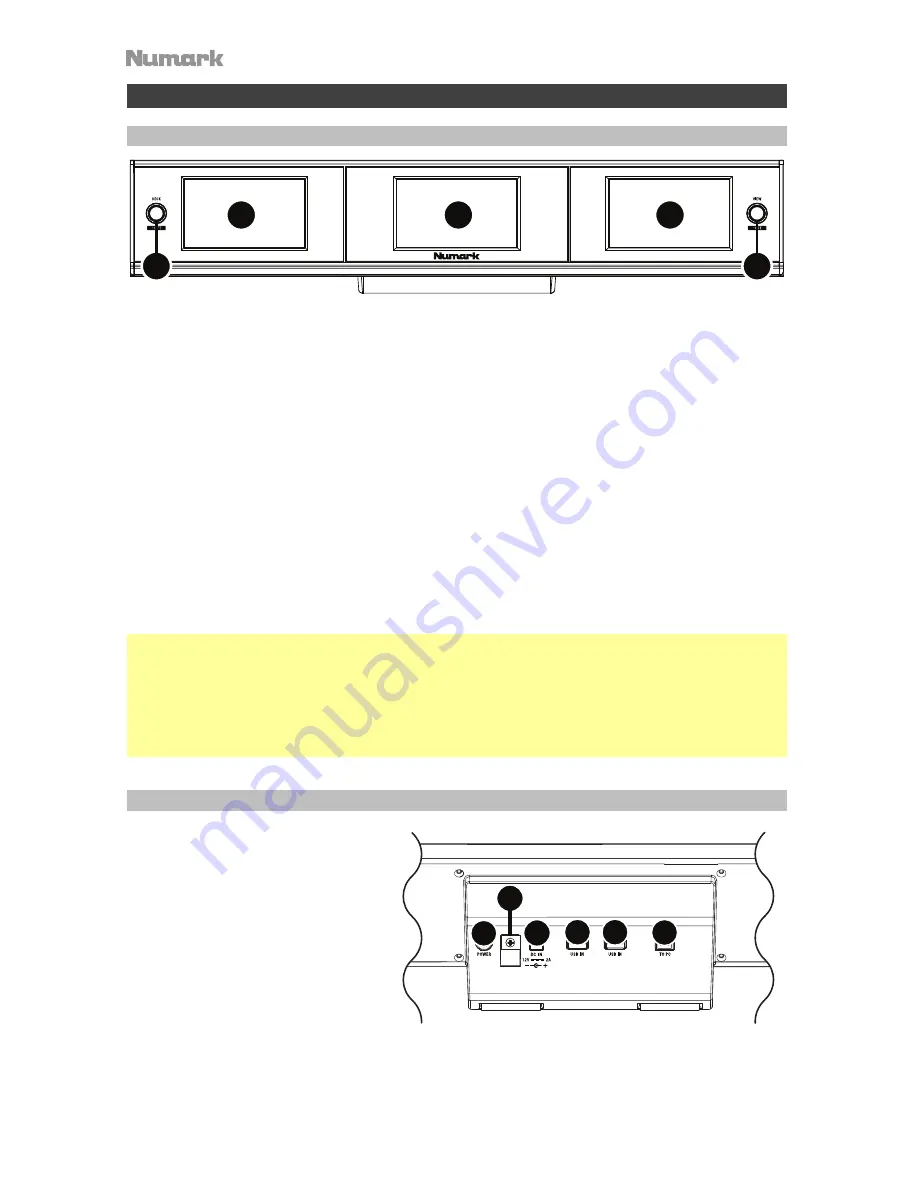
Front Panel
1.
Center Display:
By default, this screen shows the Library View. It can also show the Waveform
View. See
Displays
for more information.
2.
Left/Right Displays
: By default, these screens display Performance View 1. They can also
show Performance View 2. See
Displays
for more information.
3.
Deck/Shift:
Tap this button to switch between primary and secondary decks.
Press and hold this button to act as a
Shift
function for the
View
button. Hold this button and
press the
View
button to toggle between
Sort
options in the Library View, allowing you to view
BPM, Key, or Time information, in addition to Artist and Song.
4.
View/Sort:
Tap this button to switch between the available views for all three displays:
i.
Left/Right Displays – Performance View 1
Center Display – Library View
ii.
Left/Right Displays – Performance View 2
Center Display – Waveform View
Press this button while
Shift
is held to toggle between
Sort
options in the Library View,
allowing you to choose between viewing BPM, Key, or Time information.
Note:
The behavior of the
Deck
and
View
buttons will change based on the specifications of your
connected compatible controller. For a list of compatible controllers, please visit
numark.com
.
•
If the controller only has 2 channels, only the
Sort
function will work.
•
If the controller only has 2 channels and no track select function (browse knob), both buttons
will have no function.
•
If the controller has 4 channels but no track select function, only the
Deck
function will work.
Rear Panel
1.
Power Input:
Use the included
power adapter to connect this
input to a power outlet.
2.
Cable Restraint:
You can
secure the power adapter to
this restraint to help prevent it
from disconnecting accidentally.
3.
Power Switch:
Powers the
display on and off.
4.
USB Ports (USB In):
Connect
your compatible controller to
one of these powered USB In ports. You can also connect an optional USB hard drive (not
included) to one of these powered USB ports.
5.
USB Port
(
To PC
)
:
Use the included USB cable to connect this USB port to your computer.
1
2
2
3
4
1
2
3
4
5
4


