24 Commands and Settings
This turns into the Adjust button if you want to change the zones or
settings after recognition has started.
Reject character
This edit box lets you choose a character to mark unrecognized characters
in your text. For example, if Direct could not recognize the J in REJECT,
and the tilde (~) was the reject character, the characters RE~ECT would
appear in your text.
Retain text style
Select this to keep text character attributes such as size, bold, italic, and
underlined when recognized text is pasted into an application. The text
will be pasted as plain ASCII with no formatting if this is not selected.
Direct does not retain formatting when you save text to a file.
Save text to file
Select this to save recognized text as a text file rather than having the text
pasted into an application. A dialog box will appear after recognition
allowing you to name the text file and save it in an appropriate folder.
Direct does not retain formatting when you save text to a file.
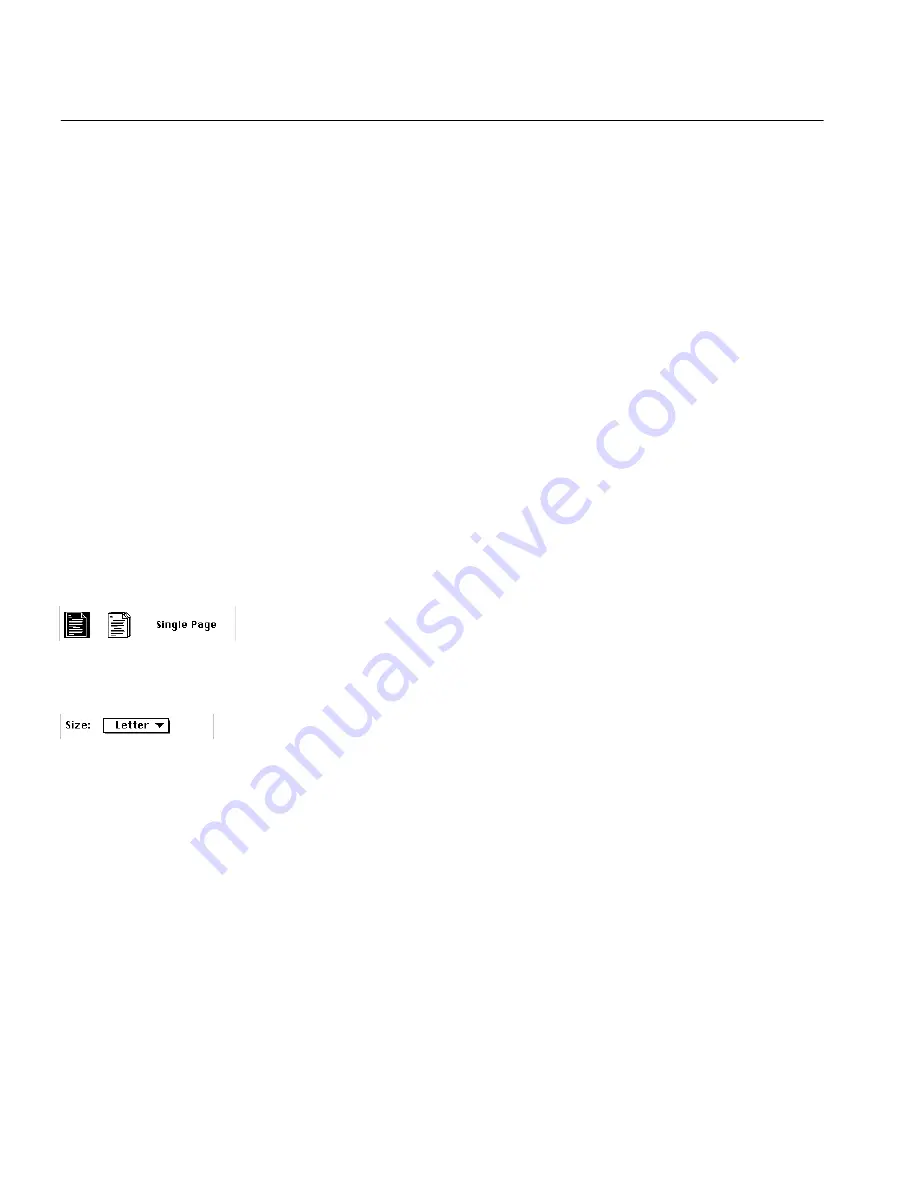
Single Page
Highlight this icon if you are scanning a single page. Highlight Multiple
Pages if you’re scanning more than one page with an automatic document
feeder or by changing pages in the scanner by hand.
Size
This selection box lets you select the dimensions of the page you are scanning.
Auto
Select this to allow Direct to automatically determine the size of the
page.
Letter
Select this for standard US 8.5” by 11” size pages.
A4
Select this for 21cm by 29.7cm European-size pages.
Legal
Select this for US 8.5” by 14” size pages.
Tilde Character
The tilde character appears in your text file if Direct could not recognize a
character. You can change the tilde to another character by choosing a
different “reject” character in the Options dialog box. To display this
window, click
Options
in the Scan Text window.
Summary of Contents for OmniPage Direct
Page 16: ...14 How to Scan Text ...


