800.635.5202 | nrs.com |
3
Inflating Inflatable Kayaks:
To properly inflate an NRS IK, inflate both main tubes until they take shape. Then top them off to 2.5 psi.
Because of the small tube size, slight overinflation is acceptable to increase performance. Inflate the floor until
the PR valve engages, allowing air to leak out. The PR valve will shut automatically when the floor air
pressure is correct. Last, inflate the thwart to its full shape.
MOUNTING FRAMES
Raft Frames:
Carefully follow the frame assembly instructions. After the frame is assembled, place it on the raft so that it
rests on the side tubes’ top wear patch material. When the frame is positioned where you want it (generally in
the center, except in the case of stern frames), use NRS Heavy Duty Straps to cinch each corner to a D-ring
on the raft. Place straps on each side of the raft at opposite angles to keep the frame straight and centered.
Cataraft Frames:
Trial and error is the key to mounting your tubes on your cataraft frame, since correct positioning is largely
a matter of personal preference. Generally, for regular use, you want the weight and oarlock pivot located
on the center or slightly forward of center. For more extreme boating conditions, some rowers prefer to have
the weight further forward on the tube to avoid having a wave raise the bow so high that the boat flips. Day
trips with an oarsperson and one passenger generally call for the rower to be substantially forward of center.
Proper weight distribution and rower position will increase performance characteristics and prevent the boat
from “nosing in” or riding bow-high.
Start by positioning the frame on one tube so that the weight is distributed slightly forward. Then strap the
outside D-rings to the side-rails, cinching them until they are just tight. Next, strap the inside D-rings to the
lower rail. Cinch these down tight. This will pull the tube toward the frame and tighten the outside straps. Align
the other tube across from the first and repeat these steps.
Although it is always recommended to create a series of “triangles” with the frame straps so that there is
offsetting tension holding the frame on the boat, it is particularly important to do so when attaching cat tubes
to their frame. The frame supplies all the structure and rigidity to the cataraft.
VALVES
Inflate/Deflate Valves:
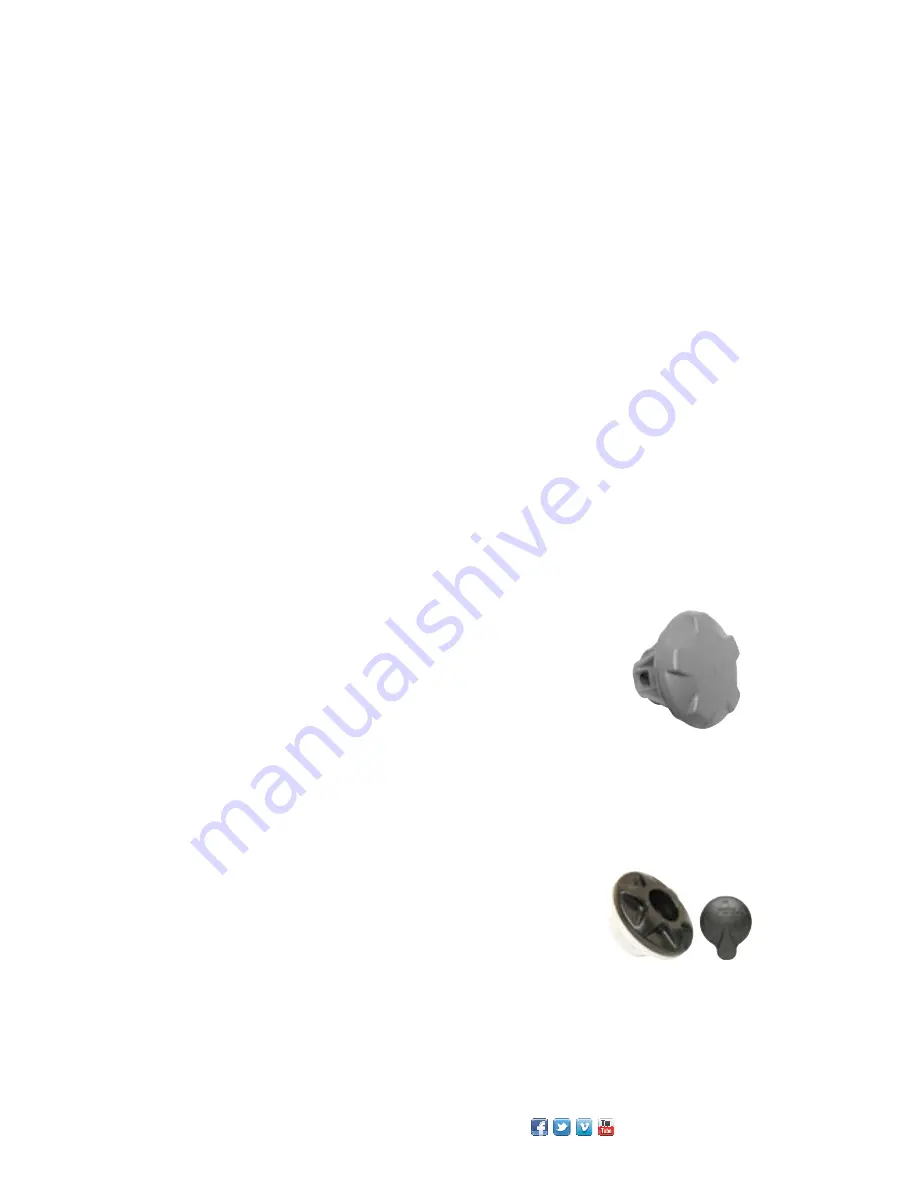
All current NRS rafts, catarafts and IKs feature Leafield C7 inflate/deflate valves. To
open the valve, first remove the valve cap. Then press down on the spring-loaded
valve stem and turn it counter-clockwise. The valve stem will now be locked down in
the open position, allowing air to move freely in and out through the valve. To close the
valve, push down on the valve stem and turn clockwise. The stem will pop back up, sealing
the valve shut. In the closed position, you can still pump air into the chamber, but when you
remove the pump, the valve will not allow air to escape. When you’re done, screw the plastic valve cap back
on to keep water and dirt out of the inner valve.
Important Tip: When deflating your fully inflated boat, do not fully open only one chamber. This puts excessive
strain on the internal baffles and can lead to rupture of the baffles. Either work together with someone to
release the pressure in the chambers simultaneously, or release small amounts out of each chamber until
high pressure is relieved and individual valves can be fully opened safely.
Pressure Relief Valve:
All NRS self-bailing boats feature a Leafield A6 pressure relief valve in their
inflatable floors. This valve prevents the floor chamber from overinflation that
could damage the Y-beam construction. When the floor pressure exceeds 2.5
psi, the PR valve automatically opens to allow the excess pressure to escape.
When the floor pressure falls to an acceptable level, the PR valve automati-
cally shuts. Your repair kit contains a black rubber PR valve plug. Should your
PR valve ever fail to shut itself when you’re on the water, you can plug the valve to keep
all the air from escaping. When you get off the water, be sure to examine the valve and clean or replace it as
necessary.
Important Tip: When adding air to the floor during an on the water trip, first depress the inflation valve plunger
briefly to blow out any water that has accumulated in the valve opening.


