Installing the Exchange Gateway
27
no
vd
ocx
(e
n)
6 Ap
ril 20
07
If the Installation program does not start automatically, run
install.exe
in the directory
where you extracted the Exchange Gateway files.
4
Click
Next
to view the license agreement, then click
Accept
to accept the license agreement.
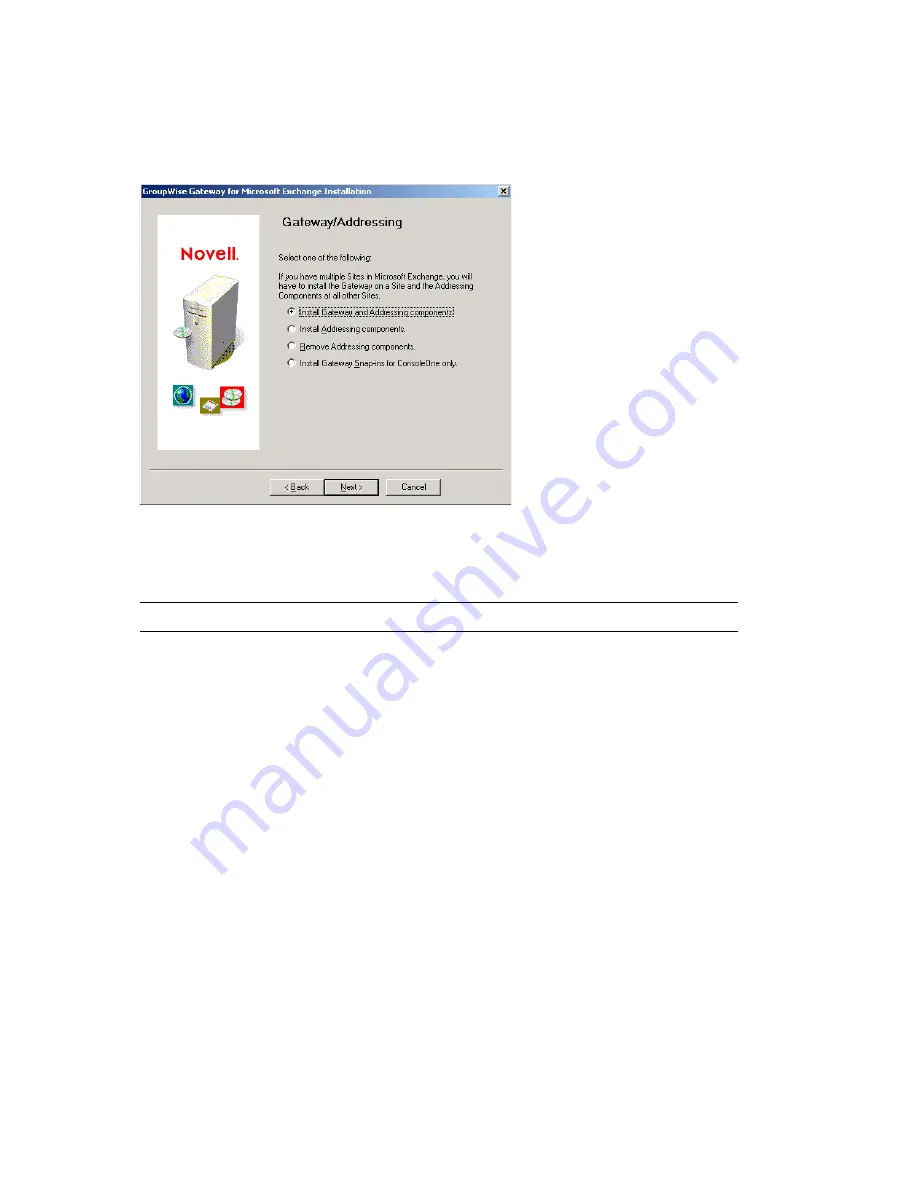
5
Select
Install Gateway and Addressing Components
, then click
Next
.
6
Follow the prompts, using the information from
items 2 through 9
on the
Section 3.10,
“Exchange Gateway Installation Worksheet,” on page 21
to install the Exchange Gateway
IMPORTANT:
Do not start the Exchange Gateway after installation.
7
If your Exchange system consists of more than one server, continue with
Section 4.4,
“Installing the Exchange Gateway Addressing Components,” on page 27
.
8
Continue with
Configuring the Exchange Side of the Exchange Gateway
.
4.4 Installing the Exchange Gateway Addressing
Components
When you installed the Exchange Gateway, the Installation program automatically generated
GroupWise-type addresses for all Exchange users on that server. If your Exchange system consists
of multiple servers, you must install the Exchange Gateway addressing components on each server.
1
Plan the addressing format you want to use for users on the new server, as described in
“Determining Connections between Systems” on page 19
and
Section 3.8, “Selecting User
Address Type and Format,” on page 19
.
2
If you are going to use customized address format, stop the Exchange Gateway.
Summary of Contents for GROUPWISE 7 GATEWAY FOR MICROSOFT EXCHANGE - INSTALLATION AND ADMINISTRATION
Page 4: ...novdocx en 6 April 2007 ...


