11
To connect to your Jetpack:
➊
Turn on your Wi-Fi enabled device and turn on your Jetpack using the power button. The Jetpack display will light up. The
Jetpack broadcasts its own wireless network and name.
➋
Open the Wi-Fi application or controls on the computer or Wi-Fi enabled device that you want to connect to your Jetpack
and find the Wi-Fi name (SSID).
➌
When prompted, enter your Wi-Fi Network password. The Jetpack Home screen should now show an additional connected
device. Your Wi-Fi enabled device is now connected to the Internet.
IMPORTANT
Charge the battery completely before you connect your computer to your Jetpack.
The Jetpack as a wireless mobile hotspot to connect your computer and up to a total of 15 Wi-Fi enabled devices to the mobile
broadband network. The Jetpack is powered on as soon as you press and hold the power button and the display turns on.
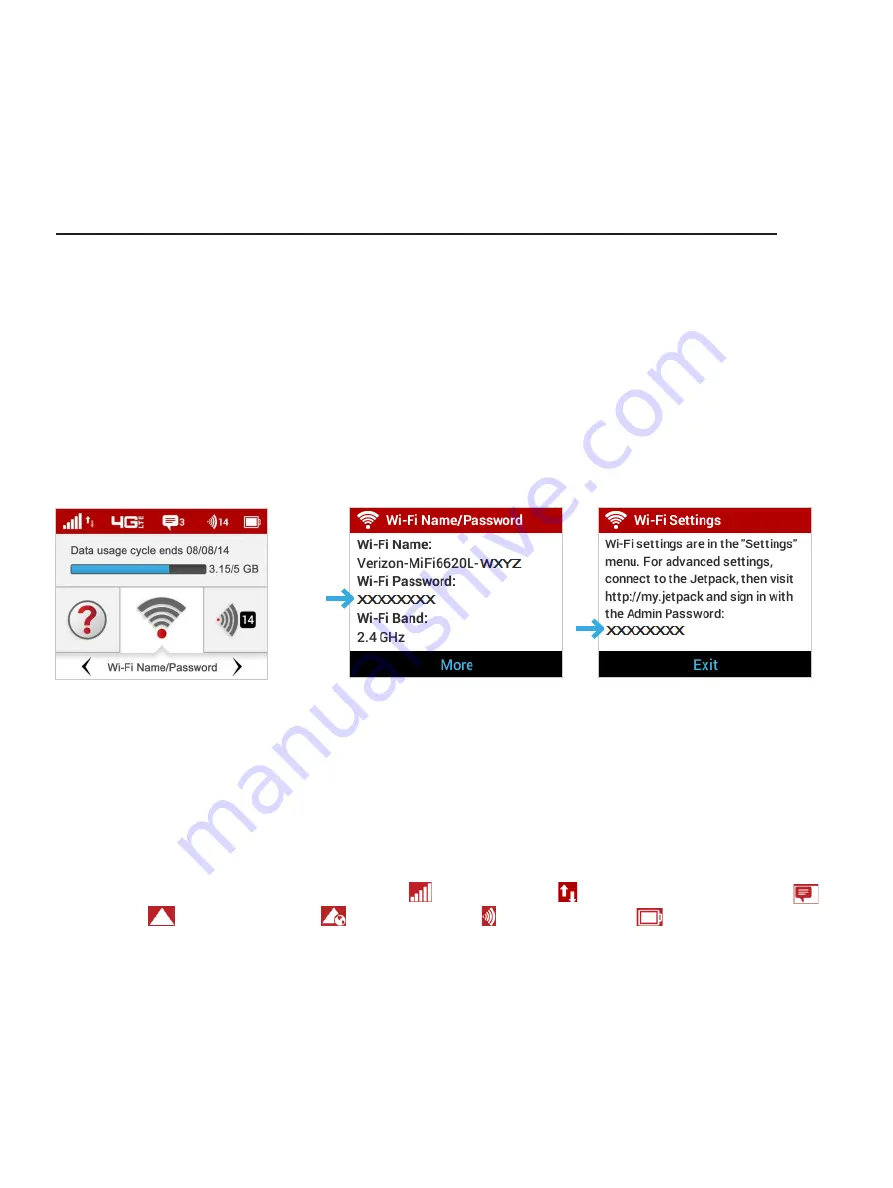
To find the name of the Wi-Fi Network (SSID) and Wi-Fi Password on the Jetpack
display:
➊
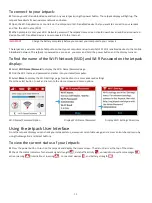
Select
Wi-Fi Name/Password
to display the Wi-Fi Name/Password page.
➋
Find the Wi-Fi name and password and enter into your tablet/computer.
➌
Select
More
to display the Wi-Fi Settings page for directions to access advanced settings.
Press the select button to exit and return to the Home screen and menu options.
Wi-Fi Name/Password Option
Display Wi-Fi Name/Password
Display Wi-Fi Settings Directions
Using the Jetpack User Interface
From the Jetpack display you can check your Jetpack status, view your current data usage, and access an icon-based menu by
using the Navigation and Select buttons.
To view the current status of your Jetpack:
➊
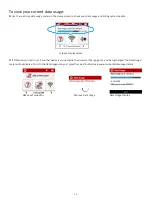
Press the power button to turn on the Jetpack and display the Home screen. The status bar is at the top of the screen.
➋
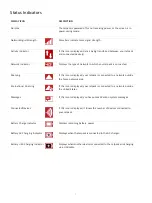
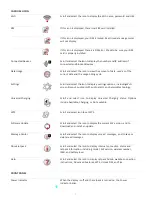
Check the status indicators for network signal strength
, data traffic activity
, unread Verizon system messages
,
active roaming
/international roaming
, connected devices
, and battery strength
.


