background image


36882 English I/B ver. 11202A-1


11202A-1 


              24 


OWNER’S MANUAL 

#  36882 

ver. 

11202A-1 

Page : 24             ENGLISH VERSION 


“beep” will sound to confirm the 
setting has been saved. 

6.  Continue with programming or press 

the INT/MENU button to return to 
STANDBY mode.   


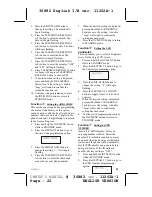
Function


b

:  

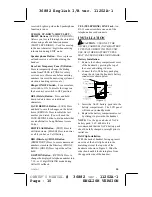
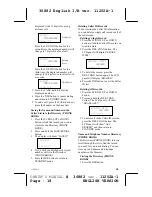
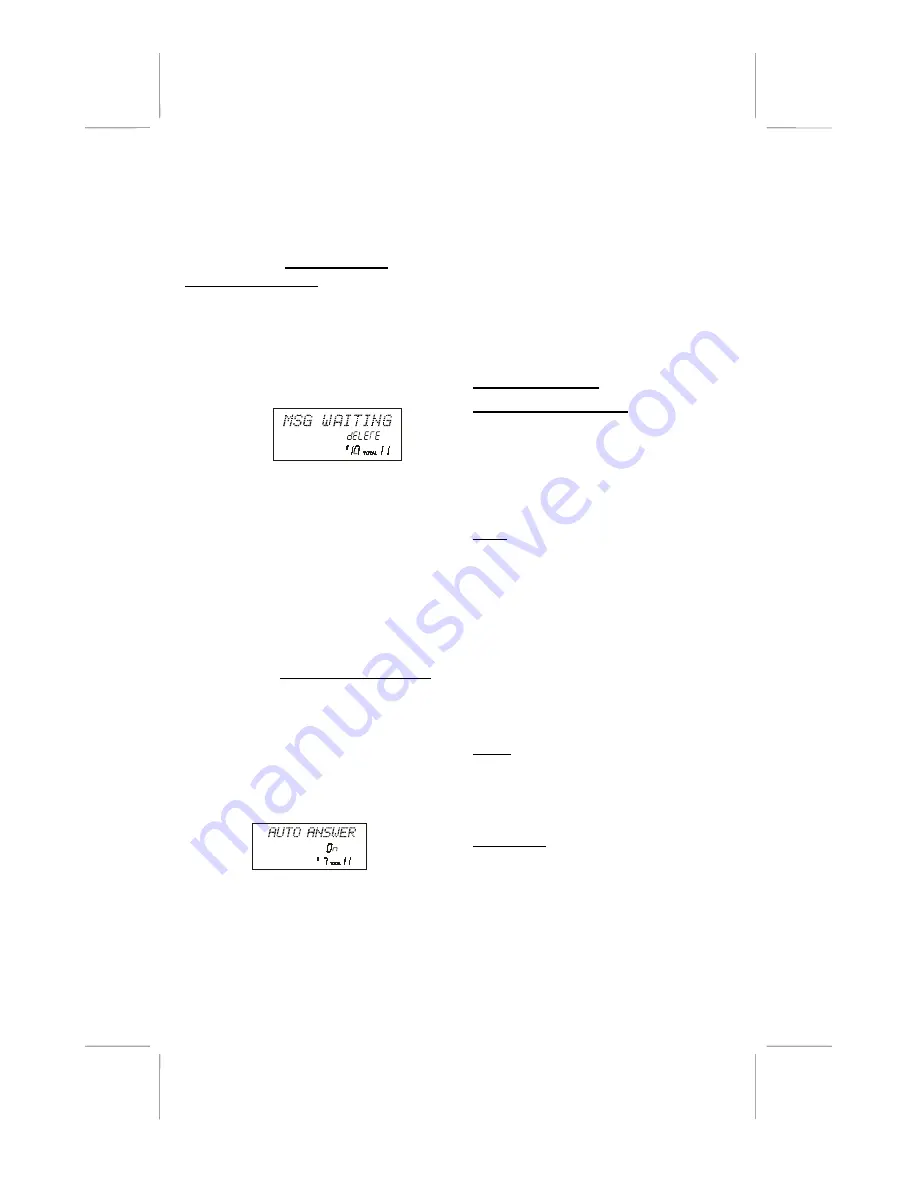
Setting the MSG 

(Message) WAITING


Clears any current message waiting 
indication.


1.  Press and hold the INT/MENU button 

while in STANDBY mode. 

2.  Press the KEYPAD # 0 button to go to 

the Message Waiting programming 
option. 


3.  Press the EDIT/FLASH button to reset 

the Message Waiting Indication. 

dELETE

” will begin flashing. 

4.  Press and hold the SAVE/REDIAL 

button to delete the indication. A 
double “beep” will sound to confirm 
the setting has been saved. 

5.  Continue with programming or press 

the INT/MENU button to return to 
STANDBY mode. 


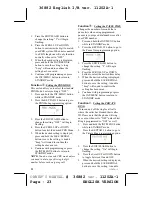
Function


4

:  

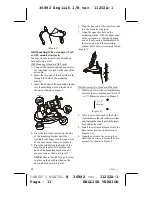
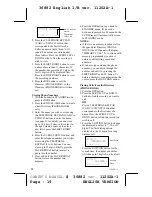
Setting the Auto Answer 

Turn on and off the Auto Answer feature. 
When on, the phone will automatically 
answer an incoming call if the handset is 
lifted from the base cradle. 
7.  Press and hold the INT/MENU button 

while in STANDBY mode.


8.  Press the KEYPAD 

4

 button to go to 

the Auto Answer programming option.


9.  Press the EDIT/FLASH button to 

change the setting. “On” will begin 
flashing.


10.  Press the SCROLL UP or DOWN 

buttons to select the desired setting.


11.  When the desired setting is displayed, 

press and hold the SAVE/REDIAL 

button to save the setting. A double 
“beep” will sound to confirm the 
setting has been saved.


12.  Press the INT/MENU button to return 

to STANDBY mode.


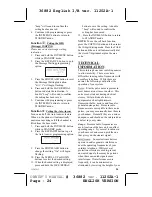
NOTE:

 To use the call back function, 

press the #/OPTION button and then select 
the 10-digit dialing mode. Press the TALK 
button and the unit will automatically dial 
the stored 7-digit number plus the area 
code.


TECHNICAL 
INFORMATION


This cordless phone uses radio frequencies 
to allow mobility.  There are certain 
difficulties in using radio frequencies with 
a cordless telephone.  While these are 
normal, the following could affect the 
operation of your system. 


Noise

:   Electric pulse noise is present in 

most homes at one time or another.  This 
noise is most intense during electrical 
storms.  Certain kinds of electric 
equipment such as light dimmers, 
fluorescent bulbs, motors, and fans also 
generate noise pulses.  Because radio 
frequencies are susceptible to these noise 
pulses, you may occasionally hear them in 
your handset.  Generally they are a minor 
annoyance and should not be interpreted as 
a defect in your system. 


Range

:   Because radio frequencies are 

used, location of the base unit can affect 
operating range.  Try several locations in 
your home or business and pick the one 
that gives you the clearest signal. 


Interference

:   Some electronic devices 

operate in and/or generate interference 
near the operating frequencies of your 
cordless telephone.  While several 
protection circuits are used to prevent 
unwanted signals, there may be periods 
when these unwanted signals cause 
interference.  If interference occurs 
frequently, it can be minimized or 
eliminated by lowering the height of your 


Summary of Contents for BELL Phones EXCURSION 36882

Page 1: ...so visit our web site at http www nwbphones com for technical support and information on our other products WARNING To prevent fire or shock hazard do not expose this product to rain or any type of excess moisture If accidentally dropped into water the AC adaptor should immediately be unplugged from the wall along with the telephone line cord THIS SYMBOL IS INTENDED TO ALERT THE USER OF THE PRESEN...

Page 2: ...ntercom Functions 14 To End Intercom Mode 14 Transferring Calls 14 Multi Channel Access 15 Flash Function 15 Mixed Mode Dialing Temporary Tone Dialing 15 Low Battery Warning 15 65 536 Combination Security Coding 15 Resetting Security Code and Channel 16 CALLER ID OPERATION 16 Viewing Caller Information during Incoming Calls 16 MSG WAITING Message Waiting 16 Call Waiting 17 C F Forwarded Call 17 L ...

Page 3: ...ING ON OFF 21 Function 4 Setting the TIME DATE 21 Function 5 Setting the AREA CODE 22 Function 6 Setting the CONTRAST 22 Function 7 Setting the PBX NUMBER 22 Function 8 Setting the PBX MODE 23 Function 9 Setting the PAUSE TIME 23 Function Setting the PRIVATE RING 23 Function 0 Setting the MSG Message WAITING 24 Function 4 Setting the AUTO ANSWER 24 Technical Information 24 Improving Cordless Recep...

Page 4: ... of the type of power supply to your home consult your dealer or local power company 8 Do not allow anything to rest on the power cord Do not locate this product where people will step on the cord 9 Do not overload wall outlets and extension cords as this can result in the risk of fire or electric shock 10 Never push objects of any kind into this product through cabinet slots as they may touch dan...

Page 5: ...of the battery in a fire The cell may explode Check with local codes for possible special disposal instructions 3 Do not open or mutilate the battery Released electrolyte is corrosive and may cause damage to the eyes or skin It may be toxic if swallowed 4 Exercise care in handling the battery in order not to short the battery with conducting material such as rings bracelets and keys The battery or...

Page 6: ...to maintain uninterrupted service 5 If you experience trouble with the telephone please contact Northwestern Bell Phones for repair warranty information The telephone company may ask you to disconnect this equipment from the network until the problem has been corrected or you are sure that the equipment is not malfunctioning 6 This equipment may not be used on coin service provided by the telephon...

Page 7: ...radio communications However there is no guarantee that interference will not occur in a particular installation If this equipment does cause harmful interference to radio or television reception which can be determined by turning the equipment off and on the user is encouraged to try to correct the interference by one or more of the following measures Reorient or relocate the receiving antenna In...

Page 8: ...ton IN USE LED Indicator CHARGE LED Indicator SPK Speaker phone LED Indicator Scroll UP DOWN Shift LEFT RIGHT Button Speaker phone Button Temporary Tone Button Scroll UP DOWN Shift LEFT RIGHT Button Battery Low Symbol DIR Directory Button EDIT FLASH Button Option Button DEL Delete CHAN Channel Button DEL Delete Button DIR Directory HOLD Button OPTION Button DC 9V Jack Ringer ON OFF Switch Telephon...

Page 9: ...ID work When used with Caller ID service the Caller ID device displays the name if available and the phone number if available of the person calling before you pick up your telephone Who provides Caller ID service Your local telephone company However not all local telephone companies provide Caller ID service Please call your local phone company to confirm that the service is available before you ...

Page 10: ...attery LOW Symbol Appears on the LCD Panel when the battery charge is low SCROLL UP DOWN SHIFT LEFT RIGHT Buttons SCROLL UP DOWN Allows you to scroll through the stored list of incoming calls and function menus SHIFT LEFT RIGHT Used for moving to the next character digit when entering information during EDIT mode DIR Directory Button Press to access names and numbers stored in the Directory PHONE ...

Page 11: ... Press to answer a call if you have a Call Waiting DIR Directory HOLD Button DIRECTORY Press to access names and numbers stored in the Directory PHONE BOOK HOLD Press to put the call on hold OPTION Button OPTION Press to change the displayed telephone number into 7 10 or 11 digit DIALING mode during Caller ID callback TEL TELEPHONE LINE Jack An RJ 11 connector where one end of the telephone line c...

Page 12: ... until it snaps to lock as shown in Figure 5 NOTE Ensure that the lock guide stays in place on the hole provided on the base unit as shown in Figure 6 6 Plug the free end of the short line cord into the modular wall jack 7 Align the upper keyhole on the mounting bracket with the upper stud of the wall plate so that the opening end of the mounting bracket matches the lower stud pull the mounting br...

Page 13: ...tures of your phone is that your handset could utilize a headset not included for hands free communication Insert the small plug at the end of your headset cord to the headset jack at the side of the handset as shown in Figure 12 Follow the procedures discussed in Placing a Call and Receiving a Call when to place and receive a call NOTE The headset jack of your cordless telephone is compatible wit...

Page 14: ... The number displayed will be dialed 3 When you have finished with your call press the TALK button again or place the handset on the base unit NOTE Do not use this telephone within 20 ft of a microwave oven while it is working as you may experience interference This is a normal occurrence with 2 4 GHz phones and should not be interpreted as a defect in the product Using the Base Unit 1 Press the S...

Page 15: ... REDIAL functions are independent from each other Intercom Function You can have a two way conversation between the handset and base unit through the INTERCOM feature Activating the Intercom using the Base Unit 1 Press the INT MENU Button on the base unit 2 The handset emits rapid beep sound 3 The handset user can respond by pressing the INT MENU button and start conversation with the caller from ...

Page 16: ...dicator will light up To transfer the call the handset user must press the TALK button The base unit user could stay on the line to join the phone conversation or the user can press the SPEAKER button on the base unit to release the line to the handset user Note When the base unit user pages the handset user for an intercom call the handset user can press the TALK button to directly access the cal...

Page 17: ...g and Caller ID Call Waiting can be ordered from your local phone company Viewing Caller Information during Incoming Calls When there is an incoming call the name and the telephone number of the caller will automatically appear after the first ring Press the SHIFT RIGHT button to view a name of more than 11 characters OR Caller s telephone number will appear if the caller s name is not available O...

Page 18: ... assigned to your telephone number L D C Long Distance Appears on the upper left hand side when the incoming call is a long distance call and the service is provided by your local telephone company Caller List This phone automatically stores the last 80 calls received It records call information such as caller s name and telephone number together with the date and time of the call The NEW CALL LED...

Page 19: ...on 3 The display will show SAVED 4 If you wish to edit the newly stored number edit it in the Directory PHONE BOOK 5 Press the DIR button to return to STANDBY mode Deleting Caller ID Records When viewing the Caller ID information you can delete a single call record or all of the call records Deleting a Single Record 1 Press the SCROLL UP or DOWN button to find the Caller ID record you wish to dele...

Page 20: ...u wish to store using the TELEPHONE KEYPAD 1 to 0 buttons You can store up to 22 digits Briefly press the SAVE REDIAL button to insert a pause into the number 5 Press and hold the SAVE REDIAL button to store the number into memory 6 Press the DIR button to go back to STANDBY mode If no active buttons are pressed for 20 seconds the LCD Screen will automatically return to STANDBY mode NOTES If there...

Page 21: ...ess the SCROLL UP or DOWN button to find the record you wish to delete 3 Press the DEL CHAN button The LCD panel will display ERASE ITEM 4 To delete the record press the DEL CHAN button again 5 Press the DIR button to return to STANDBY mode PREFERRED CALLS You can assign stored numbers a PREFERRED CALL status When an incoming call is matched to a stored number designated as preferred the phone wil...

Page 22: ... button to change the setting ENGLISH will begin flashing 4 Press the SCROLL UP or DOWN button to toggle between ENGLISH ESPAÑOL and FRANCAIS 5 When the desired setting is displayed press and hold the SAVE REDIAL button to save the setting A double beep will sound to confirm the setting has been saved 6 Continue with programming or press the INT MENU button to return to STANDBY mode Function Setti...

Page 23: ...ion 3 Press the EDIT FLASH button to change the setting will begin flashing 4 Press the TELEPHONE KEYPAD 1 to 0 buttons to enter the three digit area code for your phone number 5 When the desired setting is displayed press and hold the SAVE REDIAL button to save the setting A double beep will sound to confirm the setting has been saved 6 Press the INT MENU button to return to STANDBY mode Function...

Page 24: ...mode NOTE You do not need a PBX mode unless you need to dial a specific single digit number before each outgoing call Function Setting the PAUSE TIME Changes the number of seconds that a pause lasts when using programmed pauses in your speed dial numbers or after your PBX number 1 Press and hold the INT MENU button while in STANDBY mode 2 Press the KEYPAD 9 button to go to the Pause Time programmi...

Page 25: ...onfirm the setting has been saved 12 Press the INT MENU button to return to STANDBY mode NOTE To use the call back function press the OPTION button and then select the 10 digit dialing mode Press the TALK button and the unit will automatically dial the stored 7 digit number plus the area code TECHNICAL INFORMATION This cordless phone uses radio frequencies to allow mobility There are certain diffi...

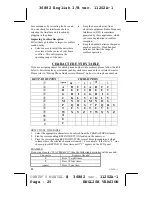
Page 26: ... TABLE If you are assigning names for stored phone numbers into memory please follow the table below to determine the equivalent keypad keystrokes are needed for a certain character Please refer to Storing Phone Numbers into Memory on how to store phone numbers KEYPAD BUTTON CHARACTERS space 4 1 A B C 2 A B C 2 D E F 3 D E F 3 G H I 4 G H I 4 J K L 5 J K L 5 M N O 6 M N O 6 P Q R S 7 P Q R S T U V...

Page 27: ...s M Press one time E Press two times Press two times C Press three times O Press three times Press seven times NOTE If the character fall on the same keypad press the SHIFT RIGHT button to move the cursor For instance A and C press the KEYPAD 2 one time Press the SHIFT RIGHT button to move the cursor then press the KEYPAD 2 three times ...

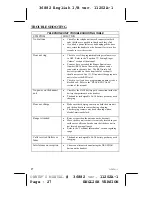
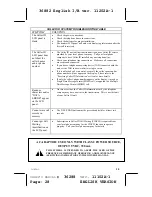
Page 28: ...ct the appropriate units to lower the REN total Check to see if you have programmed a number to be a blocked call Refer to the BLOCKED CALLS section of the manual No power on the handset unit Check for the Ni Cd battery pack connection inside the battery compartment on the handset The handset rechargeable Ni Cd battery pack may need charging Does not charge Make sure the charging contacts on both ...

Page 29: ...l or an out of area call the caller s name and or phone number will not appear on the display Please refer to the Receiving Caller ID Information section for more details If only the caller s phone number appears on the display it may be a Single Data Message Format SDMF call as opposed to a Multiple Data Message Format MDMF call Random characters and or DATA ERROR appear on the LCD panel On rare ...

Page 30: ...36882 English I B ver 11202A 1 29 11102A 1 OWNER S MANUAL 36288 ver 11102A 1 Page 29 ENGLISH VERSION ...

Reviews: