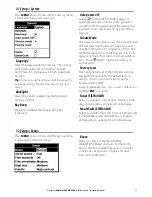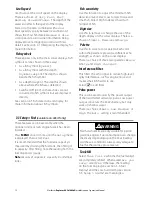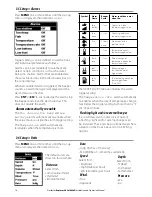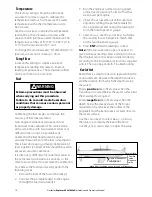
To customize the size of the Data header, highlight
Size
and press
ENT.
There is a
choice of
Small
and
Large
.
To customize the data items to be displayed:
1. Highlight
Data setup
and press
ENT.
The Data header increases in size to display all
data fields. Some data fields may be blank.
2. Use the cursor keys to move from data field to
data field.
3. Press
ENT
at any data field to show the list of
data items that can be displayed there.
4. Highlight the required data item and press
5-2 Sonar Zoom display
ENT
. The data item is immediately displayed in
that data field.
5. Press
ESC
when finished and the Data header
resizes automatically.
Sonar History
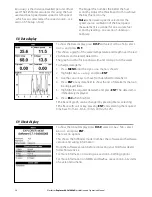
To review an old sonar echo, use < and > to move
back and forward through the sonar history. The
time since the echoes shown on the screen were
recorded is displayed at the bottom of the screen.
Press
ESC
to return to the most recent echo.
Gain
Gain
is explained in section 4-4 Gain.
Range
Range
is explained in section 4-5 Range.
A-Scope
A-Scope
is explained in section 5-5 Sonar
A-Scope display.
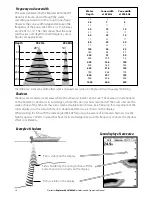
Bottom lock
If
Bottom lock
is
selected
, the zoom section
moves so the bottom is always displayed in the
zoom section, regardless of changes in depth.
If
Bottom lock
is not
selected
, the bottom
will not be displayed in the zoom section when it
is outside the range covered by the zoom bar.
Using the Bottom Lock and the A-Scope features
together can be a powerful aid in recognising the
type of bottom.
Split Ratio
Use this to change the split ratio between the
zoom and the sonar history sections displayed.
The default split ratio is 50%.
1. Highlight
Split Ratio
and press
ENT
.
A left arrow and right arrow appear on either
side of the divider line.
2. Use
the or cursor keys to adjust the
position of the divider line, then press
ENT
.
The adjustable range of the split ratio is from
20% to 80%. For 100% zoom, use ‘full-screen
zoom’ display.
Data header
Data header
is explained in section 5-1 Sonar
display.
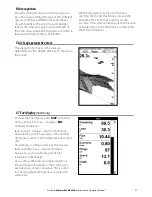
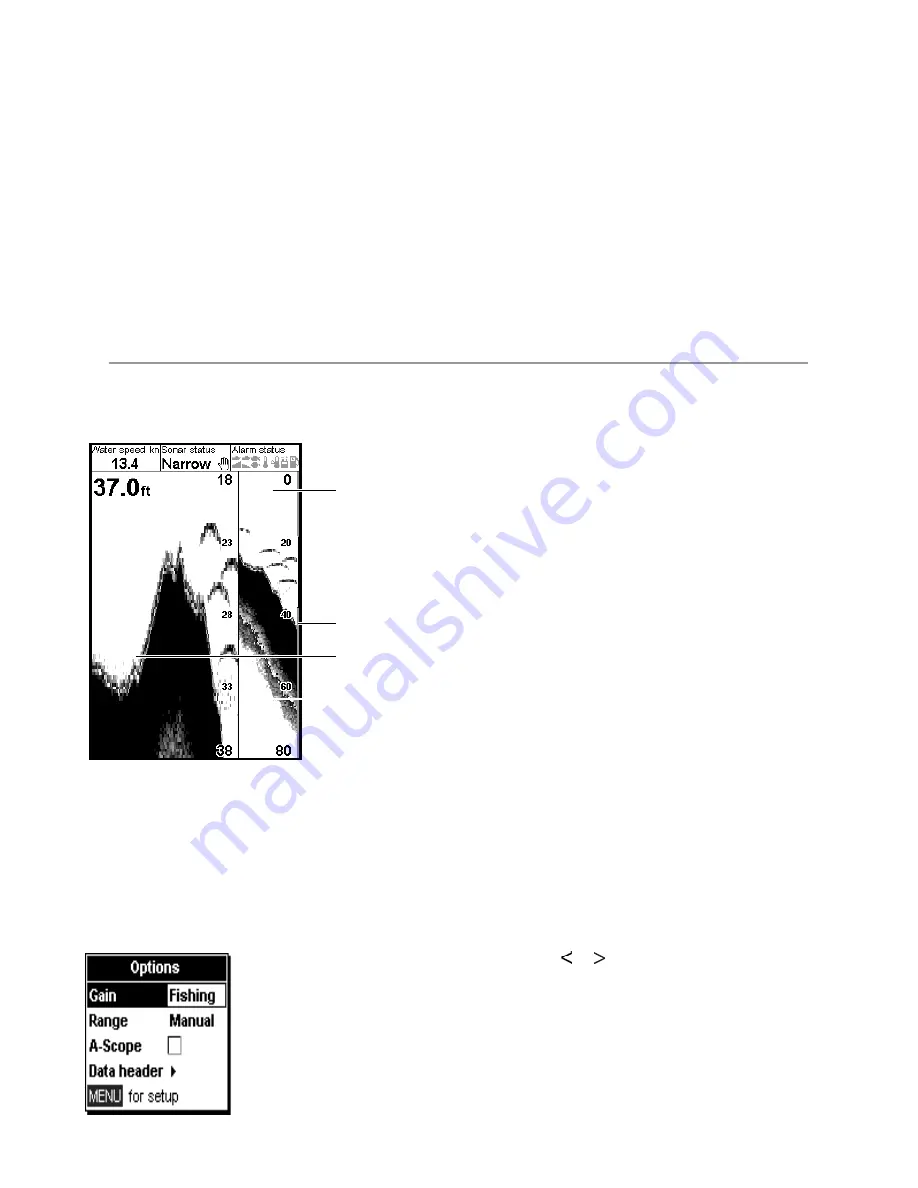
To show the Sonar Zoom display, press
DISP
and
select
Sonar
Tab, select
Sonar Zoom
and
press
ENT.
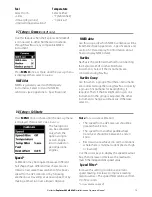
The split display shows the sonar history on the
right side and the zoom section on the left.
The zoom bar on the far right shows the area that
is magnified in the zoom section. See section 4-5
Range, for information about adjusting the Zoom
Range and Zoom Offset.
To change items, press
MENU
until the
Options
menu is shown.
Zoom bar
Sonar history
Zoom section
Divider line
Northstar
Explorer 443d/443df
Installation and Operation Manual
25
Summary of Contents for EXPLORER 443D
Page 1: ...www northstarnav com Explorer 443d 443df Fishfinder Installation and Operation Manual ...
Page 2: ......
Page 39: ......

