


4. Configuring OpenFlow
OpenFlow is disabled on the Zodiac WX by default. Follow these steps to enable it and connect to
an OpenFlow controller.
Important:
It is recommended that you only enable OpenFlow while connected to the LAN port
and not wireless because if the controller is not running or configured correctly you will loose
connectivity via wireless as there will be no default flows installed.
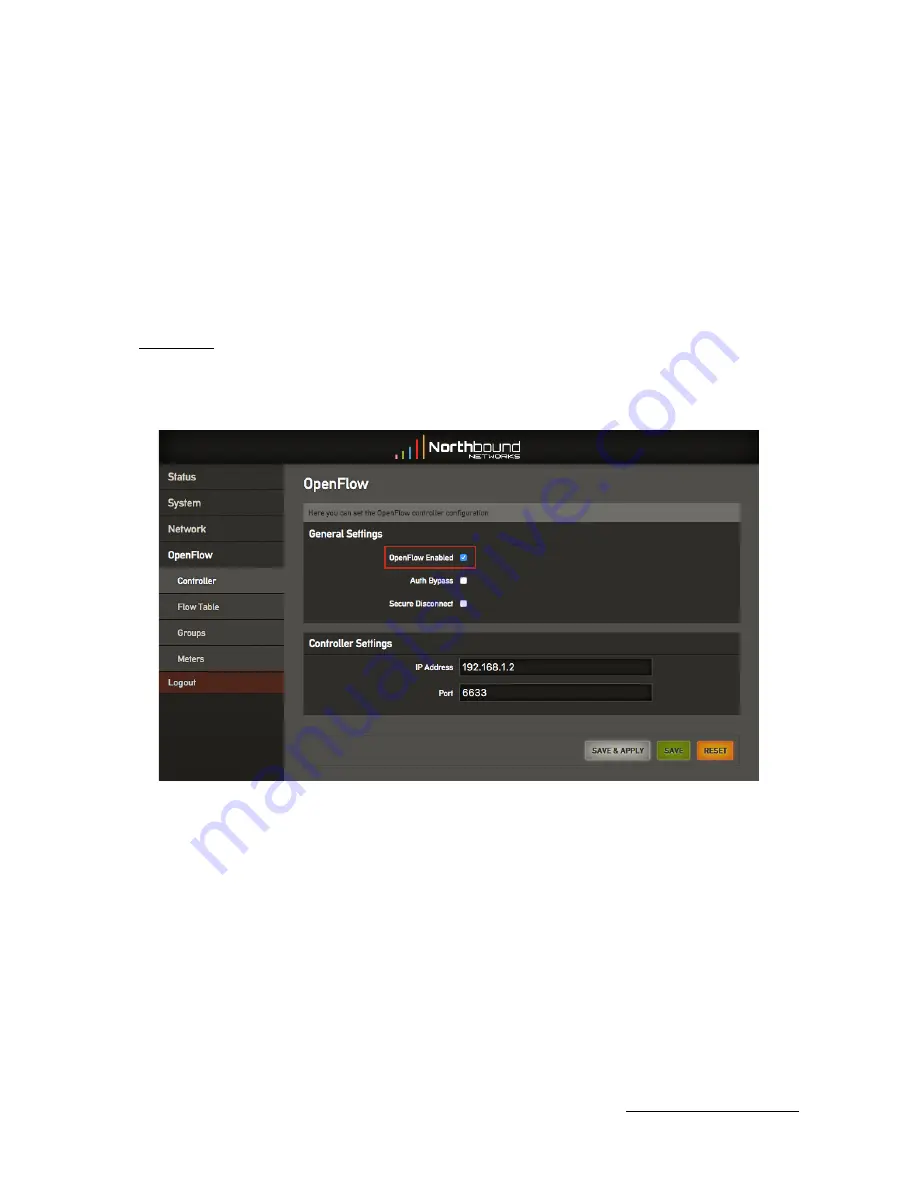
4.1. Enabling OpenFlow
To enable OpenFlow, go to:
OpenFlow
>
Controller
Set the
OpenFlow Enabled
option
.
The controller
IP Address
and
Port
can also be modified to suit your controller configuration.
Again click
SAVE & APPLY
to save your changes.
4.2. Viewing OpenFlow Information
Establishing a connection:
1. Ensure that the
OpenFlow
enabled option is set on the Zodiac WX.
2. Start the OpenFlow controller.
3. The following tabs show the OpenFlow information:
•
Flow Table:
The Flow Table tab will list all the flows currently installed on the Zodiac WX
including match fields, actions and statics.
•
Groups:
A list of the OpenFlow groups currently configured.
•
Meters:
Information about the OpenFlow meters installed including bands and match statistics.
© 2017 Northbound Networks
- Page
-
12
www.northboundnetworks.com


