3
4
5
6
Installation (continued)
3
4
6
5a
5d
Open
Closed
5b
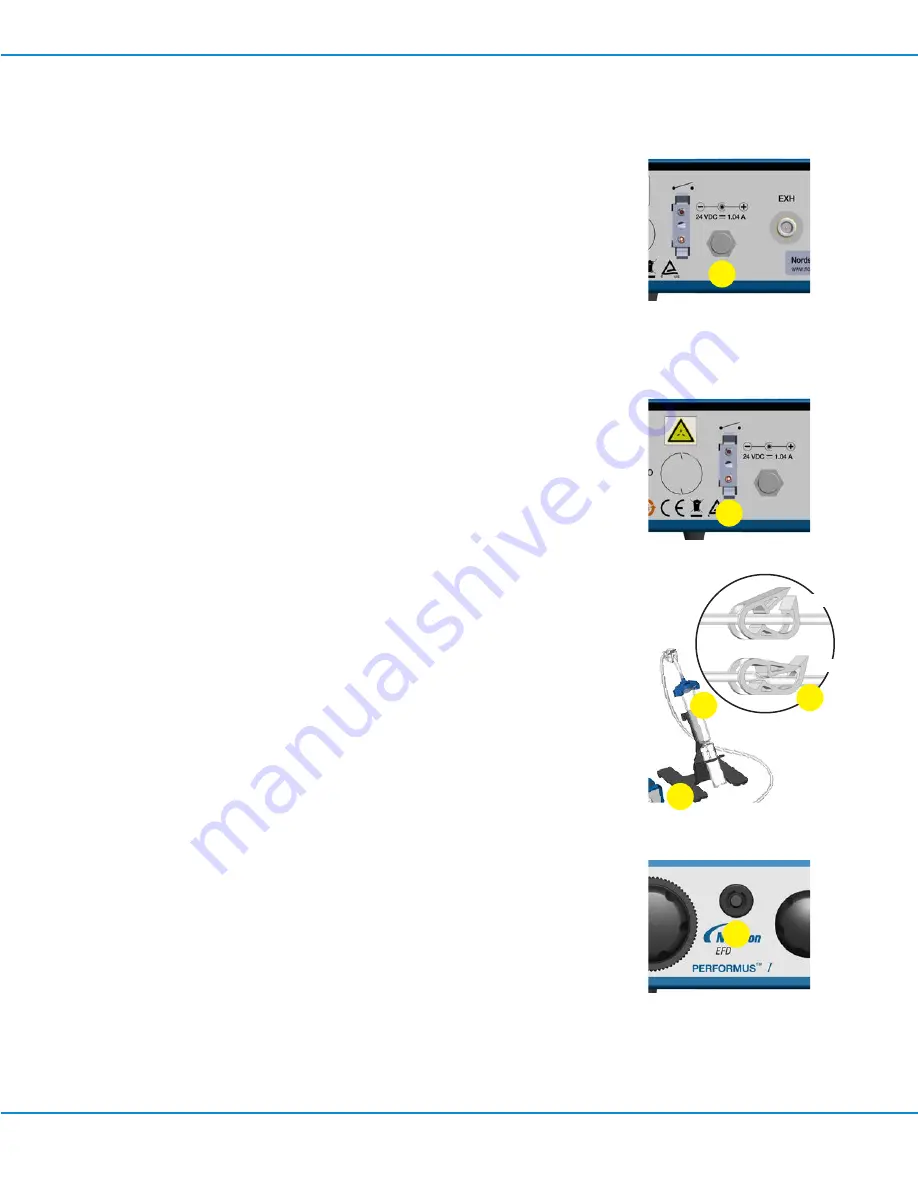
Connect Power
a. Locate the DC input connection on the back of your Performus
dispensing system.
b. Insert the DC Plug securely into the input connection.
c. Select the proper adapter from the power supply plug kit and
then connect the power supply to a grounded power source.
NOTE:
The power supply is multi-voltage, therefore no external
adjustments are required.
Connect Foot Pedal
The Performus is normally operated using the foot pedal provided.
• Connect the foot pedal to the back of the Performus.
NOTE:
If you prefer, you can also operate the Performus with an
optional finger switch (P/N 7016718).
Attach Syringe Barrel / Dispense Tip
a. Attach an EFD syringe barrel filled with your fluid to the adapter
assembly.
b. Snap the safety clip on the adapter hose closed to prevent
dripping. Remember to unsnap the clip when ready to
dispense.
c. Replace the tip cap with an EFD precision dispense tip.
d. Place the syringe barrel in the barrel holder.
Connect Air Output
a. Push in the black male quick-connect on the syringe barrel
adapter into the front of the Performus.
b. Twist clockwise to lock.
Initial setup is now complete. At this point you are ready to set up
your dispensing flow rate and time to suit your application needs.
Performus I Dispensing System
12
www.nordsonefd.com [email protected]
+1-401-431-7000 Sales and service of Nordson EFD dispensing systems are available worldwide.


