Nordic ID Group
| Joensuunkatu 7 | FI-24100 Salo |Finland
358 2 727 7700 | Fax + 358 2 727 7720 | [email protected]
12 / 19
2018-06-25
Nordic ID HH53
User Guide
Version 1.0
2D IMAGER
This section describes methods for configuring 2D imager of Nordic ID HH53. The 2D imager module in
use is Opticon MDI-4100 2D scan engine.
Opticon provides online configuration tools:
http://opticonfigure.opticon.com/
Standalone PC software:
https://wiki.opticonusa.com/techsupport/en/Universal_Config_Tool_2D
There are three different ways to configure the 2D imager that are
1.
Using configuration barcode
2.
Using Nordic ID RFID demo application
3.
Configuring via NUR Accessory extension API
1.8.3.1.
USING CONFIGURATION BARCODES
The easiest way to configure 2D imager is to read configuration code with the 2D imager. Please use
Opticon’s configuration tools (see link above) for creating configuration barcode and print it onto paper.
Read the configuration code with the 2D imager of Nordic ID HH53 and new settings will be set and
saved automatically. Please note barcode configuration codes can be read only when there is no active
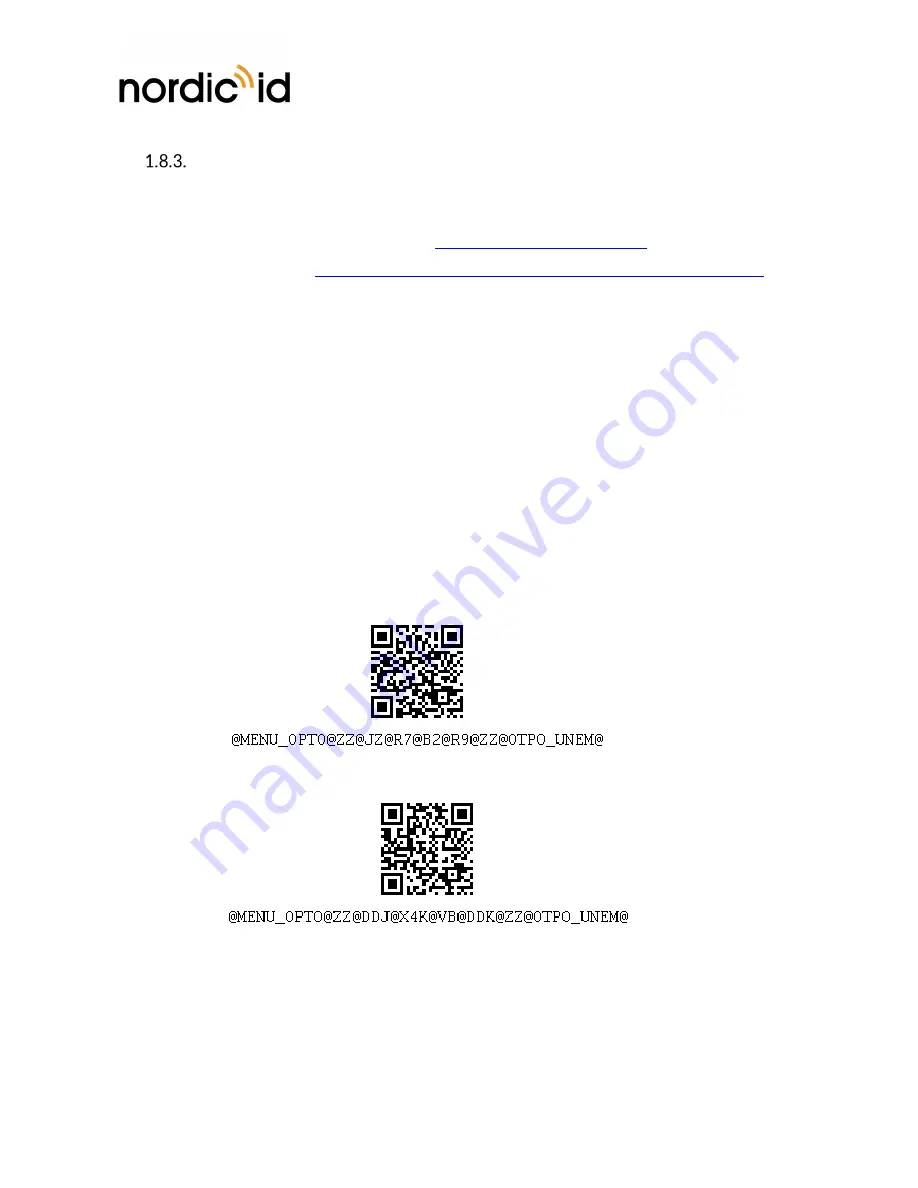
Bluetooth connection with the host device. Please find example configuration barcodes below. More 2D
imager configuration barcodes can be found from APPENDIX 1.
1 - Enable 1D codes: Tri-Optic, Industrial 2 of 5, Code 39 and S-Code
2 - Disable 1D codes: Tri-Optic, Industrial 2 of 5, Code 39 and S-Code
1.8.3.2.
USING NORDIC ID RFID DEMO APPLICATION
Nordic ID RFID demo application allows testing of different kind of barcode configurations effortlessly.
Configurations can be read and set from specific file. The specific file is a simple text file containing
configuration command strings generated by the Opticon’s configuration tool. The configuration settings
of Nordic ID RFID demo applications can be accessed via Settings menu or barcode functionality.


