


Nixie Tube Clock ‘Spectrum 18’
Issue 2 (15 February 2015)
www.pvelectronics.co.uk
- 28 -
6.
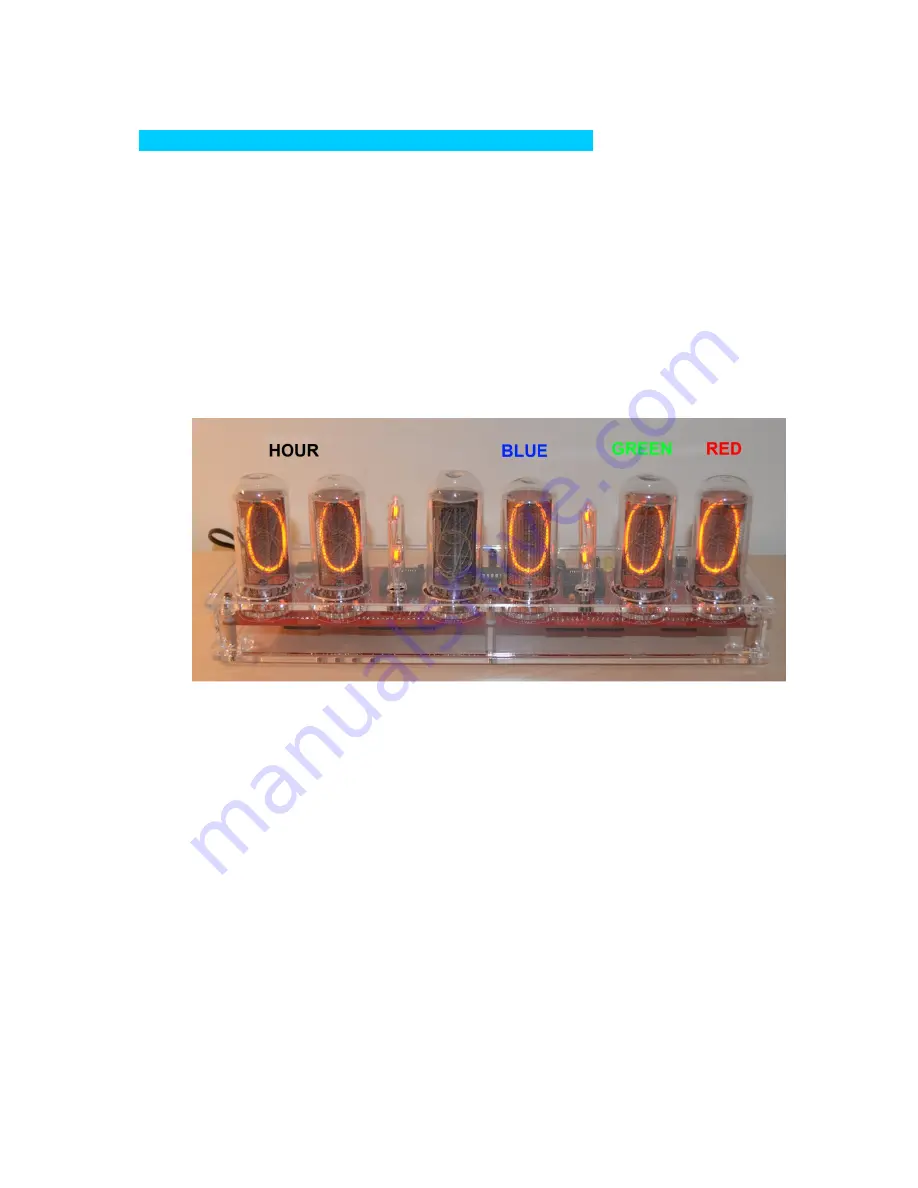
CONFIGURING THE RGB LED TUBE LIGHTS
The clock features a separate and dedicated setup menu for the
RGB LED lights, accessed from the ‘DST’ button. All settings are
stored to non-volatile memory, so your favourite colours will still be
there after even a long power off.
You can set fixed colours and intensities, or program an auto colour
cycling effect at your choice of speed.
6.1 Entering RGB LED menu
Press and hold the ‘DST’ button until the display shows: 00: 0:00.
NX3 will not be lit.
•
For each hour (0-23), you can set a custom colour
•
Each custom colour can have your choice of
BLUE,
GREEN
and
RED
values from 0 (colour off) to 8 (maximum brightness)
•
Mix the colours using the
ALARM
,
ADJ
,
SET
buttons.
•
Use low values (1,2 and 3) for low brightness, eg. For night time
•
Set the value to ‘0’ for that colour to be off
•
Once you are happy with the colour for that hour, press ‘DST’ to
move to the next hour
•
Have fun playing with your favourite colours and intensities!
•
Colours are displayed live during RGB menu: