


2
Getting Started
1)
Insert the power lead into the Digital Photo Frame’s socket marked DC
2)
Turn on the Digital Photo Frame by pressing the POWER button on the back of the unit.
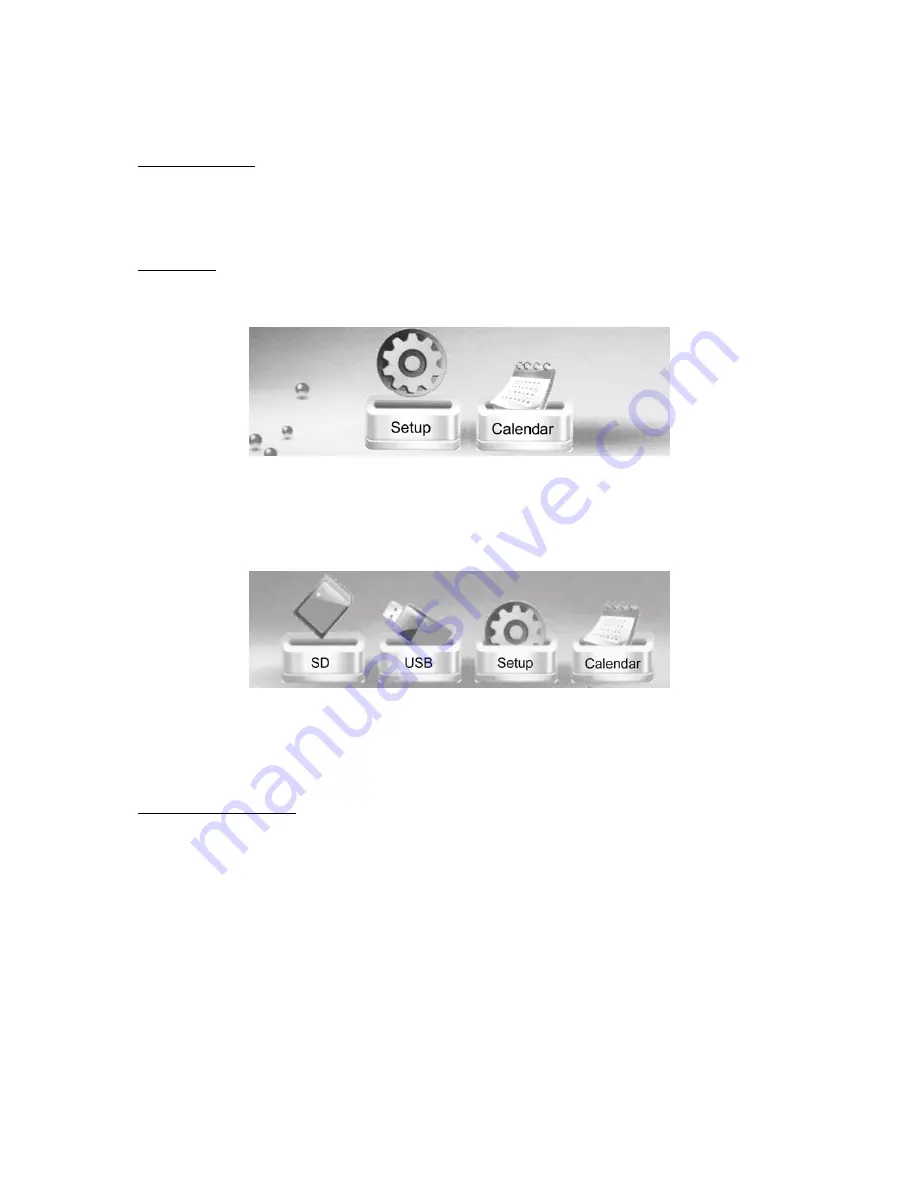
Main Menu:
After turning on the unit, this screen will appear:
If you have memory devices inserted into the frame (ie SD/SDHC or USB Flash Drive), they will
appear as an extra icon in this Menu. For Example:
Use the
[◀]
[
▶]
buttons to navigate, then press ENTER to select an option.
Viewing Your Photos
This Digital Photo Frame allows you to view JPEG Photo files only.
▪
After selecting the memory device you want to view your photos from, you will see
several options displayed in the diagram below. Select ‘Picture’ to view your photos by
pressing ENTER. You will now have access to your photos in thumbnail view. You can
navigate through your photos using the
[◀]
[
▶][▲][▼]
buttons. Press ENTER to start
playing your photos.
Note: If there are no photos on your memory device, you will not continue to the next screen.


