background image

NIX4 and NIX6 

User’s Guide


NIX4 and NIX6 

User’s Guide


6.3


Parameters Settings Menu 

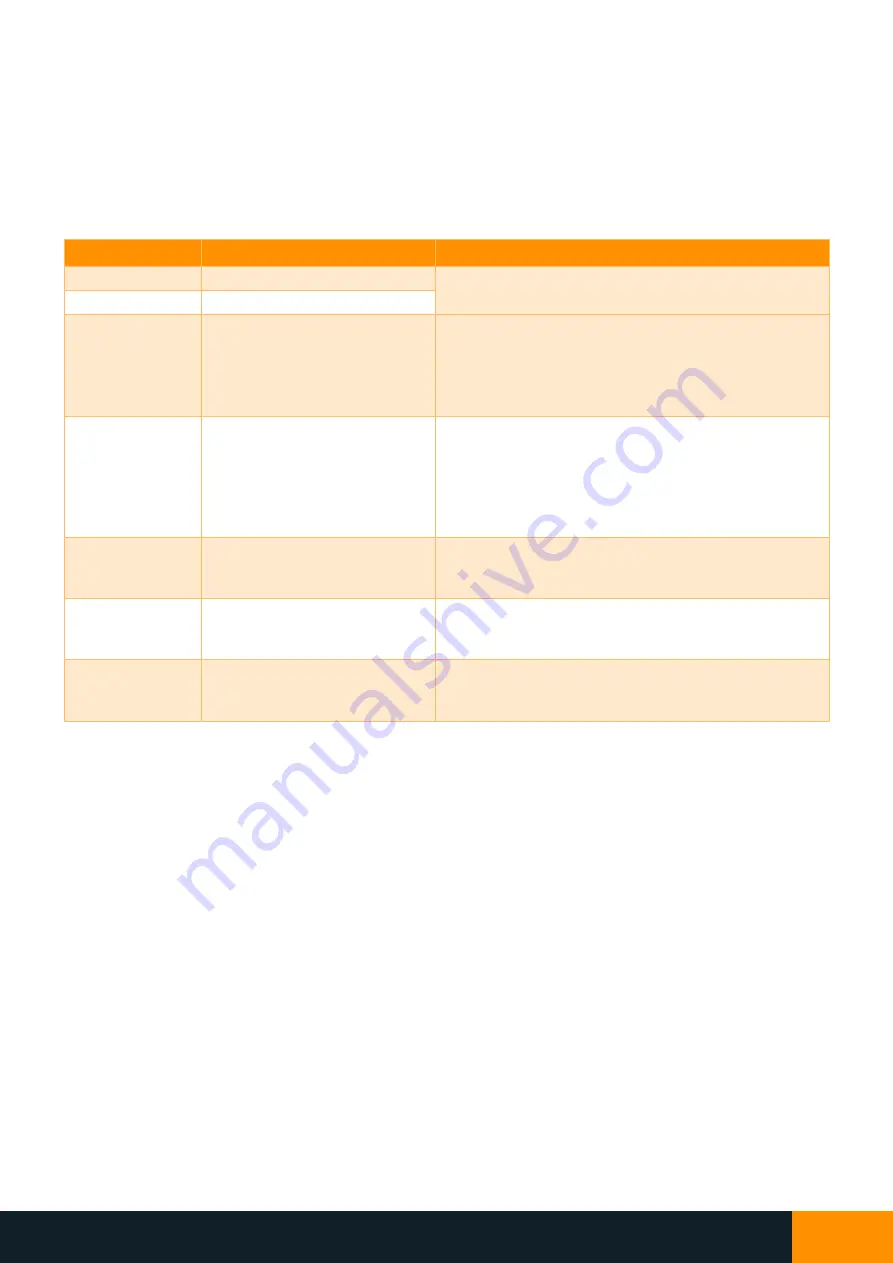
Hold the SET button for 3 seconds and the display will enter the parameters settings menu, which allows adjustment 
of the brightness, LED colour, 12/24hr time and other settings. The leftmost digit shows the setting number, and 
the rightmost digits show the current value 

 use the 

▲ 

and 

▼ 

buttons to adjust. Press the SET button briefly to 

advance to the next setting, and at the end of the settings list it will save all changes and return back to the normal 
time screen. If no button has been pressed for 30 seconds, the display will revert back to the normal time screen, 
saving any settings that were changed. The ordering and description of these options are shown below. 

Setting Number 

Description 

Usage 

Set day-time tube brightness 

Use 

▲ 

and 

 to set tube brightness from 0 (min) to 7 

(max). 

Set night-time tube brightness 

Set night-time light threshold 

Press 

 to use the current ambient light level as the 

night-time detection threshold.  
Press 

 to use existing threshold. 

“1” = New night

-time threshold will be set 

“0” = No change to threshold level


Set custom LED colour 

Cycle through LED colours by holding 

▲ 

or 

 and 

release on the desired colour. To show the custom 
colour on the normal time screen, exit the menu and 
use 

 to cycle through presets until new colour is 

selected.  
Note: no value is shown on right side of display. 

Set LED brightness 

Use 

▲ 

and 

 to set LED brightness, applied to all 

screens.  
Note: no value is shown on right side of display. 

Select 12hr or 24hr time format 

Use 

▲ 

and 

 to choose time format. 

“1

2

” = 12

-hour 

24

” = 

24-hour 

Select °C or °F temperature 

Use 

▲ 

and 

 to choose temperature units. 

“1” = °F (Degrees Fahrenheit)


“0” = °C (Degrees Celsius)


Summary of Contents for NIX4

Page 1: ...2022 NIXlabs Revision C0 NIX4 and NIX6 User s Guide...

Page 2: ...ure Display 5 6 Using the Built In Buttons 6 6 1 Setting the Time 6 6 2 Using the Counter Timer 6 6 3 Parameters Settings Menu 7 7 Online Configuration Application Web App 8 7 1 Using the Web App 9 7...

Page 3: ...ion Count up and count down timer Customisable RGB base lighting LEDs with seven presets and random colour mode Night time display and LED dimming with adjustable level and threshold Selectable button...

Page 4: ...re any substitute power adaptor carries the compliance markings for your country for example the Australian RCM and or safety approvals such as the UL mark Do not use generic adaptors from eBay or sim...

Page 5: ...IX6 can show the date in a DD MM YY default or MM DD YY format In this date screen both of the lower colon separators are lit to distinguish between the day month and year In the example below the for...

Page 6: ...2 Date Display The NIX4 can show the date in a DD MM or MM DD format In this date screen the lower colon separator is lit to distinguish between the day and month In the example below the format has...

Page 7: ...minutes pressing SET again will save the new time and return to the normal time screen When the new time is saved the seconds are set to zero If the setting menu is entered into but the hour and minut...

Page 8: ...ng Number Description Usage 1 Set day time tube brightness Use and to set tube brightness from 0 min to 7 max 2 Set night time tube brightness 3 Set night time light threshold Press to use the current...

Page 9: ...c Linux and Android On Windows Mac and Android devices your NIXlabs clock will work without any additional setup InLinux you may need to add a new udev rule in etc udev rules d with the following info...

Page 10: ...button at the top right of the page A dialog will appear listing all of the compatible NIXlabs devices found choose your device and click connect Upon connection all of the device s settings are loade...

Page 11: ...NIX4 and NIX6 User s Guide NIX4 and NIX6 User s Guide 10 Connection Status More Options Connect Button Tile Apply Button Settings Tiles Settings Controls...

Page 12: ...default or F temperature units Show leading zero Enable or disable default time screen leading zero Eg 8 35 becomes 08 35 Button beep Enable or disable default beep on button press with two loudness s...

Page 13: ...you submit the settings LED colour cycling Change between static home screen LED colour set in default or six speeds of auto colour changing If colour cycling is enabled then it over rides the indepe...

Page 14: ...n Regardless of this control the LED changer will still work according to settings and Antipoisoning Pattern Four styles of antipoisoning routine are available To try each set the Occurrence Time to R...

Page 15: ...the clock detects no activity on the computer s USB port such as when the PC goes to sleep or is shut down This feature depends on the computer s hardware and may not be compatible for all devices Da...

Page 16: ...built in antipoisoning feature see Anti Poisoning Options which cycles through all digits at high brightness every 10 or 60 minutes For the best preventative measure use the 10 minute option From the...

Page 17: ...ing both day and night tube brightness levels If the clock is using the night brightness value refer to Parameters Settings Menu or Using the Web App to set the night detection threshold Ensure you ar...

Page 18: ...e version in less than one minute using the online Web App Click the gear icon and select Firmware Update from the menu From here you can see the changes and new features in the latest version and sta...

Page 19: ...not removable or user replaceable There are no single use fuses on the circuit board nor any batteries Apart from cleaning no maintenance or periodic servicing is required 14 Warranty and Repairs All...

Page 20: ...ng page Mass 165g 240g Operating Environment 0 C to 40 C 95 rh non condensing Display Type HH MM each digit is a reclaimed IN8 2 nixie tube 2 neon bulbs for the colon separator HH MM SS each digit is...

Page 21: ...NIX4 and NIX6 User s Guide NIX4 and NIX6 User s Guide 20 15 1 Dimensions 15 1 1 NIX4 15 1 2 NIX6 64mm 22mm 42mm 64mm 22mm 42mm...

Reviews: