


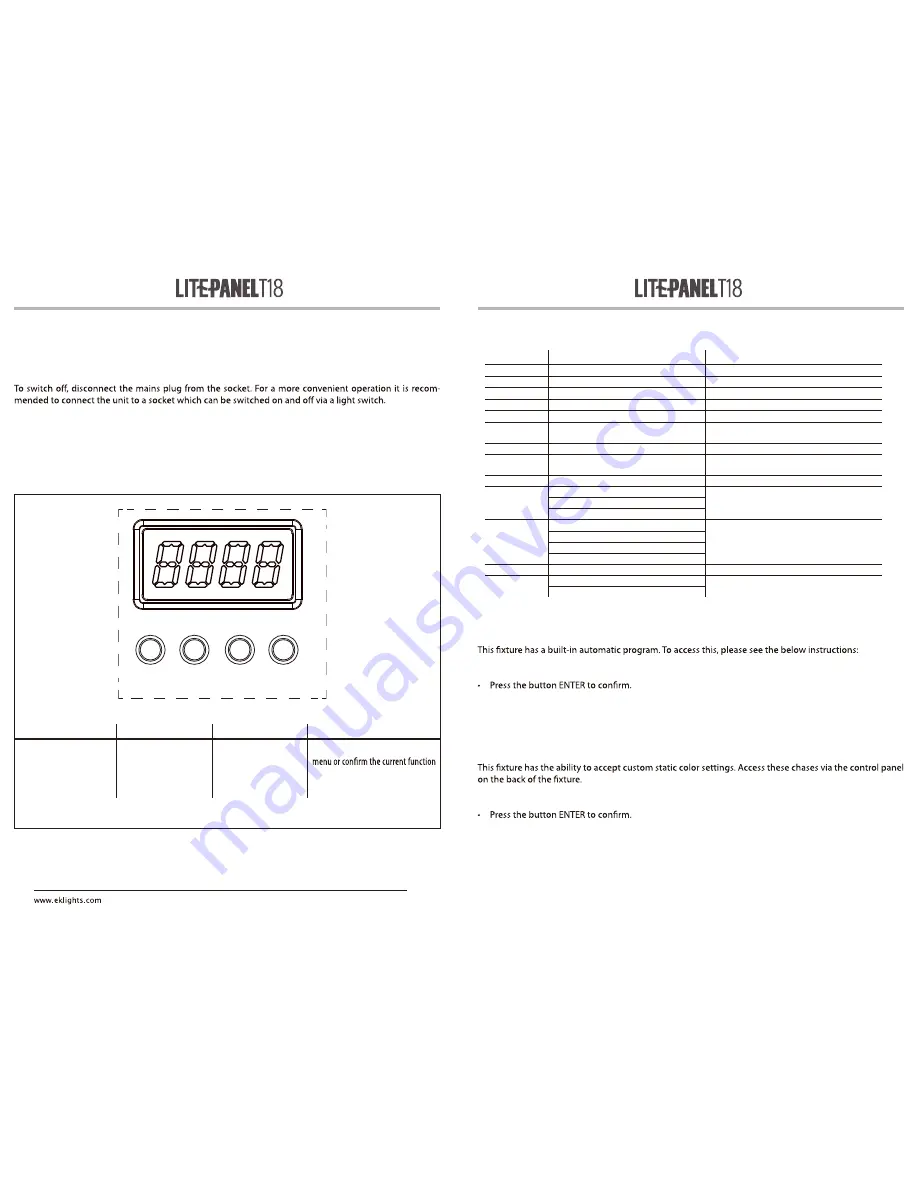
Functions of the buttons
FUNCTIONS AND SETTINGS
OPERATION
Connect the supplied main cable to a socket (100-240 VAC-50/60 Hz). Then the unit is ready for operation
and can be operated via a DMX controller or it independently performs its show program in succession.
BASIC
Access control panel functions using the four panel buttons located directly underneath the LED Display
MENU
UP
DOWN
ENTER
Used to access the menu or
to return a previous menu
option
Increases the numeric
value when in a function
Decreases the numeric
value when in a function
Used to select and store the current
value or option within a menu
MENU
UP
DOWN ENTER
8
MENU STRUCTURE
AUTO SHOW
• Press the button MENU so many times until shows P-- , then press the button ENTER.
• Using UP/DOWN button, select one of the programs P1 - P14
• Press the button MENU until S-- appears on the display.
• Use the button UP/DOWN to select the auto programs speed S001 - S100 (slow-fast).
• Press the button ENTER save the setting.
STATIC COLOR
• Press the button MENU so many times until shows C-- , then press the button ENTER.
• Using UP/DOWN button, select one of the programs C1 - 18
9
Menu Item
Parameters
Description
3-CH
d001–512
3-channel DMX mode
5-CH
d001–512
5-channel DMX mode
9-CH
d001–512
9-channel DMX mode
13CH
d001–512
13-channel DMX mode
C--
C1 –18
Static colors
P--
(automatic)
P1–14
Automatic programs
S --
S --1–100
Program speed for P1–P 14
Snd
(sound -active)
Snd
Sound -Active program
SenS
u--0–100
Sound sensitivity setting
U--
r000–255
(red)
Custom static colors
Combine red, green, and blue
g000–255
(green)
b000–255
(blue)
dIM
OFF
Dimmer speed mode, fast to slow, or off
dIM1
dIM2
dIM3
teMP
_ _
Displays current product temperature
SEr
On
IR function on or off
OFF
• Press the MENU button to go back or to meet the waiting time to exit the setup menu.


