


81
Connecting to a Printer
Co
n
n
e
ct
ing
to
T
e
le
v
isi
o
n
s,
Co
m
p
u
te
rs a
n
d P
rin
te
rs
4
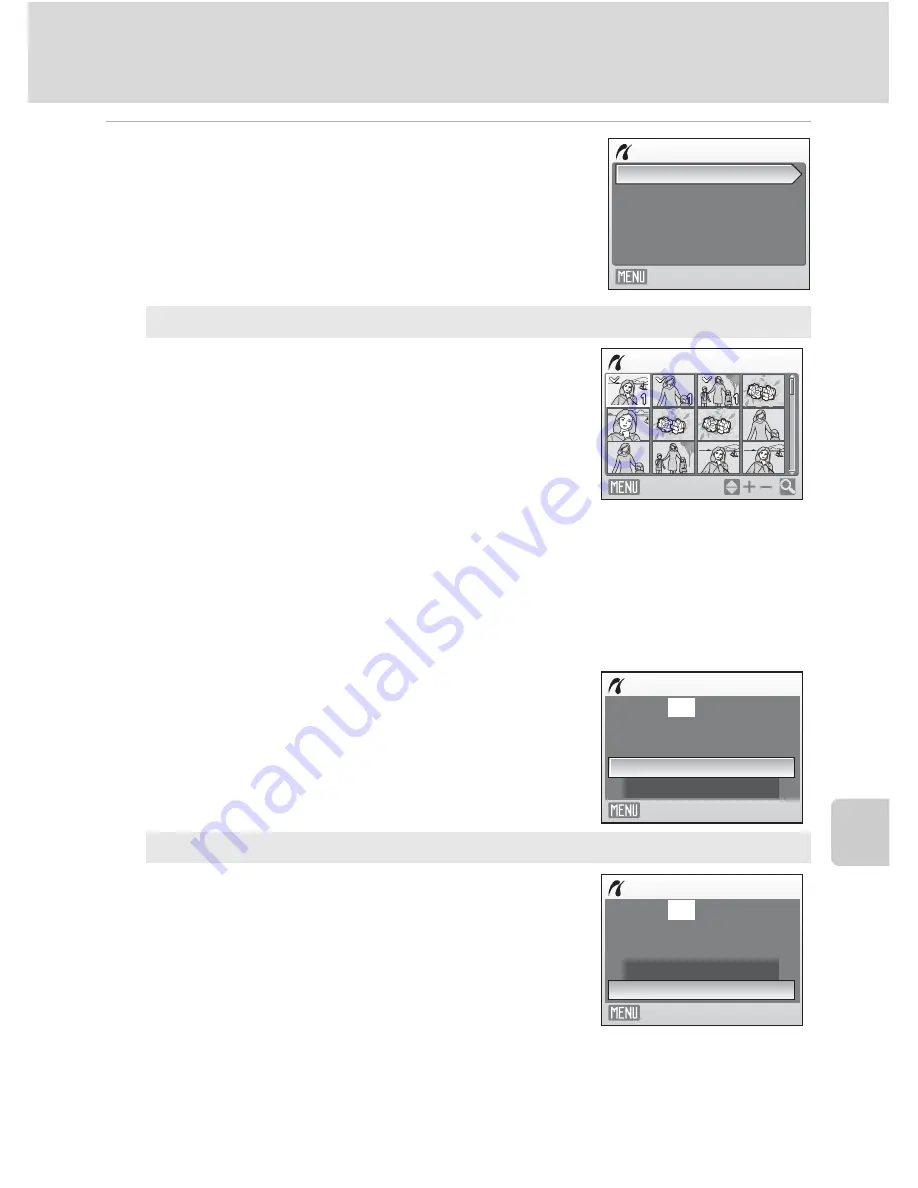
Choose
Print selection
,
Print all images
or
DPOF printing
and press
k
.
Print selection
Choose the pictures and number of copies (up
to nine) of each.
Press the multi selector
J
or
K
to select
pictures, and press
H
or
I
to set the number of
copies for each.
Pictures selected for printing can be recognized
by the check mark (
y
) and the numeral
indicating the number of copies to be printed. A
check mark is not displayed with pictures for
which no copies have been specified and these
pictures will not be printed.
Press
g
(
i
) to switch to full-frame playback.
Press
f
(
h
) to switch back to thumbnail
display.
Press
k
when setting is complete.
The menu shown at right will be displayed.
To print, choose
Start print
and press
k
.
Choose
Cancel
and press
k
to return to the
print menu.
Print all images
All pictures stored in the internal memory, or on
the memory card, are printed one at a time.
The menu shown at right will be displayed.
To print, choose
Start print
and press
k
.
Choose
Cancel
and press
k
to return to the
print menu.
Print menu
Print all images
Print selection
Paper size
DPOF printing
Exit
Print selection
10
Back
Print selection
Cancel
010
prints
Start print
Exit
Print all images
Cancel
012
prints
Start print
Exit
Summary of Contents for 26108
Page 1: ...DIGITAL CAMERA User s Manual ...
Page 160: ...148 ...
Page 161: ...149 ...
Page 162: ...150 ...
Page 163: ......


