16
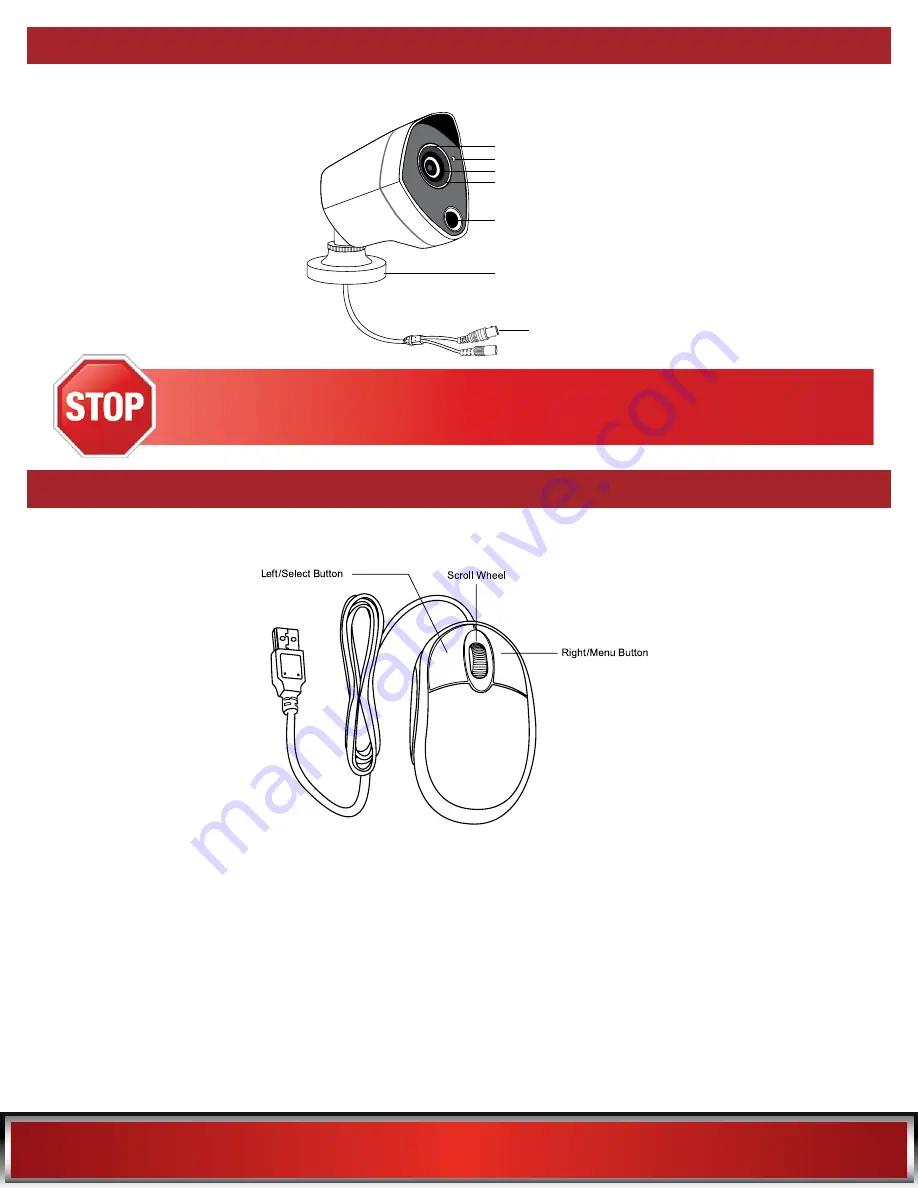
4.2.2 Camera Diagram
CAMERA
Infrared PIR Sensor
IR Cut Filter
3MP Resolution
Wide Viewing Angle 80º
Night Vision up 130 ft.
3-Axis Mounting Bracket
(Vandal-Proof Wire
Camera Protection)
Video/Power Cables
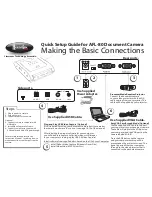
4.2.3 Mouse Diagram
MOUSE
Live Viewing:
Double-click the left button on any camera view in split-screen mode to bring it to full screen display.
Double-click again to return to split-screen mode. Right-click to show the Right-Click Menu at the
bottom of the screen. Left-clicking hides the Right-Click Menu.
In Setup:
Left-click to make a selection. Right-click to cancel setup or return to previous screen.
To Enter Values:
Move the cursor to a blank field and click the mouse. A virtual keyboard will appear which supports
numbers, letters and symbols. The Shift function will access symbols in addition to upper case letters.
Connect all cameras locally before final placement to ensure that all components function properly.
Summary of Contents for THD Series
Page 3: ...3 TABLE OF CONTENTS...
Page 7: ...7 CHAPTER 1 FCC WARNINGS...
Page 9: ...9 CHAPTER 2 SAFETY INSTRUCTIONS...
Page 11: ...11 CHAPTER 3 APP OVERVIEW...
Page 13: ...13 CHAPTER 4 SPECIFICATIONS...
Page 17: ...17 CHAPTER 5 CAMERA INSTALLATION...
Page 22: ...22 CHAPTER 6 DVR INSTALLATION...
Page 25: ...25 CHAPTER 7 GETTING STARTED...
Page 46: ...46 CHAPTER 8 MENUS AND SETTINGS...
Page 80: ...80 CHAPTER 9 GLOSSARY...
Page 82: ...82 CHAPTER 10 WARRANTY...
Page 85: ...85 CHAPTER 11 TROUBLESHOOTING...
Page 88: ...88 CHAPTER 12 USER INFORMATION...


