


Construction manual - Robot kit NIBO
burger
08.09.2015
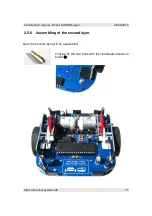
3.2
Part II – Sensor bricks
We build the following setup to test the sensor bricks:
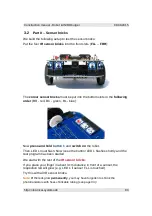
Put the four
IR sensor bricks
into the front slots (
FLL
–
FRR
):
The
colour sensor bricks
must be put into the bottom slots in the
following
order
(BR - red, BC - green, BL - blue):
Now
press and hold
button 1
and
switch on
the robot.
Then LED 1 must flash. Now loose the button! LED 1 flashes shortly and the
test program has been started.
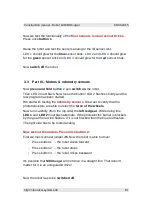
We start with the test of the
IR sensor bricks
:
If you place your finger in about 3 cm distance in front of a sensor, the
respective led will glow (e.g. LED 1 if sensor FLL is touched).
Try this with all IR sensor bricks.
Note:
If
the leds glow
permanently
, you may have forgotten to shrink the
phototransistors with heat-shrinkable tubing (see page 34)!
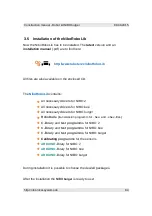
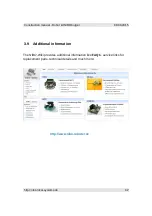
http://nibo.
nicai-systems.de
80


