80
NIBCO INC. WORLD HEADQUARTERS • 1516 MIDDLEBURY ST. • ELKHART, IN 46516-4740 • USA • PH: 1.800.234.0227
TECH SERVICES PH: 1.888.446.4226 • FAX: 1.888.336.4226 • INTERNATIONAL OFFICE PH: +1.574.295.3327 • FAX: +1.574.295.3455
www.nibco.com
Visit our website for the most current information.
www.nibco.com
A H E A D O F T H E F L O W
®
Installation Instructions for 1/2" - 2"
Press Fittings and Valves
WARNING:
To prevent serious injury, inspect the pressing tool, battery
charger (if applicable) and jaw sets according to the procedure outlined in the
pressing tool instruction manual prior to beginning installation.
Failure to clean jaws can result in an improper connection that can lead to
extensive property damage.
Preparing the Copper Tube
1. Select clean, undamaged copper tube and cut to desired length. Cut tube
end square using a tube cutter or fine-toothed saw. Do not crimp over
damaged, scratched, gouged, or otherwise damaged tubing ends. Do not
crimp over etch print streams on tubing.
(Figure 1).
Figure 1 — Cut tube to desired length
2. Deburr the tube inside and outside diameter using a half-round file or a
deburring tool.
3. Clean the tube
end
of all dirt, oil and grease. (Emery cloth or sandpaper
to clean the tube or remove oxidation
should not be used
.)
Inserting the Tube into the Fitting or Valve
1. Check the fitting to make sure the EPDM seal is in place, clean and free of
dirt and debris
(Figure 2)
.
Figure 2 — Check for EPDM Seal
WARNING:
Never lubricate the EPDM seal in the NIBCO Press System fit-
ting or valve with anything other than water. Oil-based lubricant, dirt or debris
may damage the seal. An improper seal can lead to extensive property damage.
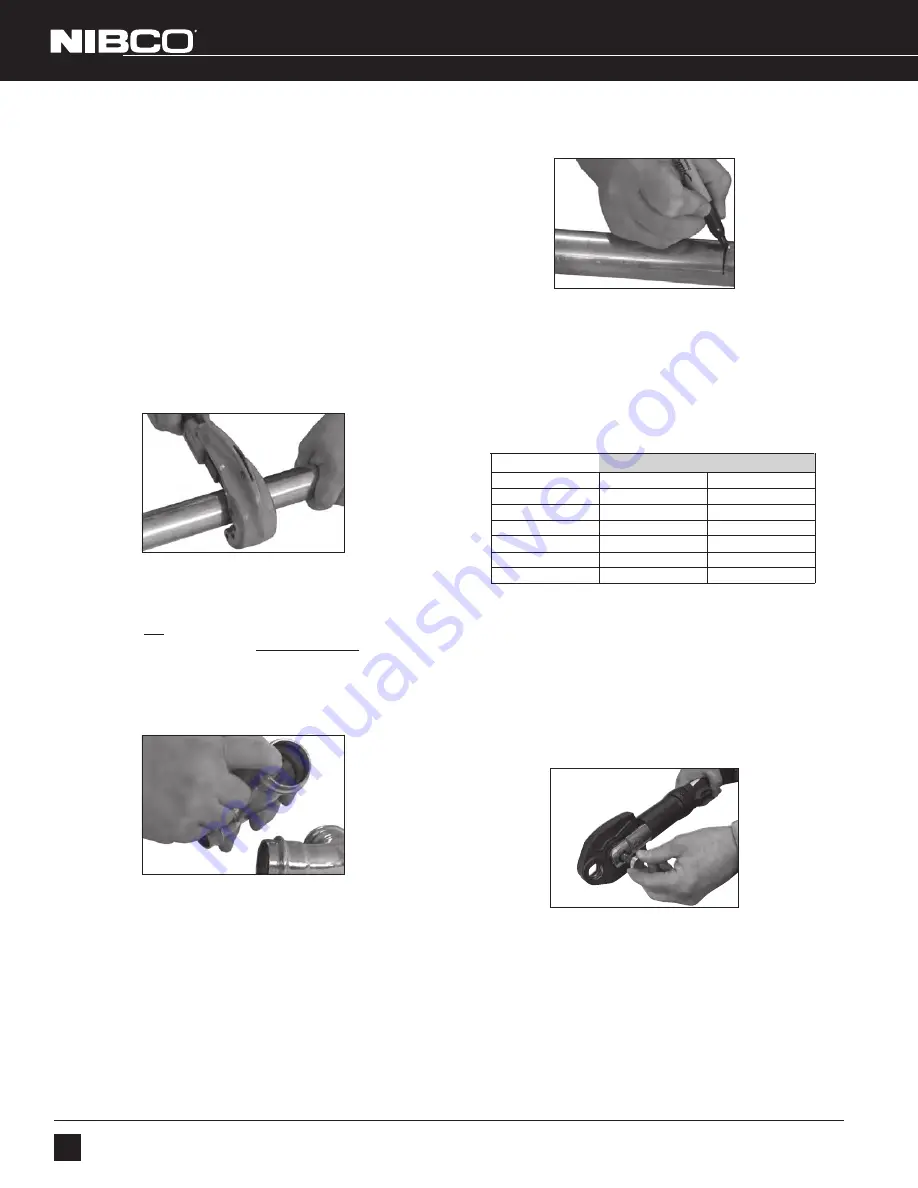
Figure 3 — Marking for Insertion Depth
2. Mark the tube with a permanent marker to indicate the proper tube
insertion depth
(Figure 3)
.
3. Refer to the minimum insertion depth table for correct depths
4. Insert the tube into the fitting or valve using a twisting motion. Make sure
that the tube is fully inserted into the fitting stop or shoulder.
CAUTION:
Tubing that is difficult to insert may have burrs or could be
out-of-round. Burrs must be removed and tubing end must be undamaged.
Make sure tube is inserted to the proper depth. Failure to do so may result
in an improper seal.
Attaching Pressing Jaws
1. Make sure the battery is removed or the cord is unplugged on the pressing
tool prior to attaching or changing the crimp jaws.
2. Push and twist to open the jaw set mounting pin.
(Figure 4)
.
Figure 4 — Pushing and twisting to open the jaw set mounting pin
3. If press tool contains a jaw set, slide it out of the crimping tool.
NIBCO
®
Press System — Installation Instructions
Tube Size
Inches
Inches
mm
1/2
11/16
18
3/4
7/8
22
1
7/8
22
1
1
⁄
4
1
25
1
1
⁄
2
1
3
⁄
8
35
2
1
1
⁄
2
38
Insertion Depth (min.)
Revised 11/9/2017


