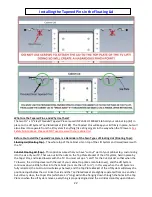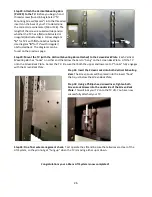
21
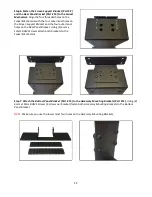
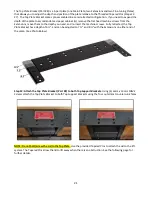
The
Top Plate Bracket
(Part #8) is a 5-part plate (one Main Plate, two Extensions and two Fine-tuning Plates)
that allows you to adjust the depth and position of the plate relative to the
Threaded Tapered Pins
(Steps 22-
27). The
Top Plate Bracket
comes pre-assembled in a semi-retracted configuration. If you need to expand the
depth of the plate to accommodate a deeper cabinet lid, remove the flat head machine screws from the
Extensions, move them to the depth you need, and re-insert the machine screws. Fully retracted, the
Top
Plate Bracket
has a depth of 6 ½”, and can be adjusted to 7 ½” and 8 ½” with the Extensions on either end of
the plate. (See Photo Below)
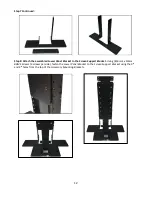
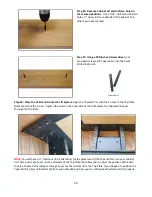
Step 22: Attach the
Top Plate Bracket
(Part #8) to both
Top Support Brackets.
Using (4)
6mm x 16mm FHMS
Screws
attach the
Top Plate Bracket
to both
Top Support Brackets
using the four outermost countersunk holes.
NOTE: Do not bolt/screw the Lid to the Top Plate.
Use the provided
Tapered Pins
to attach the Lid to the lift
system. The
Tapered Pins
allow the lid to lift away when there is an obstruction.
See the following page for
further details.
Summary of Contents for L-45ens
Page 1: ...TV Lift System Model L 45ens Installation Instructions ...
Page 2: ...2 ...
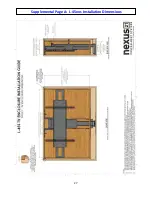
Page 27: ...27 Supplemental Page A L 45ens Installation Dimensions ...
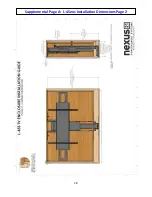
Page 28: ...28 Supplemental Page A L 45ens Installation Dimensions Page 2 ...
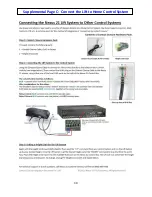
Page 30: ...30 Supplemental Page C Connect the Lift to Home Control System ...
Page 31: ...31 ...
Page 32: ...32 866 500 5438 ...

