background image

VIDEO MODE (CONTD.)

  
Continued from previous page.

     
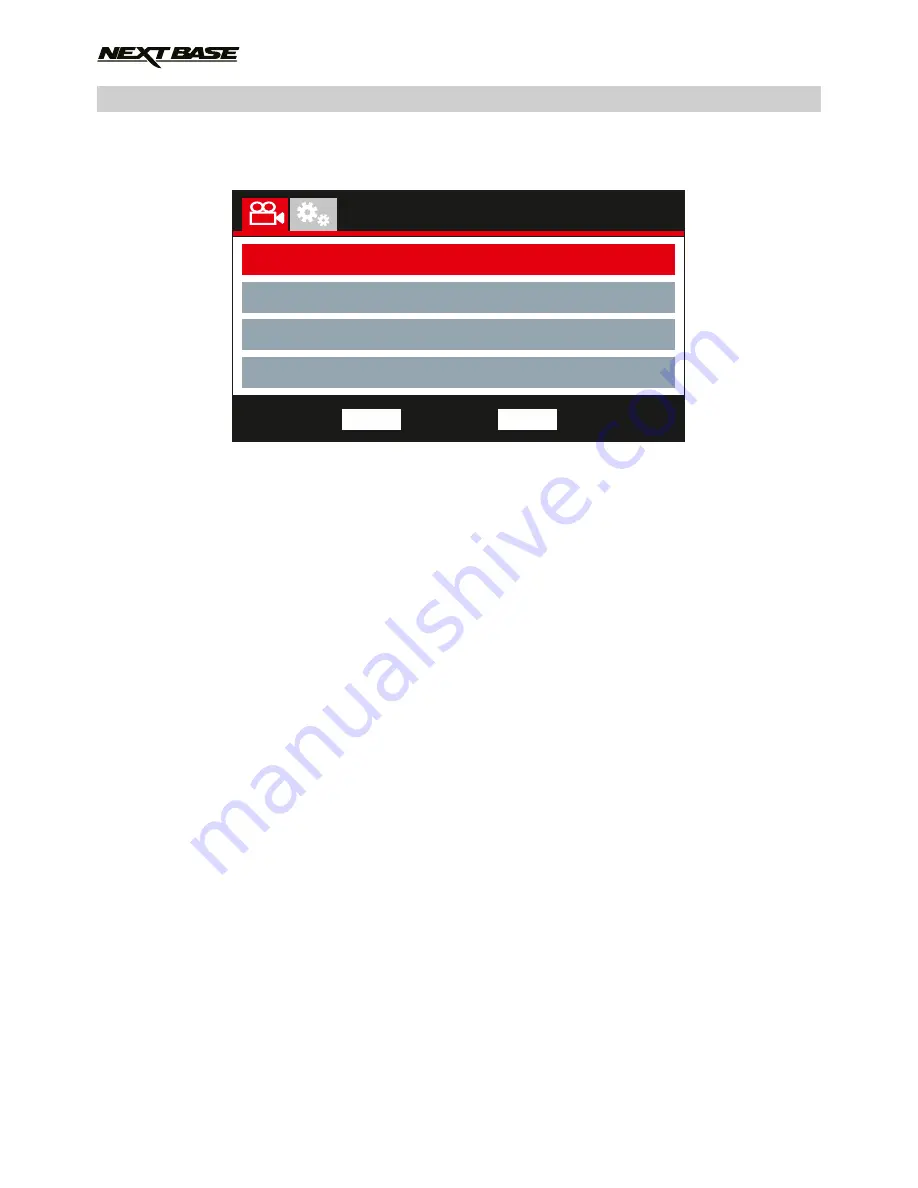
     5.    Video Length

            Select the duration of the individual recorded video files. The iN-CAR CAM will continue 
            recording, filling the memory card. When the memory card becomes full, the oldest file will 
            be automatically deleted to make space for the new recording.
            
            Note:
            - Protected files will never be deleted.

            Options: 2 Minutes, 3 Minutes and 5 Minutes
            Default Setting: 3 Minutes

     6.    Parking Mode

            When Parking Mode has been turned ON, the iN-CAR CAM remains in standby mode, when 
            the 12Vdc supply has been turned OFF (typically removing your ignition key). Should physical 
            movement of the vehicle be detected the iN-CAR CAM will power on and start recording a 30 
            second video and then return to standby mode.

            The recorded file will automatically be protected.

            Options: On and Off
            Default Setting: Off
            
            Note:
            - Remember to turn off Parking Mode from within the Setup Menu during normal driving use, 
              to turn off Parking Mode stop the recording and then change setting to Off

     7.    Rotate Display

            Rotate the display 180°, particularly useful should the iN-CAR CAM be mounted on the
            dashboard, the iN-CAR CAM control button functions do not rotate.

     8.    Time & Date Stamp

            Turn On / Off the time and date stamp shown on recorded files.
            
            Options: Off and On
            Default Setting: On

20

Video Menu

Video Length

Parking Mode

Rotate Display

Number Plate

Back

MENU

Enter

OK

Time & Date Stamp

Summary of Contents for 412GW Professional

Page 1: ...Instruction Manual...

Page 2: ......

Page 3: ...Automatic Start Stop Technology The iN CAR CAM senses power supplied to the cigarette lighter socket as soon as the vehicle ignition is turned on and will start to record automatically When the igniti...

Page 4: ...ATION PACKAGE CONTENTS PRODUCT FEATURES POWERED GPS MOUNT CAMERA PARTS CONTROLS IN VEHICLE INSTALLATION VIDEO MODE PHOTO MODE PLAYBACK MODE SETUP MENU PC CONNECTION VIDEO AUDIO OUTPUT WIFI APPLICATION...

Page 5: ...perational problem 1 Ensure that the windscreen is free of dirt or grease before placing mount upon it Do not obscure the view of the road ahead or impede the deployment of any airbags in the event 2...

Page 6: ...s MOV High Definition Type C Socket Video Audio Standard Definition 3 5mm Jack Video Audio Lithium ion 3 7V 260mAh approx 30mins recording time Battery design allows the Auto Power Off feature to func...

Page 7: ...s Mac playback software available from www nextbase co uk WiFi Connectivity Connect your smartphone or tablet device to the iN CAR CAM can be used to Start Stop recording or to view or download files...

Page 8: ...lever to lock the mount in place 2 Locking ring Loosen the locking ring to adjust the iN CAR CAM position if required remembering to re tighten before use 3 DC IN socket Connect the supplied car powe...

Page 9: ...CAM Front 1 Mounting point located under dust cover After removing the dust cover attach the supplied powered GPS mount here 2 Camera lens Wide Angle 140 6 Element glass lens for optimum picture qual...

Page 10: ...reen Off Down Press to navigate down within menus and to move to the next file when in playback mode Screen Off Press to turn off on the screen only available whilst in video mode 7 Protect File WiFi...

Page 11: ...olour screen for the viewing of recorded files on the iN CAR CAM 10 Mode Press to change between video photo or playback modes 11 Record OK Record Press to start or stop a recording when in video mode...

Page 12: ...icrophone for audio recording 15 DC IN USB socket Connect the supplied car power cable or USB data cable here Note Normally the car power cable is connected to the mount when in use not directly to th...

Page 13: ...17 HD Output Used to connect your iN CAR CAM to a television using an HD Cable sold separately 18 MicroSD Card slot Insert the MicroSD card here taking care that the gold contacts are facing towards t...

Page 14: ...similar object to push the memory card in place if required Take care that card has clicked into place a second push inwards will release the memory card Do not remove or insert the memory card when t...

Page 15: ...contact between the glass and suction cup Release the locking lever of the mount by pulling down and then whilst holding the suction cup onto the glass push the lever up to secure the mount to the wi...

Page 16: ...ave a 12 24Vdc outlet but does have a 5Vdc USB Outlet this can be used instead Connect the USB cable supplied with your iN CAR CAM in place of the car power cable Ensure you connect the USB cable to t...

Page 17: ...e that the iN CAR CAM power cable does not interfere with the drivers operating controls such as the steering wheel pedals or gear levers Do NOT mount the iN CAR CAM in front of an airbag field of dep...

Page 18: ...ording is active 8 Screen Capture appears on screen during screen capture 9 GPS The satellite icon will flash whilst the iN CAR CAM locates satellites Once a stable signal is received the icon will st...

Page 19: ...ress OK to confirm your selection and return to the Video Menu Press the MENU button twice to return to video mode Note Menus are not accessible whilst the iN CAR CAM is recording 1 Resolution Select...

Page 20: ...d physical movement of the vehicle be detected the iN CAR CAM will power on and start recording a 30 second video and then return to standby mode The recorded file will automatically be protected Opti...

Page 21: ...e NEXTBASE Stamp shown in the top left corner of recorded files Options On and Off Default Setting On 12 G Sensor Turn Off or adjust the sensitivity of the built in G Sensor The G Sensor detects force...

Page 22: ...icates the iN CAR CAM is in Photo mode 2 Exposure displays current exposure level setting 3 Date current date 4 Time current time 5 Memory Card indicates whether a memory card is present 6 Battery ind...

Page 23: ...nu use the up and down buttons to highlight the required setting and then press OK to confirm your selection and return to the Photo Menu Press the MENU button twice to return to photo mode 1 Exposure...

Page 24: ...ed 7 Playback controls use the iN CAR CAM buttons as described below 8 Battery indicates whether iN CAR CAM is running on battery or external power 9 Protected file indicates that the video file is pr...

Page 25: ...t the current image was taken 6 Next press the down button to move to previous file 7 Previous press the up button to move to previous file 8 Battery indicates whether iN CAR CAM is running on battery...

Page 26: ...leted 26 Playback Menu Delete Files Protect Files Back MENU Enter OK Delete File Once selected follow the on screen instructions to delete the current file Delete Files Delete File Delete ALL Files Ba...

Page 27: ...when in Playback Mode 27 Playback Menu Delete Files Protect Files Back MENU Enter OK Protect File Once selected follow the on screen instructions to Protect the current file Unprotect File Once selec...

Page 28: ...tablet device to view recordings directly from the dash cam See pages 33 to 48 for full guide on using the WiFi function 2 Format SD Card Format the inserted memory card this will delete all content...

Page 29: ...the screen after a chosen period of inactivity press any button to re activate the display Options Off 10 Seconds 30 Seconds and 2 Minutes Default Setting Off 8 Device Sounds Turn Off On the beep sou...

Page 30: ...ons 10 Seconds 1 Minute and 2 Minutes Default Setting 10 Seconds 10 System Info Version The installed software version of your iN CAR CAM is displayed here WiFi Info View the SSID network name and Pas...

Page 31: ...only device therefore uploading files to the SD card when in Mass Storage mode is not possible Turn off the camera before disconnecting from your computer Mass Storage Mac When this option is selected...

Page 32: ...N CAR CAM and your television the iN CAR CAM screen will blank This is normal as all output is now visible upon your television All functions of the iN CAR CAM are available whilst using the Standard...

Page 33: ...loaded recording that can be emailed to your insurance company or friends This makes the provision of recorded evidence to your insurance company very simple The following instructions and images are...

Page 34: ...iN CAR CAM is exactly the same method as used when connecting your phone to any WiFi network Firstly please make sure that the WiFi function of the iN CAR CAM has been turned on There two ways to tur...

Page 35: ...n on the Startup Screen this will open the WiFi options on your phone The Dash Cam will be shown as NEXTBASE 312GW xxx enter the password 12345678 Once connected successfully the Device connected popu...

Page 36: ...screen you can access all the functions and features available within Cam Viewer 36 NBDVR312GW 16 04 37 14 10 2014 12345678 30MPH N52 41 33 15 W62 42 33 15 00 45 24 Cam Viewer Live View Files on Camer...

Page 37: ...from Live View that you can start and stop recording or take a photo by pressing the red button Use the blue icons in the bottom right corner to change the iN CAR CAM between video and photo modes as...

Page 38: ...le when your phone is connected to the iN CAR CAM 38 14 55 24 Cam Viewer Files on Camera 22 Mar 2016 08 21 219 1 MB 22 Mar 2016 14 52 221 5 MB 25 Mar 2016 17 32 217 3 MB NBDVR312GW 16 04 37 14 10 2014...

Page 39: ...to different points in the video Press Done Back to return to the Files on Camera screen Note The quality of video playback will depend on the strength of the WiFi signal between the iN CAR CAM and y...

Page 40: ...relevant icon this will open the File Select screen as shown below 40 Download Protect Delete 14 55 24 Cancel Files on Camera 22 Mar 2016 08 21 219 1 MB 25 Mar 2016 17 32 217 3 MB NBDVR312GW 16 04 37...

Page 41: ...the selected action or press Cancel Back to cancel the action 14 55 24 Cancel Files on Camera 22 Mar 2016 08 21 219 1 MB 25 Mar 2016 17 32 217 3 MB NBDVR312GW 16 04 37 14 10 2014 12345678 30MPH N52 4...

Page 42: ...e the transfer time Protect File Select this option when you wish to protect or unprotect a file Delete File Select this option when you wish to delete a file from the memory card 42 14 57 24 Cam View...

Page 43: ...al Files directory that you can upload recordings to our secure server by using the upload icon 43 12 56 24 Cam Viewer Local les 30 Mar 2016 15 51 214 7 MB 25 Mar 2016 17 32 217 3 MB WIFI APPLICATION...

Page 44: ...rk then return to Cam Viewer and select upload once more 44 12 56 24 Cam Viewer Local les 30 Mar 2016 15 51 214 7 MB 25 Mar 2016 17 32 217 3 MB OK iPhone Settings Please disconnect your iPhone from th...

Page 45: ...e action Once an upload has started the Upload History screen will open as shown below The upload progress can be seen in the white text during the upload process 12 57 24 Local Files Upload History C...

Page 46: ...ncel an upload swipe left on the file and tap delete 46 12 57 24 Local Files Upload History Currently uploading 1 le 2016_0323 100117 63 KB of 214 7 MB Delete WIFI APPLICATION FOR SMARTPHONES TABLETS...

Page 47: ...ile is dependent on your network Larger files will naturally take a longer time to upload than smaller files It is possible to upload files using your mobile data however this is not recommended as ad...

Page 48: ...f applications that are on your phone The below images show the link being sent using email with an iOS phone 48 Cancel 12 58 24 Local FilesUpload History The upload queue is empty Pending uploads wil...

Page 49: ...ous files For best recording use a branded class 10 type 48MB s or UHS type 1 micro SD card of 8 to 32GB recommended size PC may not be sufficient for the playback task try a different PC Copy the rec...

Page 50: ...ble Use the Setup option to re format the SD card from within the iN CAR CAM Ensure the iN CAR CAM is connected to a reliable power source and that the supplied Car Power Cable is being used with the...

Page 51: ...atellites required to achieve a stable signal Reception can also be affected by atmospheric conditions and the proximity of buildings trees obscuring the sky Correct Adjust the Daylight Savings Time S...

Page 52: ...NOTES 52...

Page 53: ......

Page 54: ...NBDVR412GW IM ENG R3 www nextbase co uk...

Reviews: