4 — UNITY
33
00 and UNITY
US316
Quick Start Guide
To install the drives:
A
Slide the release button on the front of the drive
carrier and open the handle.
B
Insert the hard-drive carrier into the drive bay until
the carrier contacts the backplane.
C
Close the hard-drive carrier handle to lock the
drive in place.
D
Repeat these steps for each drive.
If you have a UNITY
US316
Storage Expansion, go to
(Optional) Unpack the UNITY
US316
Storage
Expansion
. Otherwise, go to
Connect the
UNITY
33
00
.
(Optional) Unpack the
UNITY
US316
Storage Expansion
A
Remove all the components from packaging.
Reach under the chassis to pull it free from the
foam insert.
Do NOT lift out the expansion chassis from its
packaging using the controller handles or
attached rails.
B
Place the components on an anti-static surface
until you are ready to use them.
UNITY
US316
package contents
z
UNITY
US316
(I/O modules)
z
Rack-mounting hardware:
z
2 outer-rack rail assemblies (inner-rack rails
are already installed on the chassis)
z
4 mounting screws with 4 washers to attach
outer-rack rails to the rack
(1 on the front and 1 on the back for both the
left and right rail assemblies)
z
FASTier SSD and HDD drives. (Check that the
components included in your shipment
correspond to your packing slip.)
z
Two power cords
z
Two SAS cables (HD Mini SAS to Mini SAS)
Rack the UNITY
US316
Follow the same steps as racking the
UNITY
33
00 Storage System; see
Rack the
UNITY
33
00
on
page 3
.
Connect the UNITY
33
00
X
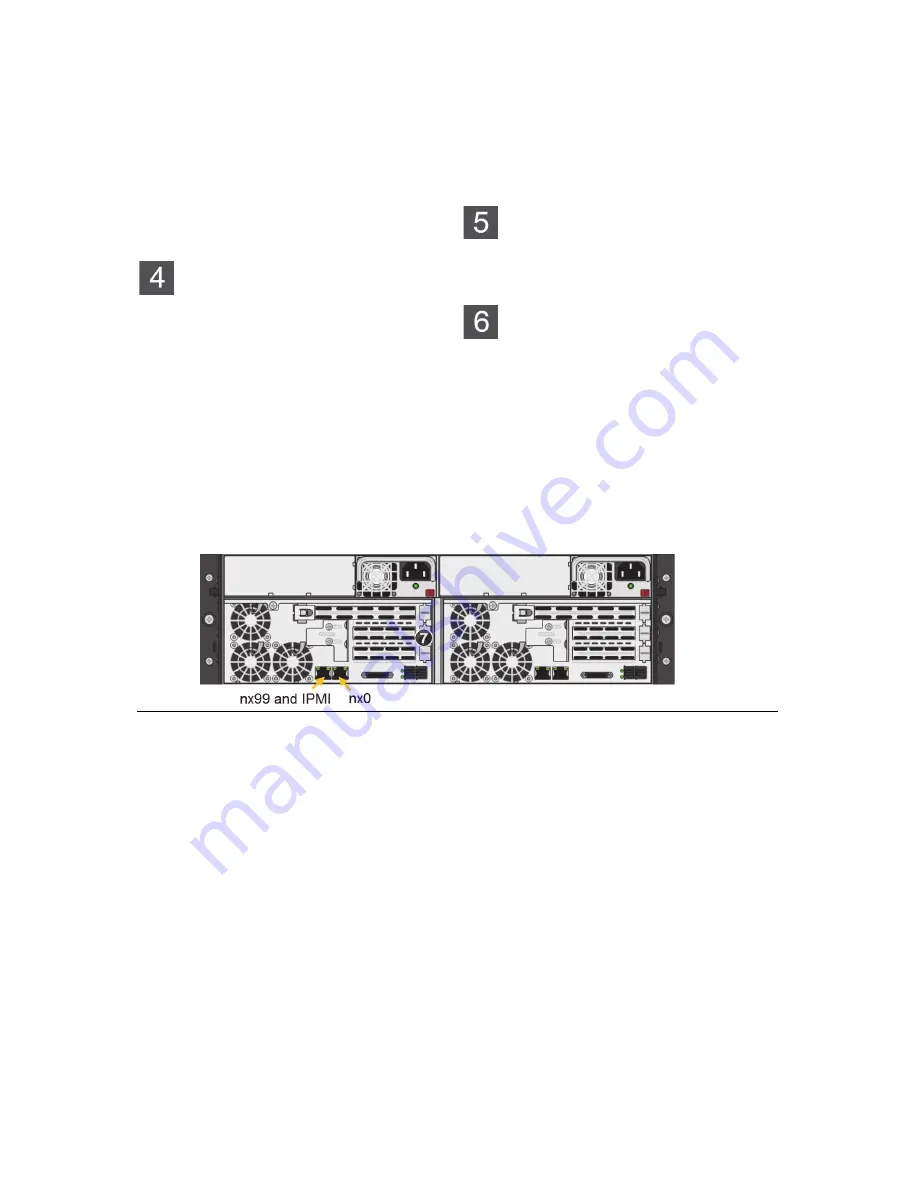
Step 1: Connect the network cables
A
For the Unity Management Interface (nx99) and
IPMI, plug an Ethernet cable into the on-board
LEFT
GigE RJ-45 connector.
B
(Optional if there is a 10GB card) For data
connectivity (nx0), plug an Ethernet cable into the
on-board
RIGHT
GigE RJ-45 connector.
C
(Optional) For additional data connectivity if you
do not have a Fibre Channel card, plug
appropriate cables into an add-on network
interface card.
D
Repeat these steps on the second controller.
X
Step 2: Connect the power cords
A
Plug the power cords into both power supply units
on the back of the UNITY
US316
.
B
Plug the power cords connected to the power
supply units into a high-quality strip that offers
protection from electrical noise and power surges.
NOTE:
We strongly recommend that you use an
uninterruptible power supply (UPS).
X
Step 3: Connect the KVM dongles
The KVM ports provide USB, VGA and serial
connections for remote console access to
the UNITY
33
00.
z
Plug the KVM device cable into the KVM port on
the back of each controller box.
X
Step 4: (Optional) Connect the UNITY
33
00
to the UNITY
US316
The UNITY
33
00 can connect to one UNITY
US316
. This configuration does not support
daisy-chaining and multipathing.


