10
2.2 Minimum clearances
Minimum 24” clearances from combustible materials must be maintained at
all times while the heater is in operation.
3. Operation
3.1 Preparation before lighting
3.1.1 Check any possible shipping damage of the heater. If any is found,
immediately contact your selling dealer or call us directly.
3.1.2 Please review thoroughly and be sure you understand all of the “safety
precautions and
warnings”.
3.1.3 Make sure control knob is at “OFF” position.
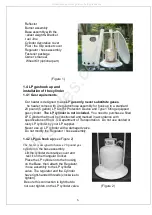
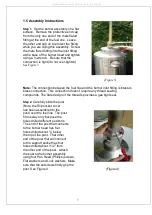
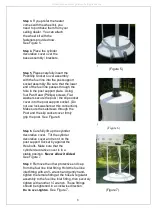
3.1.4 Place the LP cylinder onto the Cylinder Base. Connect the Regulator /
hose assembly to the cylinder by rotating the Regulator’s hand wheel
clockwise into the cylinder’s valve and securely tighten.
3.1.5 If attempting to relight a hot heater, always wait until the heater is cool.
3.2 Leak Checking
Check all of gas connections in the heater with soapy water.
Apply soap solution to all propane connections, especially the fuel connections
between the Regulator connection device to the Cylinder valve, the fitting at
the end of the Fuel Line to the Burner Head and the other end of the Fuel Line
to the Hose assembly.
Inspect all propane connections, look for bubbles.
If bubbles appear, there is a leak. Disconnect and reconnect, try again.
If no bubbles appear, the connection is safe, continue the next step: Lighting.
If the leak persists, turn cylinder valve OFF and contact your selling
dealer or
call our Customer Service Dept. directly for assistance
and advice.
Warning:
Perform Leak test outdoors only.
Never leak test when smoking.
Do not use a flame to check for leaks.
3.3 Lighting
3.3.1 To light the pilot
Lift the cylinder cover from the base and set it the stable position. Turn the
cylinder valve on.
The first step is to purge the fuel line when a new or refilled propane cylinder is
installed.
Gently depress the control knob at the faceplate panel and rotate it to “PILOT”
All manuals and user guides at all-guides.com


