6
Intelligent NIC Getting Started Guide — NDA Required
NetXen, Inc.
4. Detailed Installation and Configuration Instructions
4
Detailed Installation and Configuration
Instructions
4.1
Installing and Connecting the iNIC Adapter
The adapter card is installed by following these steps. Note that it may be useful to write
down the MAC address printed on the sticker on the back of the card before installation.
This will allow the address to be easily compared with the MAC address generated or
modified once the card is installed.
1
Verify that the system is powered off.
2
Remove the system cover. Remove the screw and associated bracket covering the
selected bus slot.
3
Once the bracket is removed, insert the adapter into the PCI Express slot
1
. Apply
uniform pressure on top of the board until it is firmly seated in the bus connector.
4
Secure the board using the screw removed in step 2.
5
Connect the appropriate cables to the board and replace the cover.
6
Power on the system.
4.2
Windows Installation
The following Windows iNIC driver-related files are included:
nxp2nic.inf
NXP2NIC.sys
4.2.1
New Driver Installation
Note that the following procedure is for a new installation. If the driver has been
previously installed, refer to Section 5.6.1 before executing this procedure.
1
Copy all the NIC files and directories from the software package to a directory on the
system’s hard drive.
2
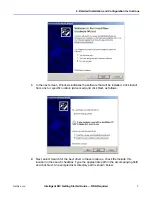
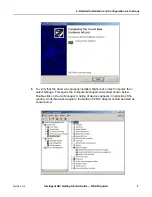
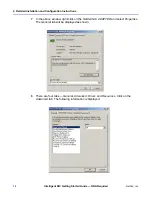
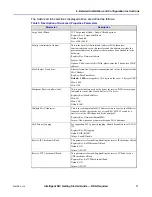
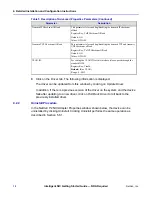
After the server system is powered on, Windows detects the new card and displays
the
Found New Hardware Wizard
window. This only happens only when there are no
drivers already installed on the system. When this window appears, Windows asks if it
can connect to “Windows Update” to search for the software. Click
No, not at this
time
, and click
Next
.
1. Due to space constraints in some systems, when installing an XFP board, it may be necessary to first remove the
XPF module from the board, insert the board into the PCI slot, then reconnect the XFP module to the board.

